One of the by products of buying local pork is being able to get the leaf lard from the pig. I had never even heard of rendering lard until I was asked if I wanted the leaf lard, I wasn’t even sure what leaf lard was. However I do remember my husband’s grandmother talking about using lard to make piecrust. So I decided to try rendering my own lard. Learning how to make lard is not hard; it requires that you have water, a large stock pot, a source of leaf lard and some time.
Rendering Lard
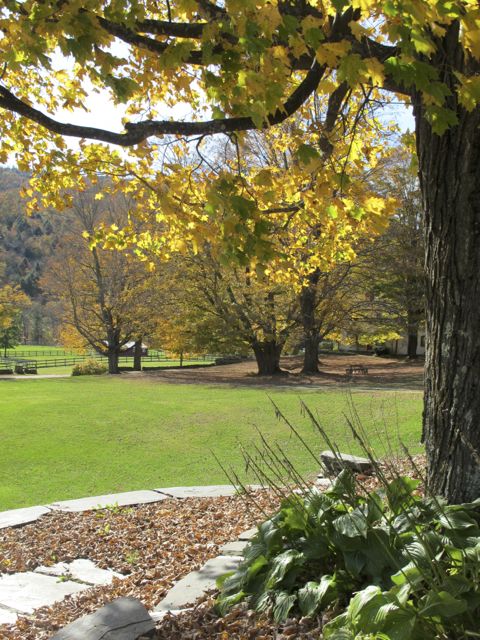
I had heard that you might not want to do this in your kitchen so a friend of mine offered me the use of their side burner on their outdoor grill. It was a beautiful fall afternoon when I decided to render the lard and I couldn’t think of a more beautiful spot to spend the afternoon.
Directions:
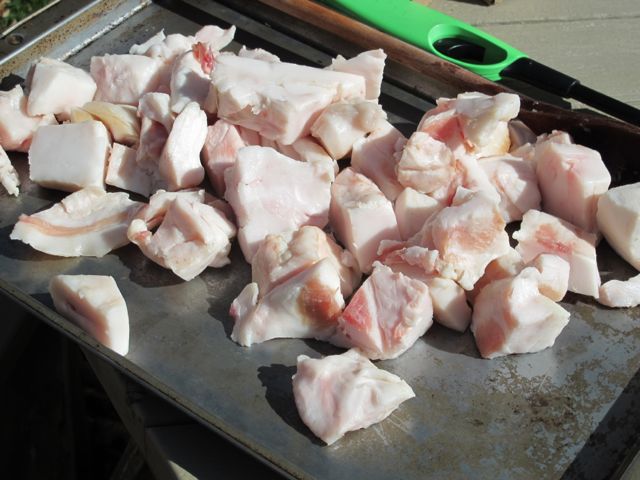
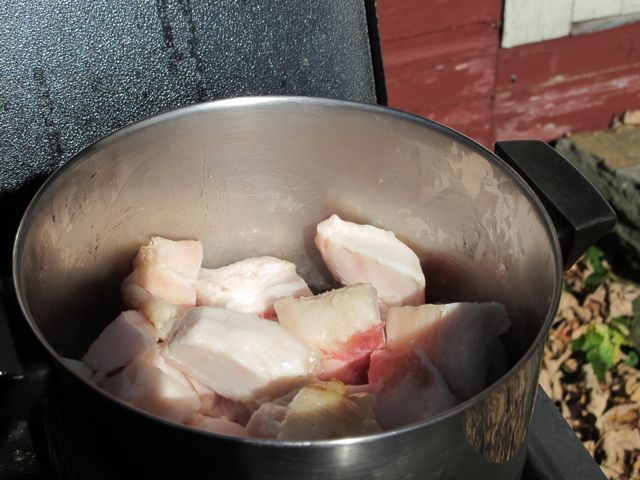
The first step is to cut the fat into ½ inch cubes. Pour about ½ cup of filtered water into the bottom of the pot and add the chopped fat. The water keeps the fat from burning.
Simmer over low heat, stirring occasionally. The fat will begin to melt, the water will evaporate and the little bits of browned fat or cracklings will float to the surface.
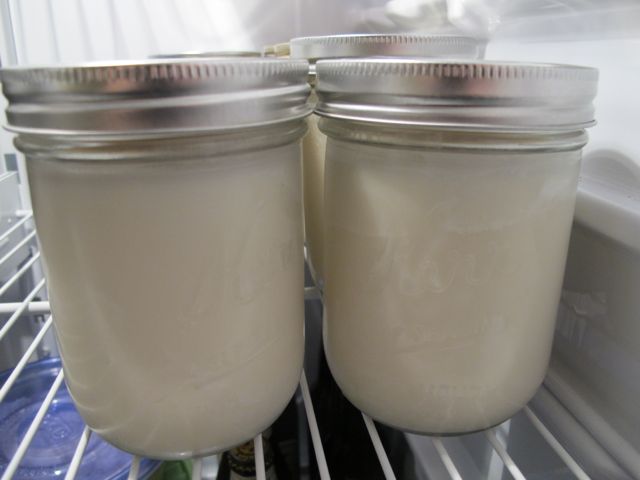
When the cracklings sink to the bottom of your pot you will want to remove the pot from the heat. Be careful as you now have a pot full of very hot fat. Strain the melted fat using a fine mesh sieve. Pour the melted fat into mason jars and allow to cool. When you first pour the melted fat into the jars it will be a golden color.
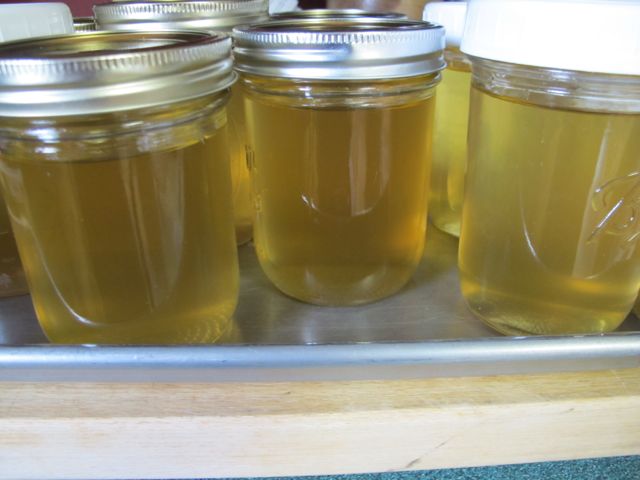
As the jars cool the color will turn to a cream white.

Rendered lard is good in pastries or as a fat for seasoning meats or braising vegetables. Have you rendered lard before? Do you have any tips or tricks to share about the process?
