It’s not what you think! So called “safe” strippers are a good place to turn for refinishing your wooden antiques, They don’t irritate your skin, their fumes aren’t damaging to your health, and their contents aren’t flammable or explosive – though, of course, rags and residue must be disposed of safely.
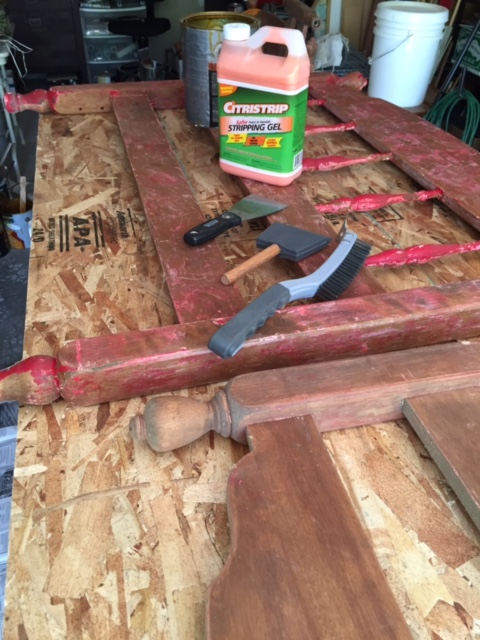
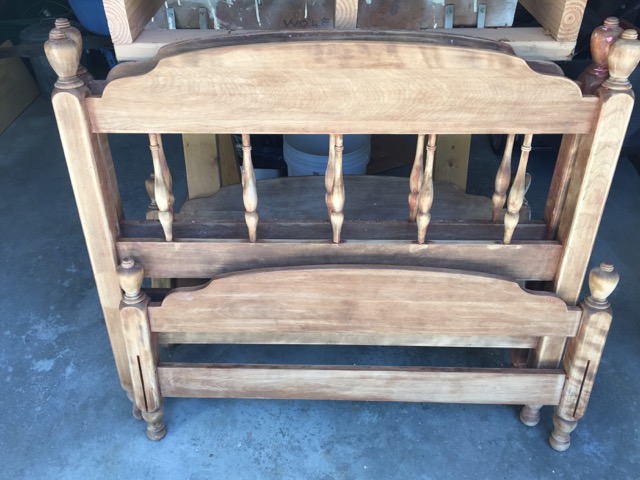
We currently have two projects in the works. A set of antique wooden twin beds that have been painted pink (yes pink!) and then red and an antique fireplace mantle that I plan to turn into a headboard for our queen-size bed.
The twin beds are the first project. Most of the paint has been removed and I am down to the final steps.
The tools and materials needed to complete this project are fairly simple. Newspaper or something to catch residue stripper; a container to hold the stripper; brush for application, plastic wrap; scraper; coarse and medium steel wool; coarse stripping brush, rags, soapy water; denatured alcohol, lacquer thinner or paint thinner.

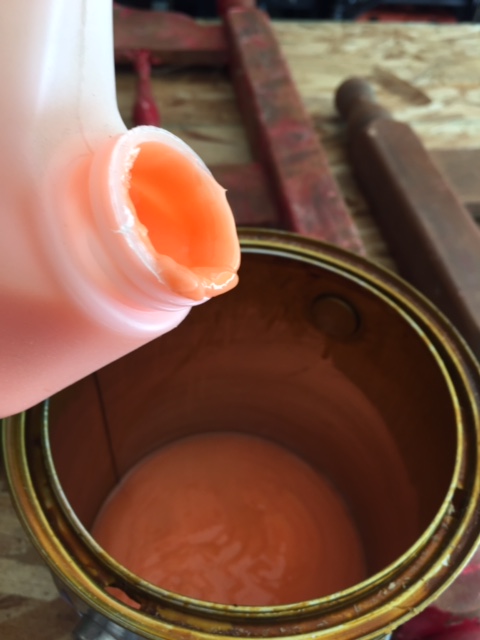
1. Set up a workstation. Since I like to work standing up I used some old saw horses and put a frame on top to hold a head board and a foot board at the same time. I put newspaper on the floor to catch any reside that drips. I used an old paint container to hold the stripper.
2. Apply the stripped liberally, brushing on a thick coat. You now have time to do another small project as the directions say to let the stripper formula stay in place for ½ hour. It may need to sit longer.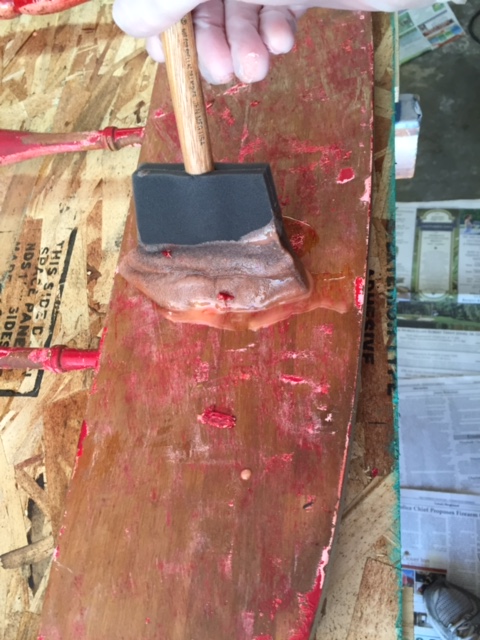 If you are removing thick paint a simple trick is to cover the surface with a skin of plastic wrap. Follow the directions on your brand of stripper for the correct time.
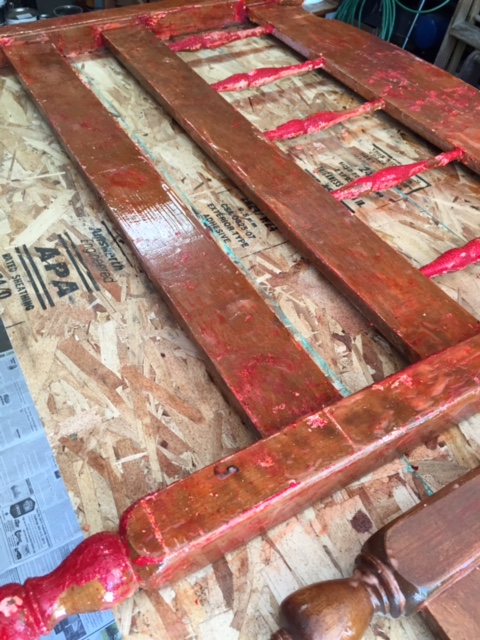
3. After the stripper has had time to do it’s job, scape off the loosened finish. Use coarse steel wool or a stripping pad and the stiff-bristle stripping brush to remove the residue from the nooks. Repeat this process it there’s more finish to remove.
4. Fourth step. Scrub down the piece with rags soaked in soapy water (unless the directions on your band of stripper advise otherwise).
5. Do one final cleanup with medium steel wool and solvent (the alcohol or thinner). Let the piece dry thoroughly.
6. Finish the piece with a clear varnish or whatever stains you have choosen.
I was hoping to have the bed finished before I wrote this post. The frames still need a finally sanding before the stain and final coat of varnish is applied. Stay tuned for an update!
Linked to some of my favorite link parties!

<div align="center"><a href="https://nancyonthehomefront.com" title="Nancy On The Home Front"><img src="https://nancyonthehomefront.food.blog/wp-content/uploads/2020/02/99301-button_170x170-copy4.jpg" alt="Nancy On The Home Front" style="border:none;" /></a></div>

You make this look so easy! I love these tips!
Thanks for joining Cooking and Crafting with J & J!
LikeLike
Easy, just time consuming! Can’t wait until I’m 100% finished!
LikeLike
This brings back memories – I use to strip wood projects for my grandma when I was a kid. Sad part I’m pretty sure the products we used were rather toxic. Well thankfully I always worked outdoors. This is going to be neat once finished, stained wood is my favorite.
LikeLike
Carole,
I remember doing a few of those projects too! I still work in the garage with the doors open even if the products say they are safe! Stay tuned I will post an update. Just waiting for some rainy days to get it done. When the days are nice I’m in the garden!
LikeLike
I haven’t had to strip any furniture before, but this will definitely come in handy. Thanks for sharing this great post with us at the Merry Monday link party. I hope you’ll link up with us again this week. Sharing your post on Twitter!
LikeLike
Ashley,
Thanks for stopping by! See you Monday!
LikeLike