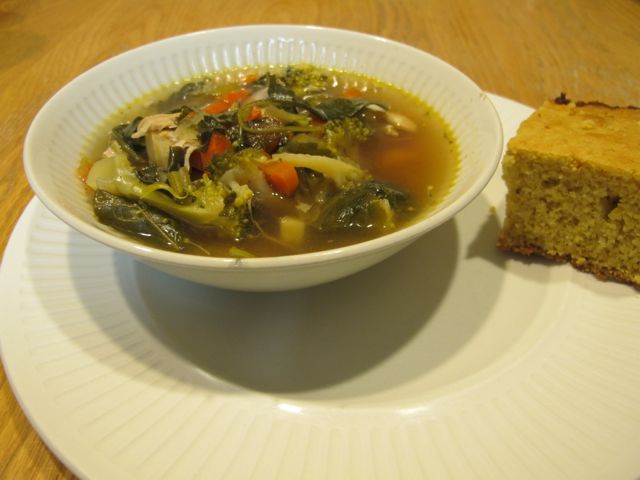
Earlier this week I shared my process for creating the most beautiful chicken broth. Today I will share the Chicken Vegetable Soup I made with that broth.
Chicken Vegetable Broth
Ingredients:
3 cups diced carrots
2 cups diced celery
2 medium onions, diced
1 medium parsnip, diced
2 cloves garlic, minced
½ tsp. ground red pepper
Salt
Pepper
12 cups Chicken broth
2 cups broccoli florets
2 cups of chopped kale
1 ½ tsp fresh dill or ½ tsp dried dill.
Directions:
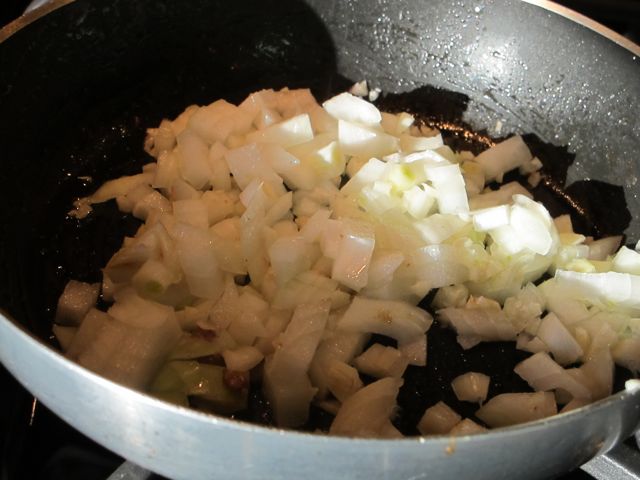
In a large soup pot sauté the carrots, celery, onions, parsnips and garlic in 2 Tbsp of olive oil. Add a little water to steam the vegetables.
Add ½ tsp ground red pepper and salt and pepper to taste and continue to cook over medium heat until the vegetables are tender but not mushy, about fifteen minutes.
Add 12 cups of chicken broth to the soup pot. If you don’t have enough broth you could add a little water. Add some of the cooked chicken if you like.
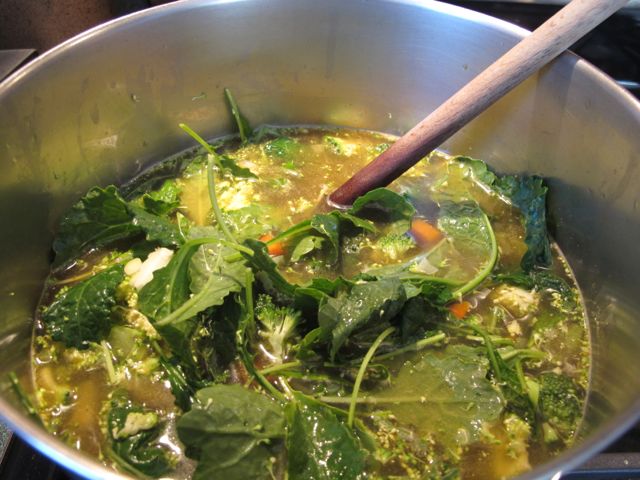
Add the broccoli florets, the chopped kale and the dill to the soup mixture.
Bring the soup to a boil, reduce heat and simmer to blend the flavors.
Serve this chicken vegetable soup hot. If you have any leftovers the coups also freezes well.
My vegetable garden may be put to bed but I have more than enough houseplants to keep me busy during the winter months.
I have several plants which spend the summer outdoors. Before moving them inside I give them a good shower. I don’t want any bugs to come inside with the plants! I also keep them separate for a few weeks to make sure there are not any lingering bugs, which might infect my other plants.
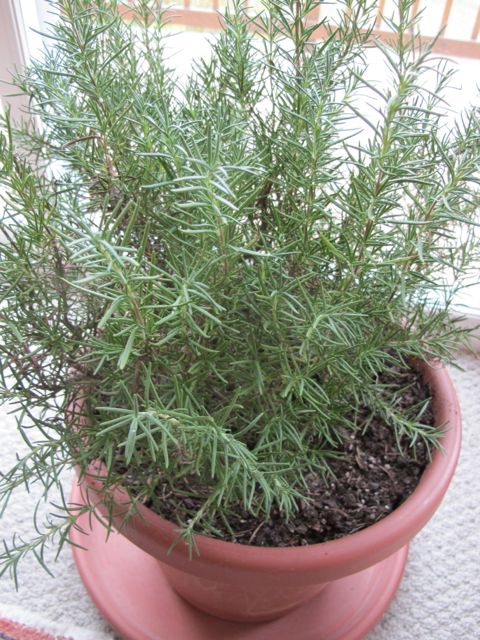
When the plants first come in it is natural for some of the leaves to fall off. I have a geranium and a rosemary plant which I have moved inside for the winter. The rosemary seems to have adjusted well. It was transplanted into a larger pot and placed in our sunny, south-facing window.
Rosemary Plant
The geranium was still blooming when it first came inside.
Geranium
I cut the blooms off to help it adjust to life inside. It is natural for it to have a bit of a shock with less light and humidity than it was used to outside. Once it has adjusted it will bloom again and give us some color over the long winter months.
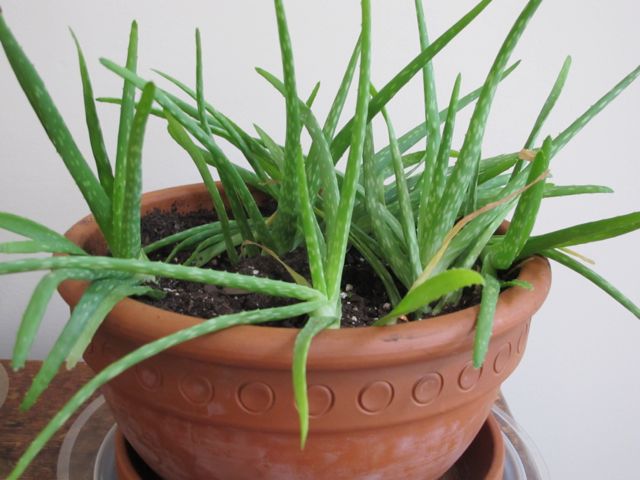
This is also a good time of year to check on the status of my other houseplants. Perhaps they need some transplanting or dividing. My aloe is doing well now that I have divided the pups.
Aloe Vera Plant
I have an orchid that is also in need of transplanting and will wait until it is done blooming.
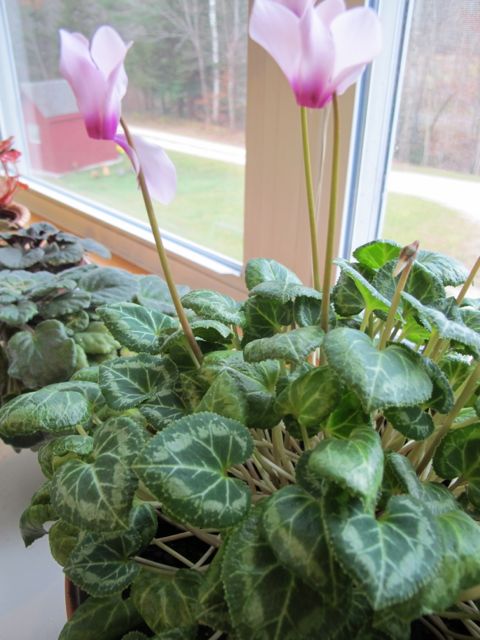
My Cyclamen is happily blooming away. I have watered it when dry, picked off the dead blooms and occasionally fed it all spring and summer. As a result I am being rewarded with blossoms.
Cyclamen
Working with houseplants is not quite the same as working outside in the garden, but I enjoy having a bit of greenery inside the house during the winter. Do you have houseplants? Which are your favorites?
Restoring a wool sweater is possible! Have you ever washed a wool sweater in the washing machine? Not on purpose of course, but one of those moments where you are in a hurry and the wool sweater accidently gets tossed in the wash. Perhaps it even got tossed into the dryer and came out looking like a doll sweater? did you know it is possible to restore a wool sweater?
Last year I accidentally washed my son’s favorite wool sweater. The problem was that he has two gray sweaters; one can go into the wash while the other one must be hand washed. I was in a hurry and washed the wrong sweater. What to do? It was a beautiful sweater so I set it aside hoping to find something I could do with it.
A year later my girlfriend calls me up and tells me she did the same thing, washed her favorite wool sweater. Only she spent a little time on the Internet and found a solution!
You just soak the sweater in warm water and conditioner and the yarn will relax and return to it’s original shape. Was I ever skeptical! However, I love my son and it was worth trying to see if I could restore his favorite sweater to it’s original size.
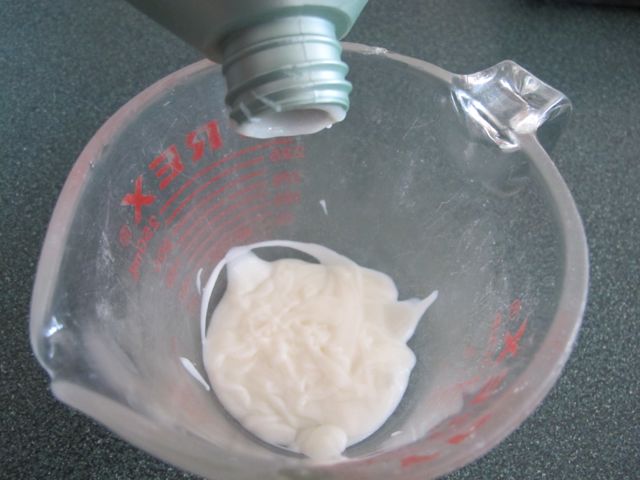
Put enough warm water in the sink to allow you to completely submerge the sweater. Add a bit of hair conditioner and mix it until it’s completely dissolved in the water.
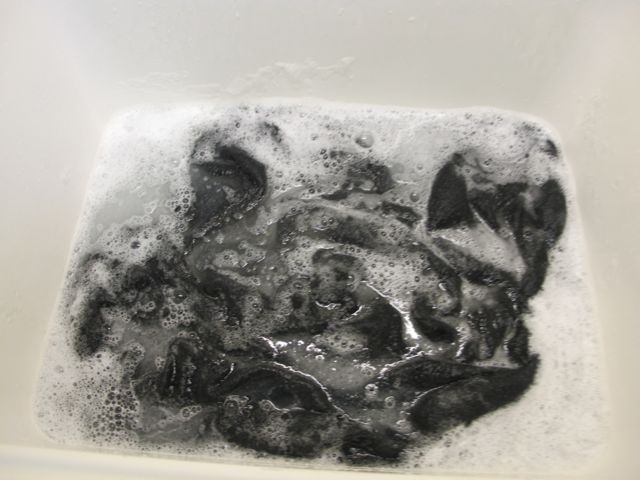
Place your sweater in the water and make sure it is completely soaked and under the water. Let the sweater soak for 10 minutes.
Drain the sink while the sweater is still in it. Gently press the sweater to remove as much of the water as possible. Don’t squeeze the sweater or wring it out.
Remove the wet sweater and lay it on a thick, absorbent towel. Put the sweater in a cool room to air dry on the towel. The combination of the warm water, hair conditioner and cool air will unlock the wool fibers and allow you to restore the sweater.
Sweater Restored!
Gradually stretch the sweater back into shape as it dries. Gently pull a bit at a time to resize it. Let the sweater air dry until it is ready to wear.
I have always made my homemade chicken stock with the leftover chicken (or turkey) carcass. Recently I have been making my chicken stock using the whole chicken and my crockpot! When the process is finished I have 6-8 cups of cooked chicken meat, which I can use in a casserole, enchiladas or soup. I also end up with the most beautiful chicken stock!
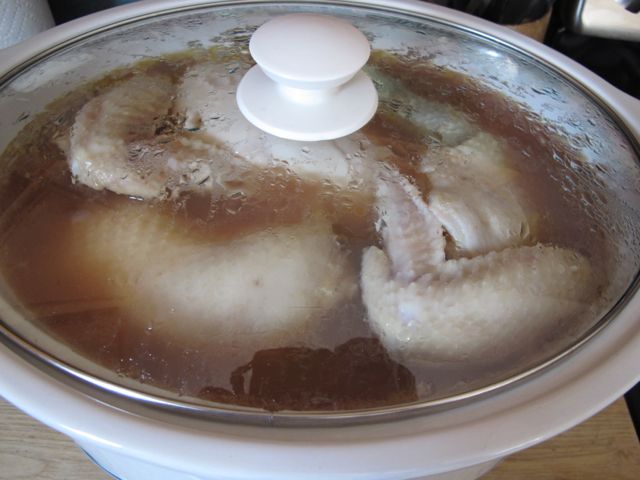
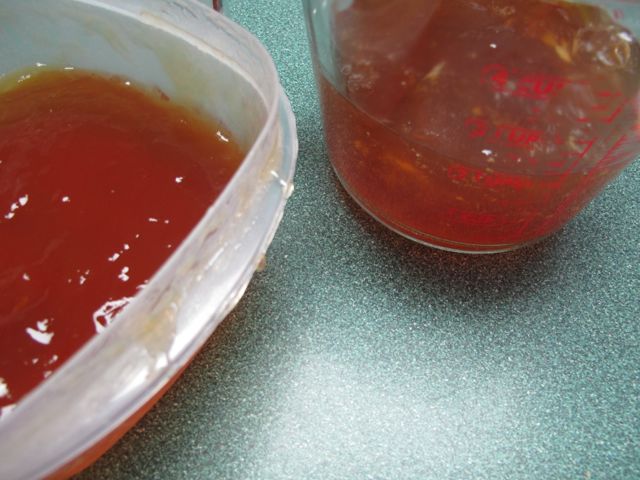
Homemade Chicken Stock
Directions:
The process is very easy. I place the whole or cut up chicken in my crock-pot, then cover the chicken about ¾ of the way with water, put the cover on the crockpot and cook on high heat for 3 hours or until the chicken is cooked through.
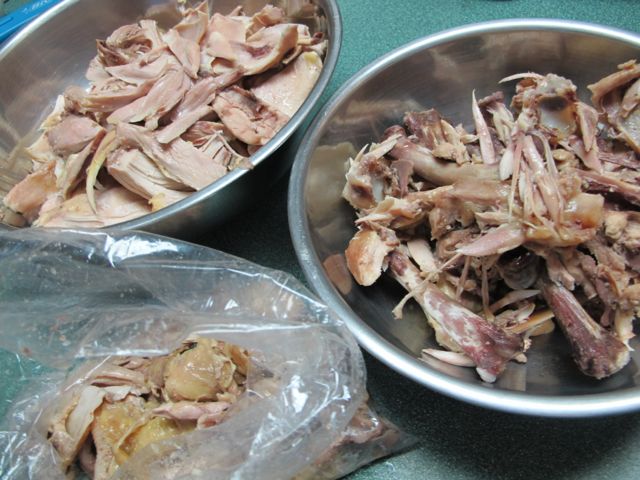
Once the chicken is cooked I carefully remove it from the crockpot, leaving the giblets behind. When it is cool enough to handle I remove all the meat from the bones and set the meat aside.
I then place the bones and skin back into the crockpot with the gibbets. Add a tablespoon of apple cider vinegar to the crockpot. Replace the cover and cook on low for a minimum of 6 hours and up to 24 hours or until the bones crumble when pinched.
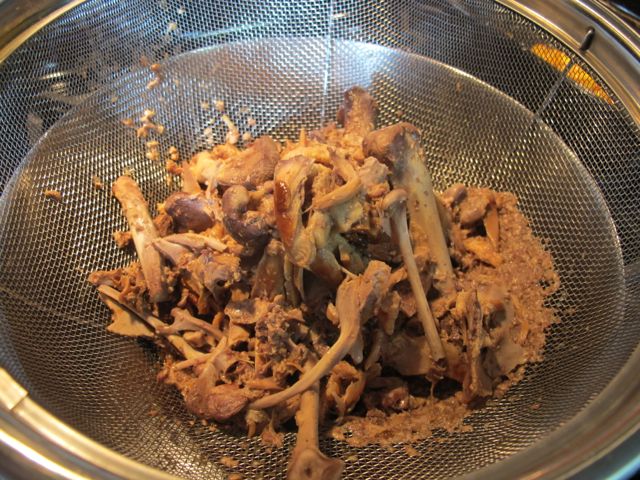
Carefully strain the broth through a fine metal sieve and throw away the bones.
Use the broth immediately, store in the refrigerator for about a week, or freeze for later use.
There are many ways to enjoy pumpkin; in cake, bread, muffins, or soup. Last year I made a delicious squash, onion and apple casserole and I’ve also made pumpkin dog biscuits. Have you ever tried it with pasta? This Pumpkin Sausage Pasta recipe caught my eye. It’s from one of my favorite books Simply in Season. If you can, find some local homemade sausage to use in the recipe.
Pumpkin Sausage Pasta
Ingredients:
1 pound of penne pasta. Cooked, drained and set aside.
1 pound of bulk sweet Italian sausage
1 cup of chicken or vegetable stock
1 cup of pumpkin or winter squash (which has been cooked and pureed)
½ cup evaporated milk.
1/8 tsp ground cinnamon
½ tsp ground nutmeg
Salt and pepper to taste. 1 bay leaf
2 Tbsp fresh sage
Directions:
Cook the sausage in a large deep frying pan sprayed with a little oil. Brown the sausage over medium high heat. When the sausage is cooked, removed the sausage from the pan and drain the fat from the pan.
Using the same pan sauté 1 medium onion, diced and 4 cloves of minced garlic. Cook until soft, about 3-5 minutes.
Add the bay leaf and the 2 Tbsp fresh sage (cut into very thin strips). Cook until half of the liquid evaporates, about 2 minutes.
To the mixture add your stock and cup of pumpkin or winter squash.
Continue to cook until the sauce starts to bubble. Add the sausage and reduce the heat.
Stir in the evaporated milk, cinnamon, nutmeg and salt and pepper.
Simmer for 5-20 minutes to thicken. Serve over pasta.
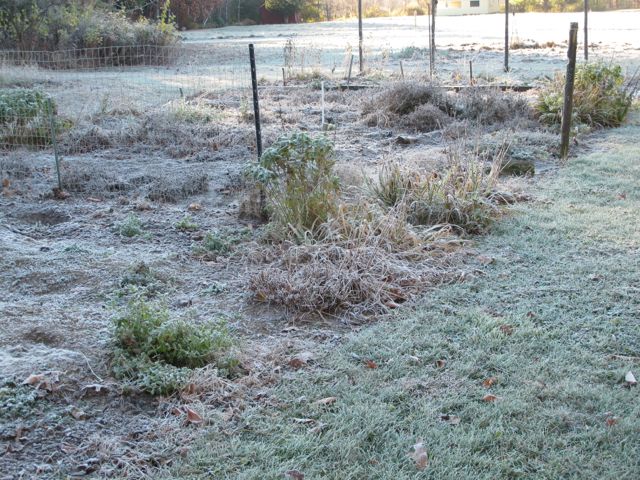
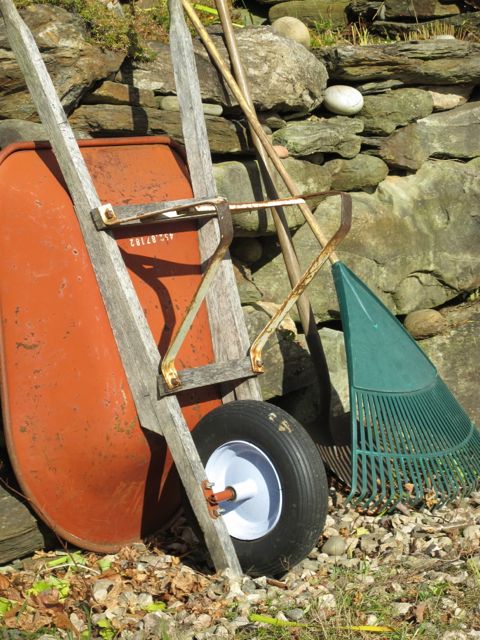
As winter fast approaches and the mornings are frosty and cold it’s time to tidy up the gardens and make sure they are ready for the winter.
A Frosty Vegetable Garden
I’ve been busy cutting back the garden beds around the house. Some are completely done and ready for the winter.
Some garden beds are ready for winter.
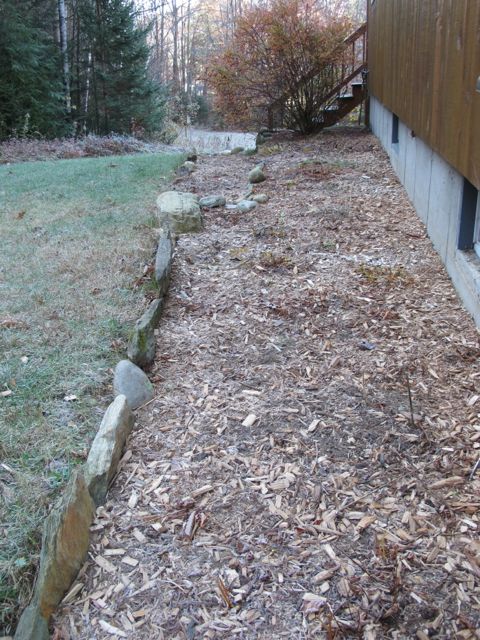
Others still need a bit of work.
Other garden beds still need some work!
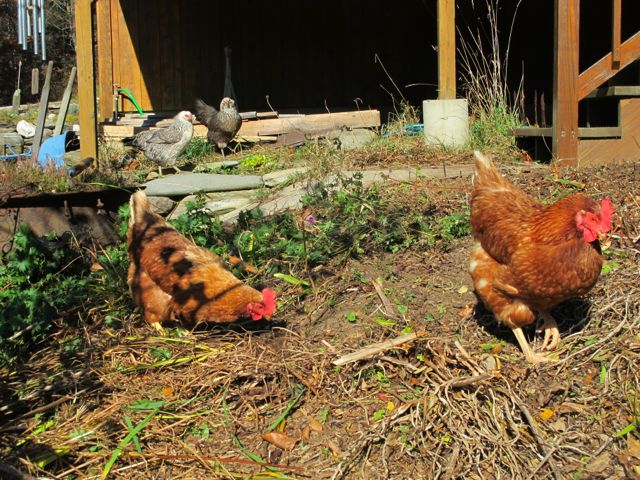
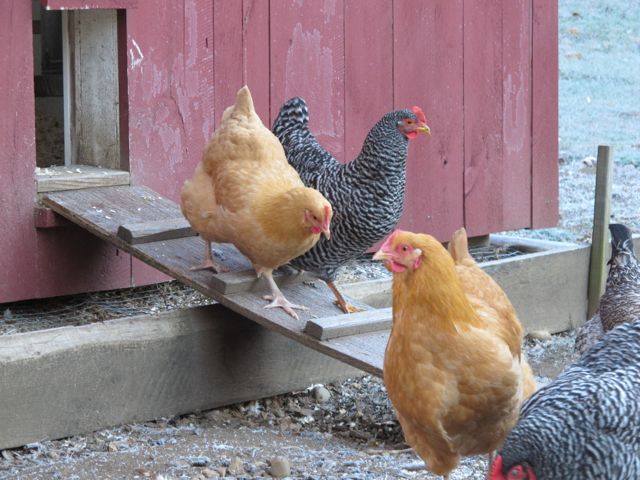
Luckily I have little helpers’ every time I am out working in the garden.
My garden helpers.
We allow our chickens to free range this time of year and they love scratching about in the gardens. This morning it was so cold they were a little reluctant to venture outside of their warm coop.
Venturing out of the coop.
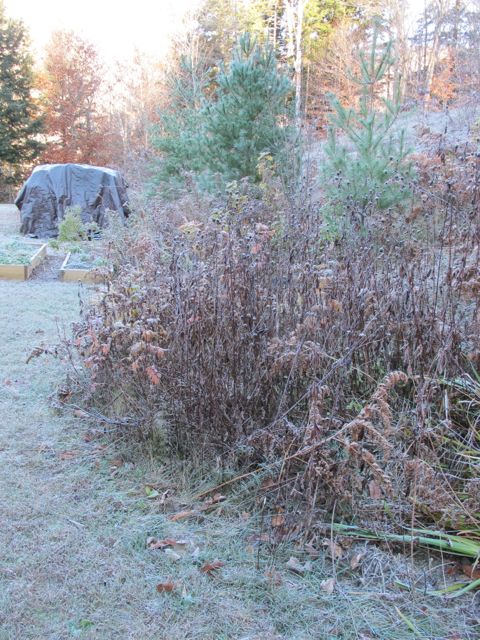
I still have some work left to do in the vegetable garden; hopefully I will get to finish it before the snow flies. I try to pull any weeds and cut most everything back so I’ll have a little less work in the spring.The Johnny Jump-Ups are still blooming away. Nice to see their cheery faces in the garden.
Flowers still in bloom
Overall it’s been a good gardening year and I look forward to starting again next season.
The end of the season.
In the meantime, I’ll enjoy the beauty around me The trees on the hills are bare now and the only green you see is from the evergreens.
Beauty all around me.
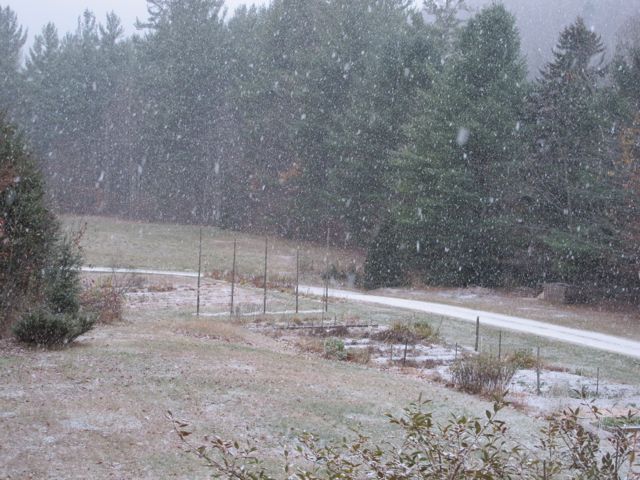
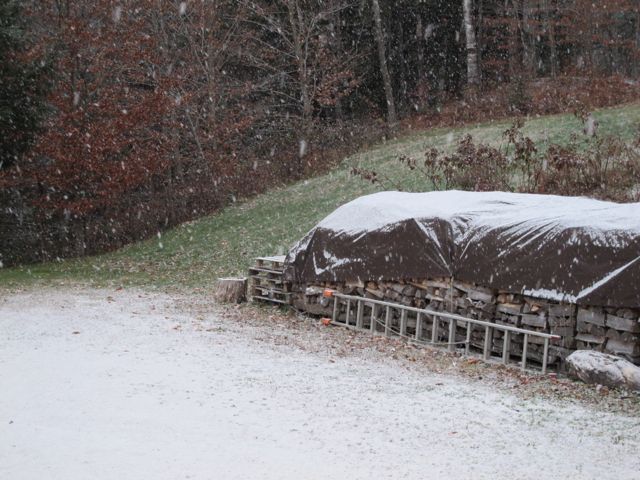
Note: Little did I know just how fast winter was approaching, the above pictures were taken yesterday. Here’s what it looks like this morning. It’s snowing!
The year is flying by; with Thanksgiving and the holidays approaching it won’t be long before we’re ringing in the New Year!
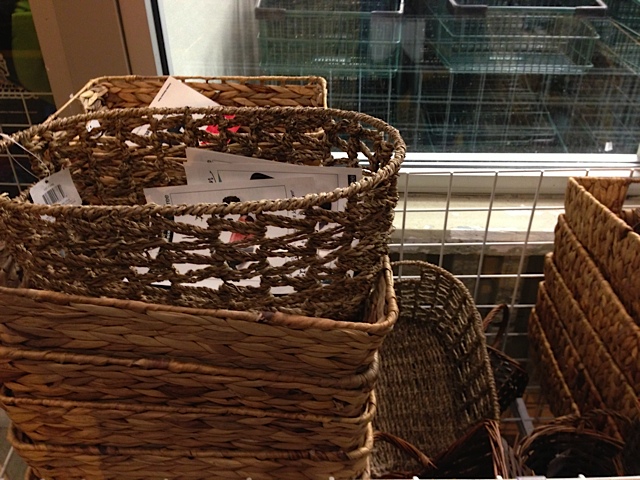
November is a good time to keep your eyes open for various sales. You can often find sales on baskets, which you can then use as gift containers. Put a pretty towel in the bottom and add some small homemade jams and jellies or cheese and crackers. You all of a sudden have a perfect gift for that hard to buy friend or relative.
Buy baskets now to create Christmas baskets later.
The day after Thanksgiving is a big sale day. Many stores promote deep discounts to lure you into the store. If you’re planning to take advantage of the sales use the sale flyers to map out exactly what stores you plan to shop in and what you plan to buy. Once you purchase what you came for leave the store so you are not tempted to buy higher priced items!
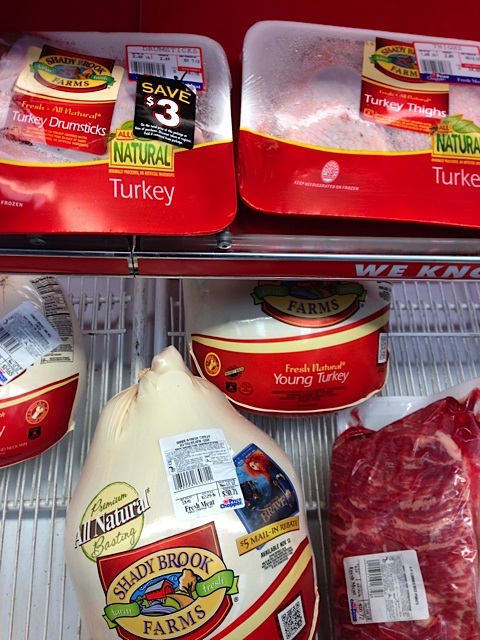
This is also a great month to purchase a turkey. Turkeys are priced dirt cheap from now through Christmas. So are cranberries. Stock your freezer with a turkey. A frozen turkey will be good for at least a year. Baking supplies are also at rock bottom prices. Stock up now for all the baking you may do over the holidays.
Buy turkey on sale.
Blankets, comforters and winter wear will also be discounted to boost the retailers’ holiday cash flow.
November can be a good time to stock up on blankets and comforters.
Remember if you don’t have the extra cash to take advantage of sales don’t spend your money. A bargain is only a bargain when you can afford it!
Have you ever wondered what are the best fruits and vegetables to keep in your kitchen? Which ones can be used in multiply ways and are a real staple to keep in your kitchen or pantry?
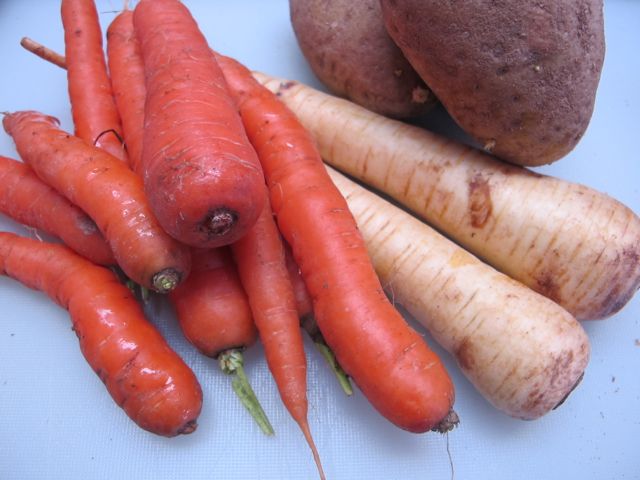
Root vegetables such as carrots, potatoes and parsnips, are the workhorses of the kitchen! They can be roasted, boiled, mashed, pureed, sautéed or stored in a cool, dry place for weeks or even months!
The workhorses of the kitchen!
Chop equal portions of onion, carrot and celery and you have a flavorful and aromatic foundation for soups, stews, and sauces. Add some garlic and you’ve got the beginnings of a stir-fry!
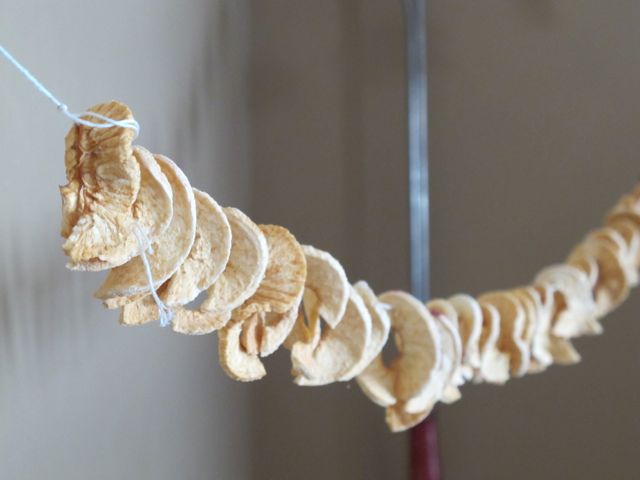
Apples move easily from snack to baking ingredients to applesauce. Use them to bake up a delicious Apple Cake! Apples can also be dried and stored for later.
Apples dried on a string
Lemons brighten the flavor of almost any dish whether you are using lemon juice in a salad dressing, in a recipe or for making an icing on a cake.
Hardy greens such a kale or Bok Choy also store well in your refrigerator and can be used in multiple ways. Bok Choy adds wonderful flavor to Beef with Oyster Sauce. Kale can be made into Kale Chips, Salad or added to a soup.
Kale (Photo credit: Wikipedia)
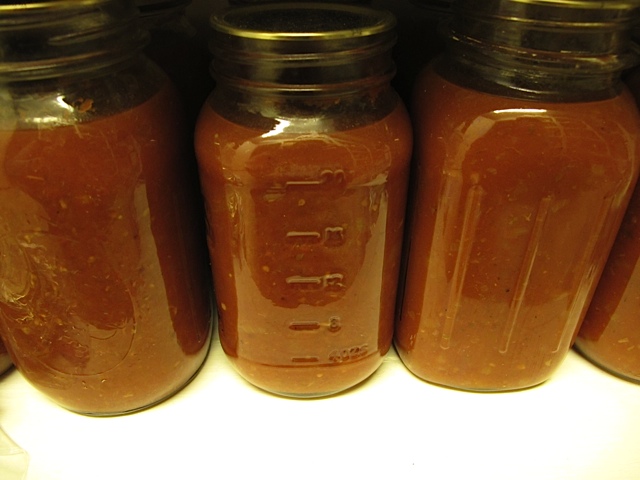
With canned tomatoes on your pantry shelves you are ready for a quick meal anytime.
Home canned tomato sauce.
What are your favorite fruits and vegetables to have on hand?
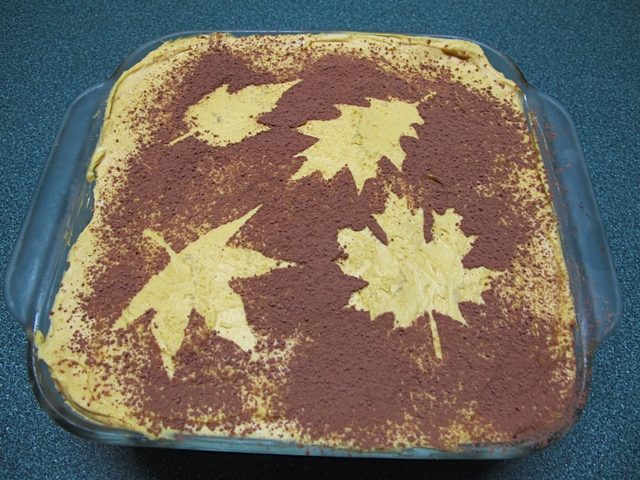
When I first saw this recipe a few years ago I knew I had to try it. We have always enjoyed my mother-in-law’s Surprise Cake and this recipe was very similar but with pumpkin! It is a very easy, no bake recipe, which makes a delicious, fall dessert. It’s pretty from the top and even prettier when you cut a slice! I’ve made it several times and it is always a big hit. It would be perfect for your Thanksgiving Table, a twist on the traditional pumpkin pie.
Pumpkin Chocolate Icebox Cake
Serves 12 (depending on the size piece!)
Ingredients:
3 packages (8oz ea.) of cream cheese, room temperature
1/2 cup packed dark brown sugar
1/2 cup granulated sugar
1 can (15 oz.) pumpkin
2 tablespoons half-and-half
1/8 teaspoon salt
3/4 teaspoon pumpkin pie spice1 teaspoon vanilla extract
28 chocolate graham cracker sheets (12 oz. total)
Unsweetened cocoa powder, for dusting
Beat cream cheese and sugars in a bowl with a mixer on medium speed until smooth. Then beat in pumpkin, half-and-half, salt, pumpkin pie spice, and vanilla until smooth and fluffy. Lay enough graham crackers in a 9- by 9-in. pan to cover bottom (cut to fit if necessary). Spread a quarter of pumpkin mixture over crackers with an offset spatula.
Layer of graham crackers first, then pumpkin mix.
Layer 3 more times, ending with pumpkin mixture.Cover; chill overnight. Set leaf cutouts (trace them on paper) on top and dust with cocoa, and then remove.
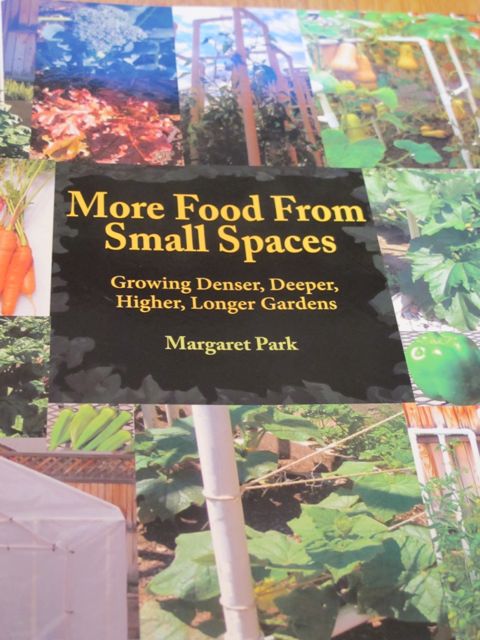
Did you enter the giveaway for the book More Food From Small Spaces? I am pleased to announce the winner today! Congratulations to Jennifer! I hope this book helps you to have success in your garden!
More Food From Small Spaces
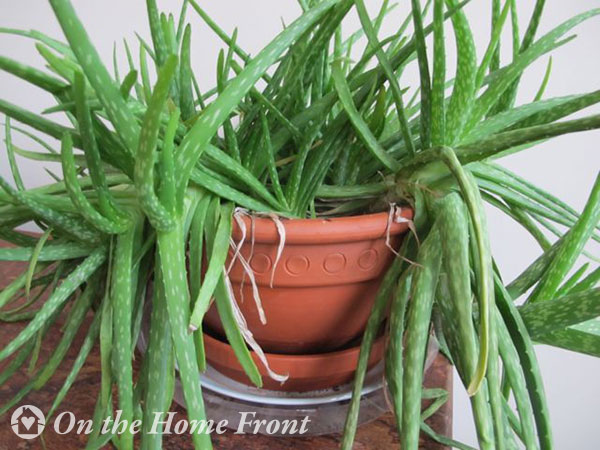
My days of working outside in my vegetable garden have pretty much come to an end. I still have a few chores to do to put my garden to bed but my attention is now on my houseplants! One of the plants that does extremely well in our house is the Aloe Vera Plant. I have one plant that has really gotten big.
Aloe Vera Plant
It’s time to transplant it and give the babies a little more room. If the baby aloes or pups are not transplanted they will eventually choke the mother plant.
I find that the Aloe plant is very easy to grow. I use a cacti/succulent potting mix to grow it in and it seems very happy. The Aloe is one plant that can go a long time without water. The soil must be allowed to completely dry out before you water it. During the winter the plant will become dormant and should need minimal watering.
My aloe plant sits near the wood stove and gets partial sun. It is not in front of a window but the room itself is south facing with large windows. I fertilize my aloe every other month.
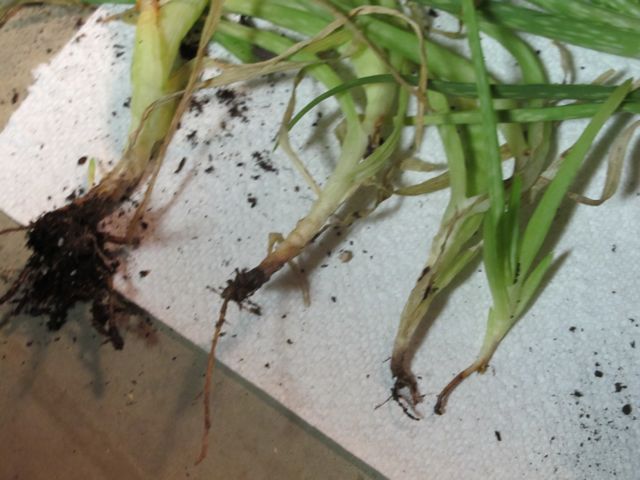
Transplanting the aloe is very easy. Aloe Vera plants form offset pups, which will eventually become a clump of plants. These plants need to be removed to keep the mother plant healthy. It is easy to gently pull the baby plants out, they each have their own little root system.
Each pup has it’s own root system.
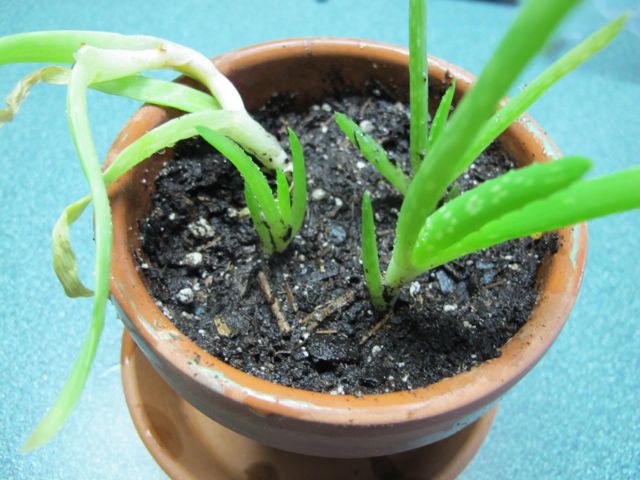
You can plant them into their own individual pot but I usually plant a group of them in a larger pot.
Pups in their own pot.
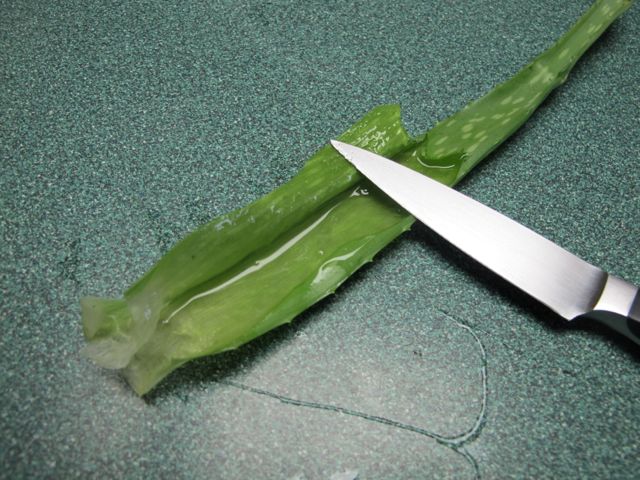
Besides being a wonderful easy-to-care for houseplant, the Aloe Vera can also be used to speed up healing on minor burns, rashes and cuts. It is also great for sunburned skin. Just open up the leaves and use the gel on your burn. The gel is also a wonderful moisturizer for sensitive skin.
The gel in the aloe leaf has many uses.
Do you have an Aloe Vera plant growing in your house? What’s your favorite houseplant?