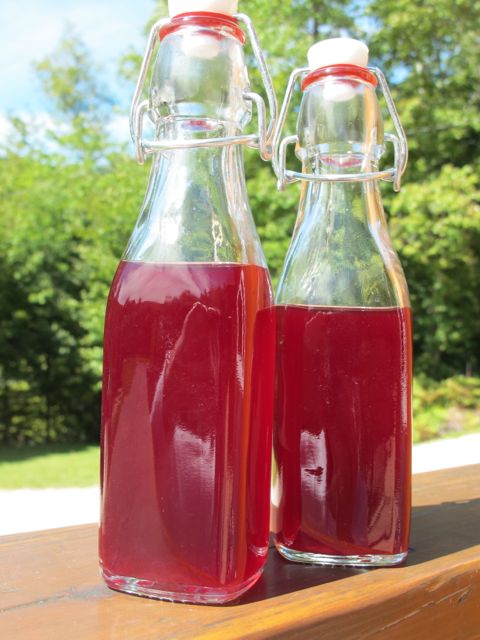
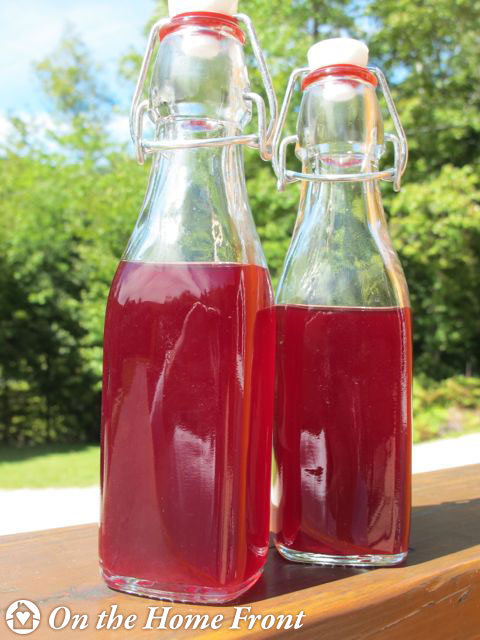
In August I made some our own blueberries to make a Blueberry Vinegar. It was an easy process basically combining blueberries, vinegar and basil in a glass bowl and stirring every other day for about four weeks. The result was a beautiful colored vinegar which I then used to mix up a blueberry basil dressing. A perfect dressing for a summer salad.
Blueberry Basil Dressing
Ingredients:
1 clove of garlic
1 Tbsp fresh basil
2 Tbsp Blueberry-Basil Vinegar
2 Tbsp olive oil
1 tsp of Dijon mustard
1 tsp sugar
The zest of ½ lemon
Directions:
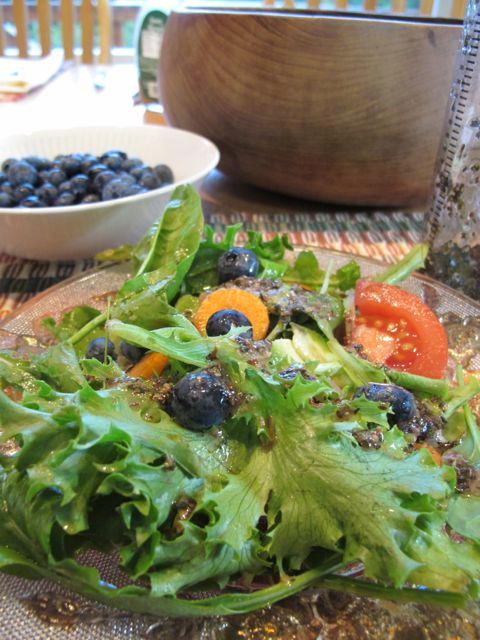
In a blender combine the garlic, basil, blueberry vinegar, olive oil, mustard, sugar and lemon zest. Process until smooth. Set aside while you assemble your salad. Once your salad is made up drizzle the dressing over your greens for a light and healthy salad. It’s delicious!
I love having an abundance of blueberries in our garden. I use them in all sorts of things from desserts to muffins to smoothies. Take advantage of the blueberries in your garden and mix up your own batch blueberry vinegar. Use it to make your own dressing. You’ll be amazed at how easy it is to create your own dressing from your own homemade vinegar.
I’ve written about drying herbs from my garden. Did you know that you can also freeze herbs? Herbs that have been frozen actually taste fresher than dried herbs, but only for the first four months or so after freezing. After that the flavor declines rapidly. Freezing herbs should be done in addition to drying herbs not as a substitute for it.
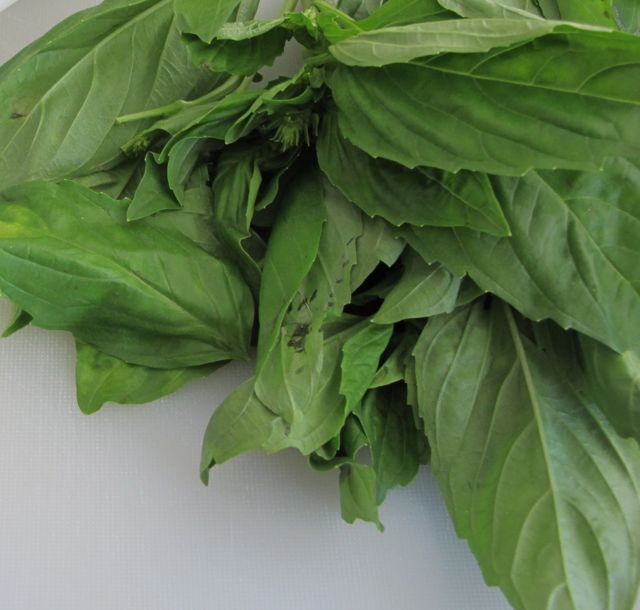
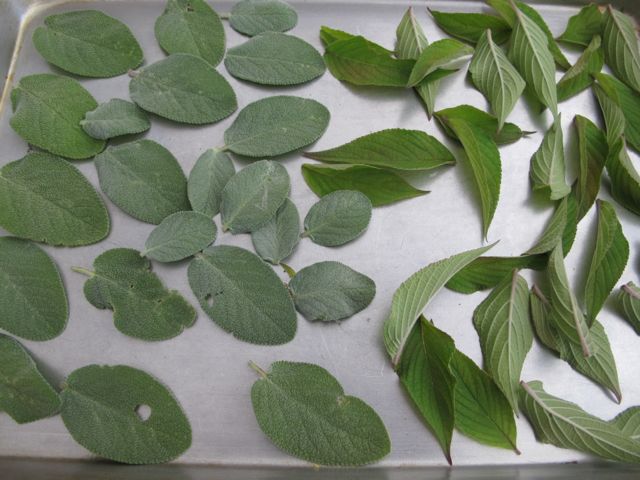
There are two methods of freezing herbs. For lemon verbena, marjoram, mint, oregano, parsley, sage or tarragon use whole leaves, discarding the stems. To freeze dill, fennel or thyme, use tender sprigs. Basil discolors when it is frozen; to keep it green, dip the branches in boiling water, just for a second or two. Then discard the stems and gently dry the leaves.
Basil, ready to dip in boiling water.
Anything you’re freezing should be completely dry. Spread the herbs out on a cookie sheet and place in the freezer.
Sage ready for the freezer.
As soon as the herbs are frozen pack them into heavy plastic freezer bags. Place the bags in freezer safe containers for storage in your freezer.
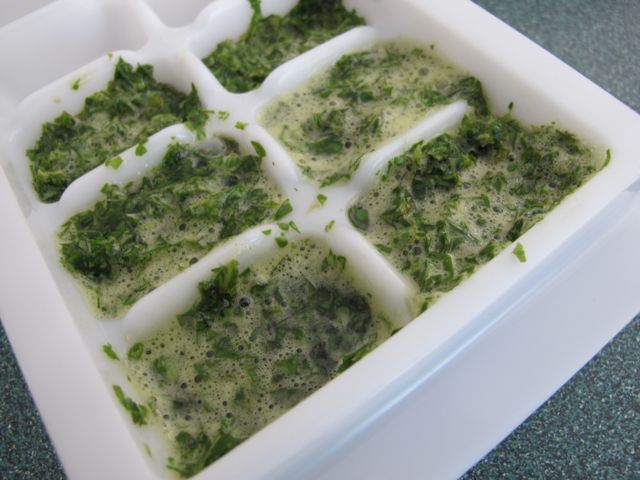
For herbs that tend to fade rapidly when frozen, such as cilantro or chervil; combine 1 cup of chopped herbs with 1/3 to 1.2 cup water in a blender. Freeze in ice cube trays. As soon as the cubes are frozen place in plastic freezer bags. Use the cubes where you would the herb. Each cube equals about 2 Tbsp of freshly chopped herbs.
Freezing herbs in an ice cube tray.
It’s always sad to see the end of the gardening season. With these methods hopefully you can enjoy your fresh herbs all winter!
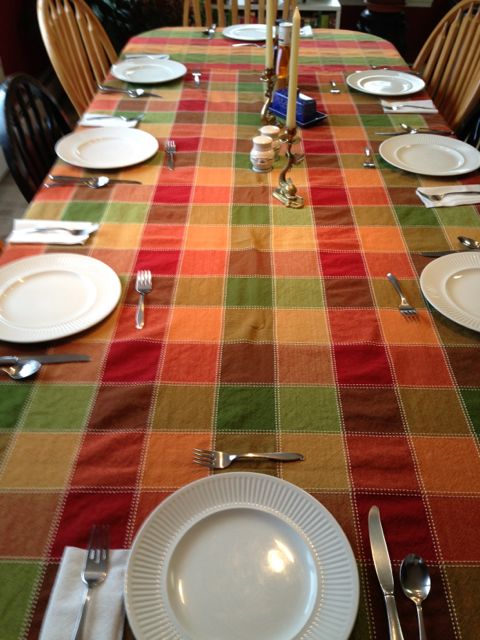
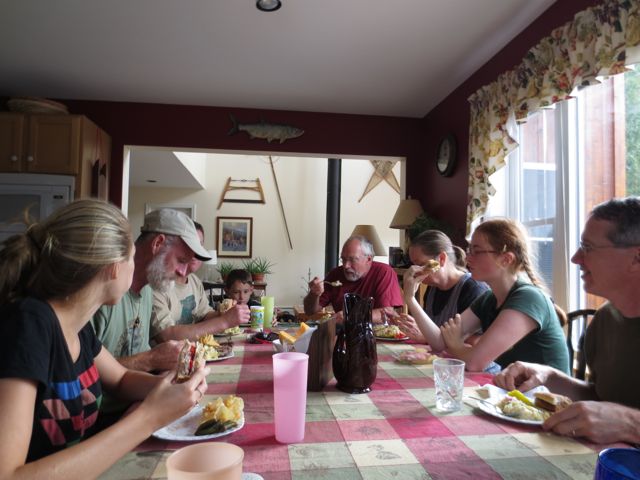
For years and years there were always at least six around our table, my husband and I and our four children. One by one they grew up and left home until now it is usually only my husband and I. Cooking and shopping for two presents its own challenge. I enjoy cooking but I don’t want to end up with a freezer full of leftovers. Nor do I want a refrigerator full of food that is going bad.
Hard to adjust to only two around the table, when you are used to six or more.
There are certain cautions I must take to avoid waste. Cooking the way I used to cook would provide us with three identical meals! This isn’t necessarily a bad thing but we want to keep the excess and the boredom at bay!
I just can’t cook the way I used to or there would be too many leftovers!
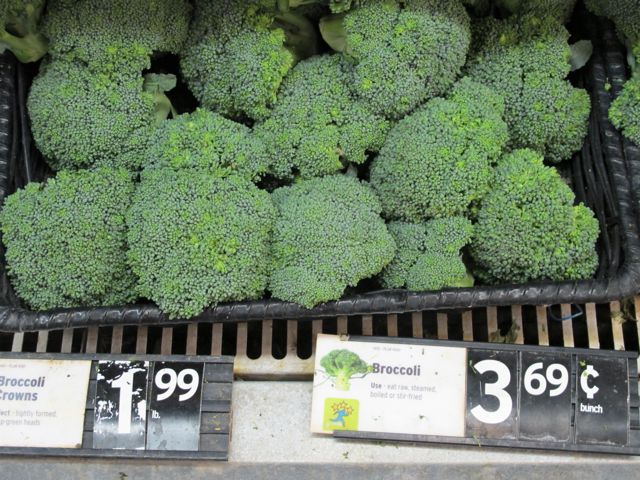
The fresh meat, seafood, deli, produce and bakery departments are the perfect places to buy the exact amount you need without a lot more. Often food sold by the pound is packaged in larger containers than you need. At our small grocery store it is possible to divide a large container. This way you can purchase just what you need. For example grapes are packaged in big bags but it is possible to take out just what you want and place it in a smaller bag and the store is perfectly fine with that.
I like to shop where I can purchase the amount I want.
Many store sell eggs in cartons of six, if not ask the store manager if they can cut a container in half for you. Even better, find a neighbor that raises their own chickens, I’m sure they would be happy to sell you just six eggs.
If your store has a bulk foods section you can usually purchase small quantities. If you can’t eat a whole box of cereal for example, just purchase the amount you want from the bulk bins.
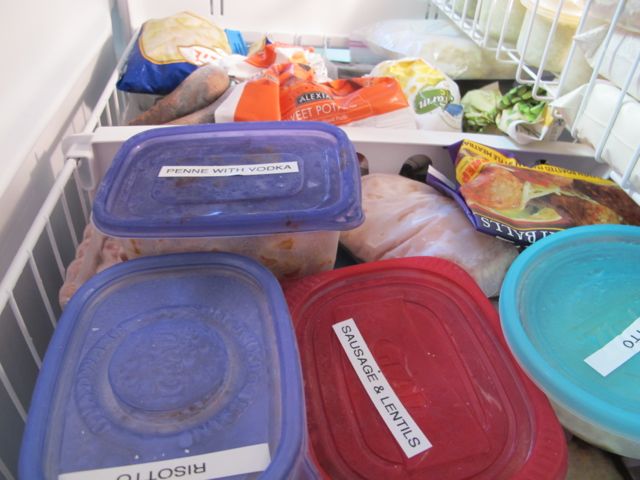
Invest in some storage containers to keep your leftovers fresh. If you are like me you will probably be freezing some of your leftovers, make sure the containers you use are suitable for the freezer so your food won’t get freezer burn.Be sure to label your containers so you know what is in your freezer!
Labeled containers of leftovers in the freezer.
I miss the days of a full table at every dinner. We still have weekends where we have friends and family visiting and enjoy a full table. During the rest of the time I enjoy my husband’s company and try to plan our meals so that there is variety and we’re not eating the same thing every night!
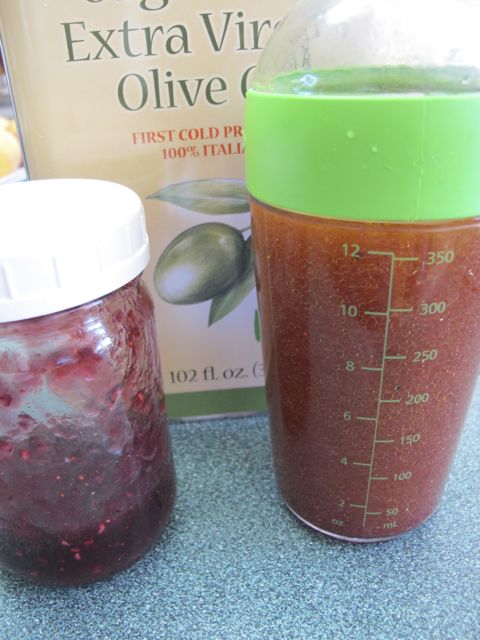
I often enjoy a salad with just a sprinkle of oil and vinegar. Sometimes I want a little more but don’t want to spend a lot of money for a store bought dressing. There is no need to spend money on bottled dressings, which are loaded with calories, preservatives and artificial flavorings. Instead mix up your own Raspberry Jam Vinaigrette dressing with ingredients on hand in your pantry.
Raspberry Jam Vinaigrette
Ingredients:
3 Tbsp seedless raspberry jam
½ cup red wine vinegar or cider vinegar
¼ tsp salt
¼ tsp black pepper
1 cup olive oil
Directions:
Put the raspberry jam in a 2 cup glass measuring cup and microwave, uncovered, on high until the jam just melts, about 15 seconds. You could also melt the jam over low heat on your stove. To the container add the vinegar, salt and pepper. Whisk until combined. Continue whisking and slowly add the oil, whisking until well blended. Serve at once or cover and refrigerate.
Next time your looking for a delicious homemade dressing look no further than your pantry. If you don’t have raspberry jam on hand try a different variation such as a blueberry jam vinaigrette. You’ll be pleased with the taste. Plus you won’t be consuming harmful preservatives and artificial flavorings.
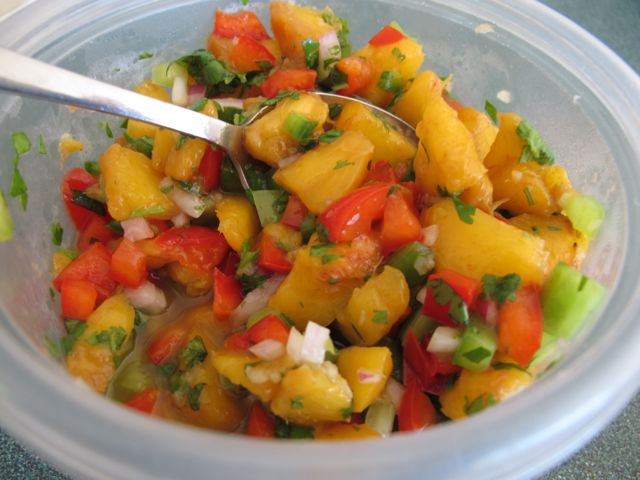
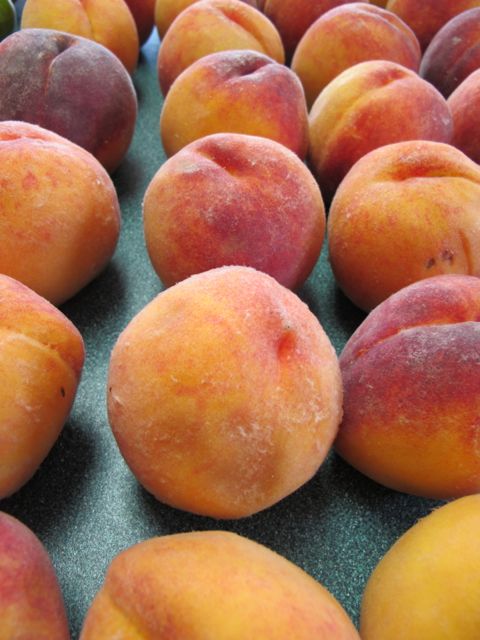
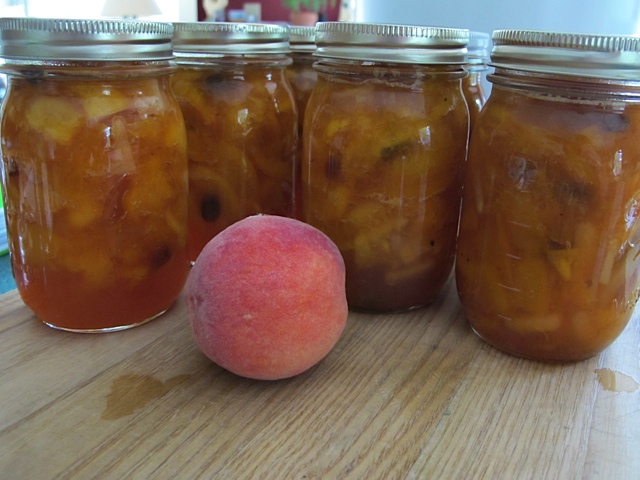
Remember all those peaches on my counter? We had a few left over and I decided to make some Sweet Pepper and Peach Salsa. Not only was it delicious with some grilled chicken we had for dinner, but it was wonderful in a wrap with the leftover grilled chicken the next day! This recipe can also be made with nectarines and would be delicious with pork as well.
Fresh Sweet Pepper and Peach Salsa
Ingredients:
4 cups chopped peeled peaches (about 4)
½ small sweet red pepper, chopped
½ small green pepper, chopped
¼ cup finely chopped red onion
¼ cup finely chopped cilantro
1 Tbsp chopped jalapeño
1 clove garlic, crushed
1Tbsp lime juice
1 Tbsp rice vinegar
1 tpp liquid honey
Directions:
Combine the peaches, sweet peppers, onion, cilantro, jalapeño pepper and garlic in a medium bowl. Stir in lime juice, vinegar and honey. Cover and refrigerate for 3o minutes for the flavors to develop. Makes about 3 ½ cups.
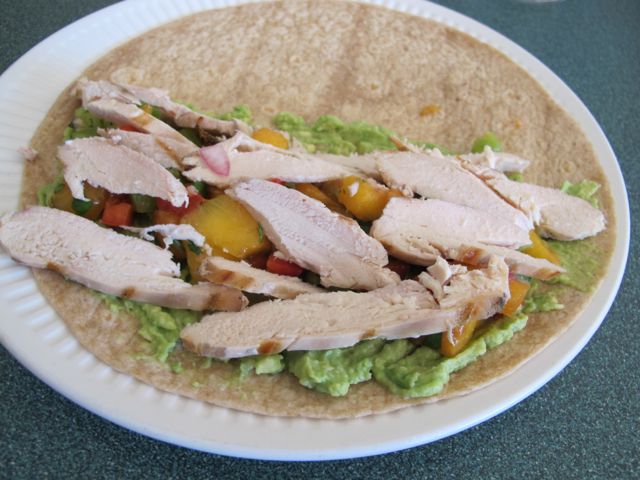
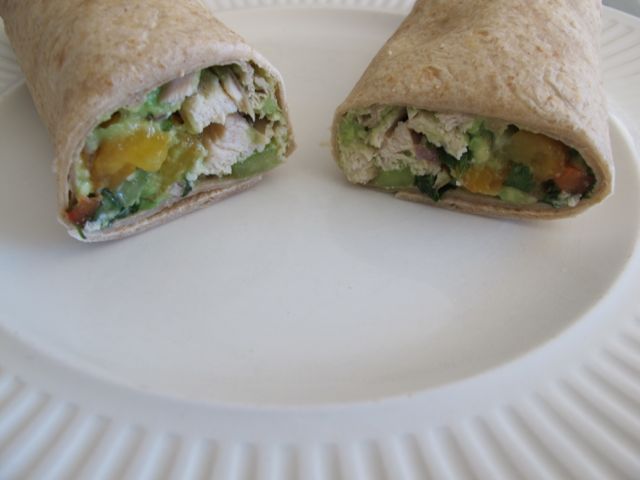
You can enjoy the peach salsa as is or use it in a wrap. We found it was delicious with grilled chicken in a wrap.
Once the salsa is made layer some salsa and grilled chicken on a wrap, we also added a little avocado to hold the wrap together.
Have you ever had an heirloom tomato that you really enjoyed? Have you ever tried to save the seeds? Tomato seeds are one of the easiest seeds to save other than beans! Most tomato plants will not cross with another tomato due to their retracted styles. (Remember those plant parts from Biology?)
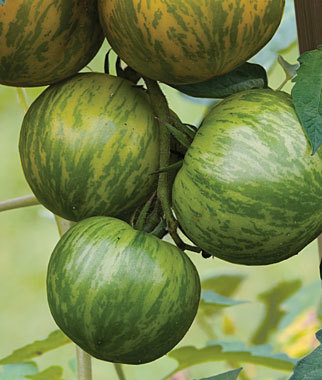
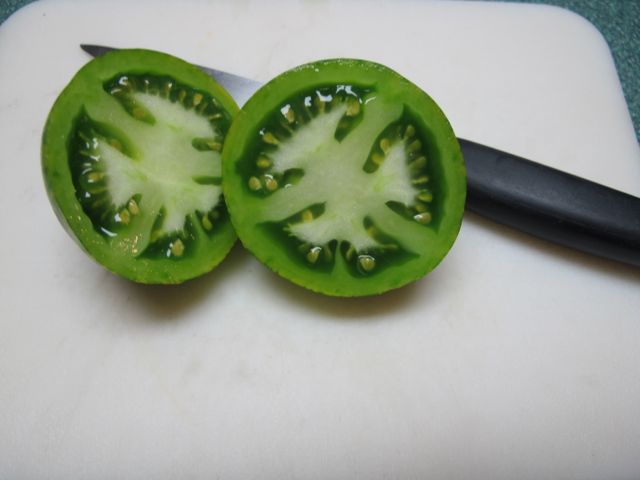
This year a friend of mine gave me some tomato seedlings. One of the seedlings was called a Green Zebra. This variety is actually the result of 4 heirlooms being bred together. It has a wonderful flavor and you actually pick the tomato when it is green! How do you tell when a green tomato is ripe? You can tell by feel or when the yellow stripes on the tomato start to blush pink from the bottom up.
Green Zebra Tomato
I really enjoyed this tomato and decided to sacrifice a few of the tomatoes and save the seeds so I could grow them in my garden again next year.
The first step in saving tomato seeds is to cut the tomato in half.
Cut the tomato in half.
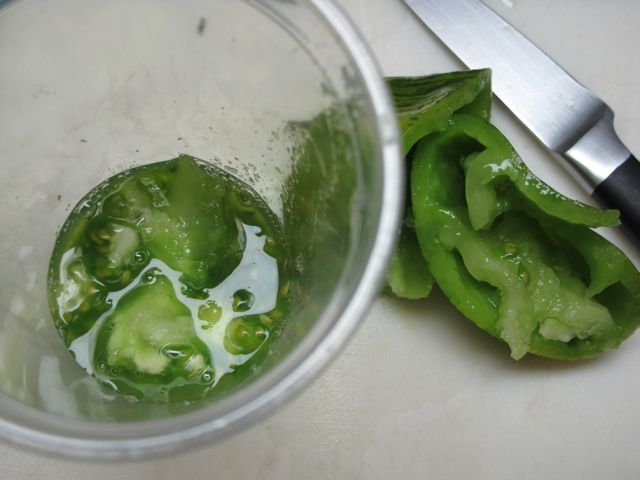
Squeeze the tomato into a container, I used a plastic cup.
Squeeze the tomato into a cup.
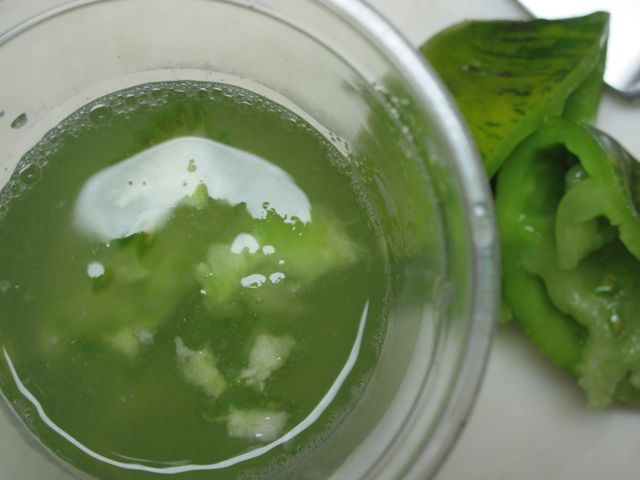
To aid in the seed separation I added about a cup of water to the tomato mixture.
Add about 1 cup of water to the cup.
Each tomato seed is encased in a gelatinous sack. The gel in these sacks contains chemicals that inhibit seed germination. This is why the seeds don’t sprout while in the tomato! In nature the tomatoes fall off the plant and begin to rot. Eventually the fruits totally rot away leaving the seeds on the surface ready to sprout when the conditions are right.
In my cup of tomato seeds and water a layer of fungus will grow across the surface. Once the mold is growing across the surface I pour the seeds, liquid and fungus into a strainer. The seeds are washed clean by rubbing the mixture against the strainer under running water. Once the seeds are washed clean place them in a coffee filter. Tomato seeds tend to stick to paper towels, the coffee filters work better at wicking away the moisture and allowing the seeds to completely dry.
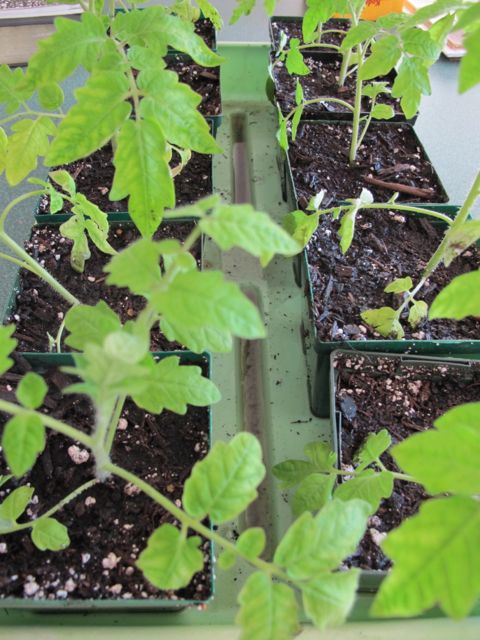
Once the seeds are dry store them in a container in a cool, dark place. In the spring you will have your own tomato seeds to grow!
Are you trying to cut back on expenses? Tired of all the bills you pay each month. One step you can take is to cancel your cable TV. We did this years ago and have never regretted the decision. We still have a TV and DVD player and watch movies and even subscribe to Netflix. So we have plenty of entertainment when we want it.
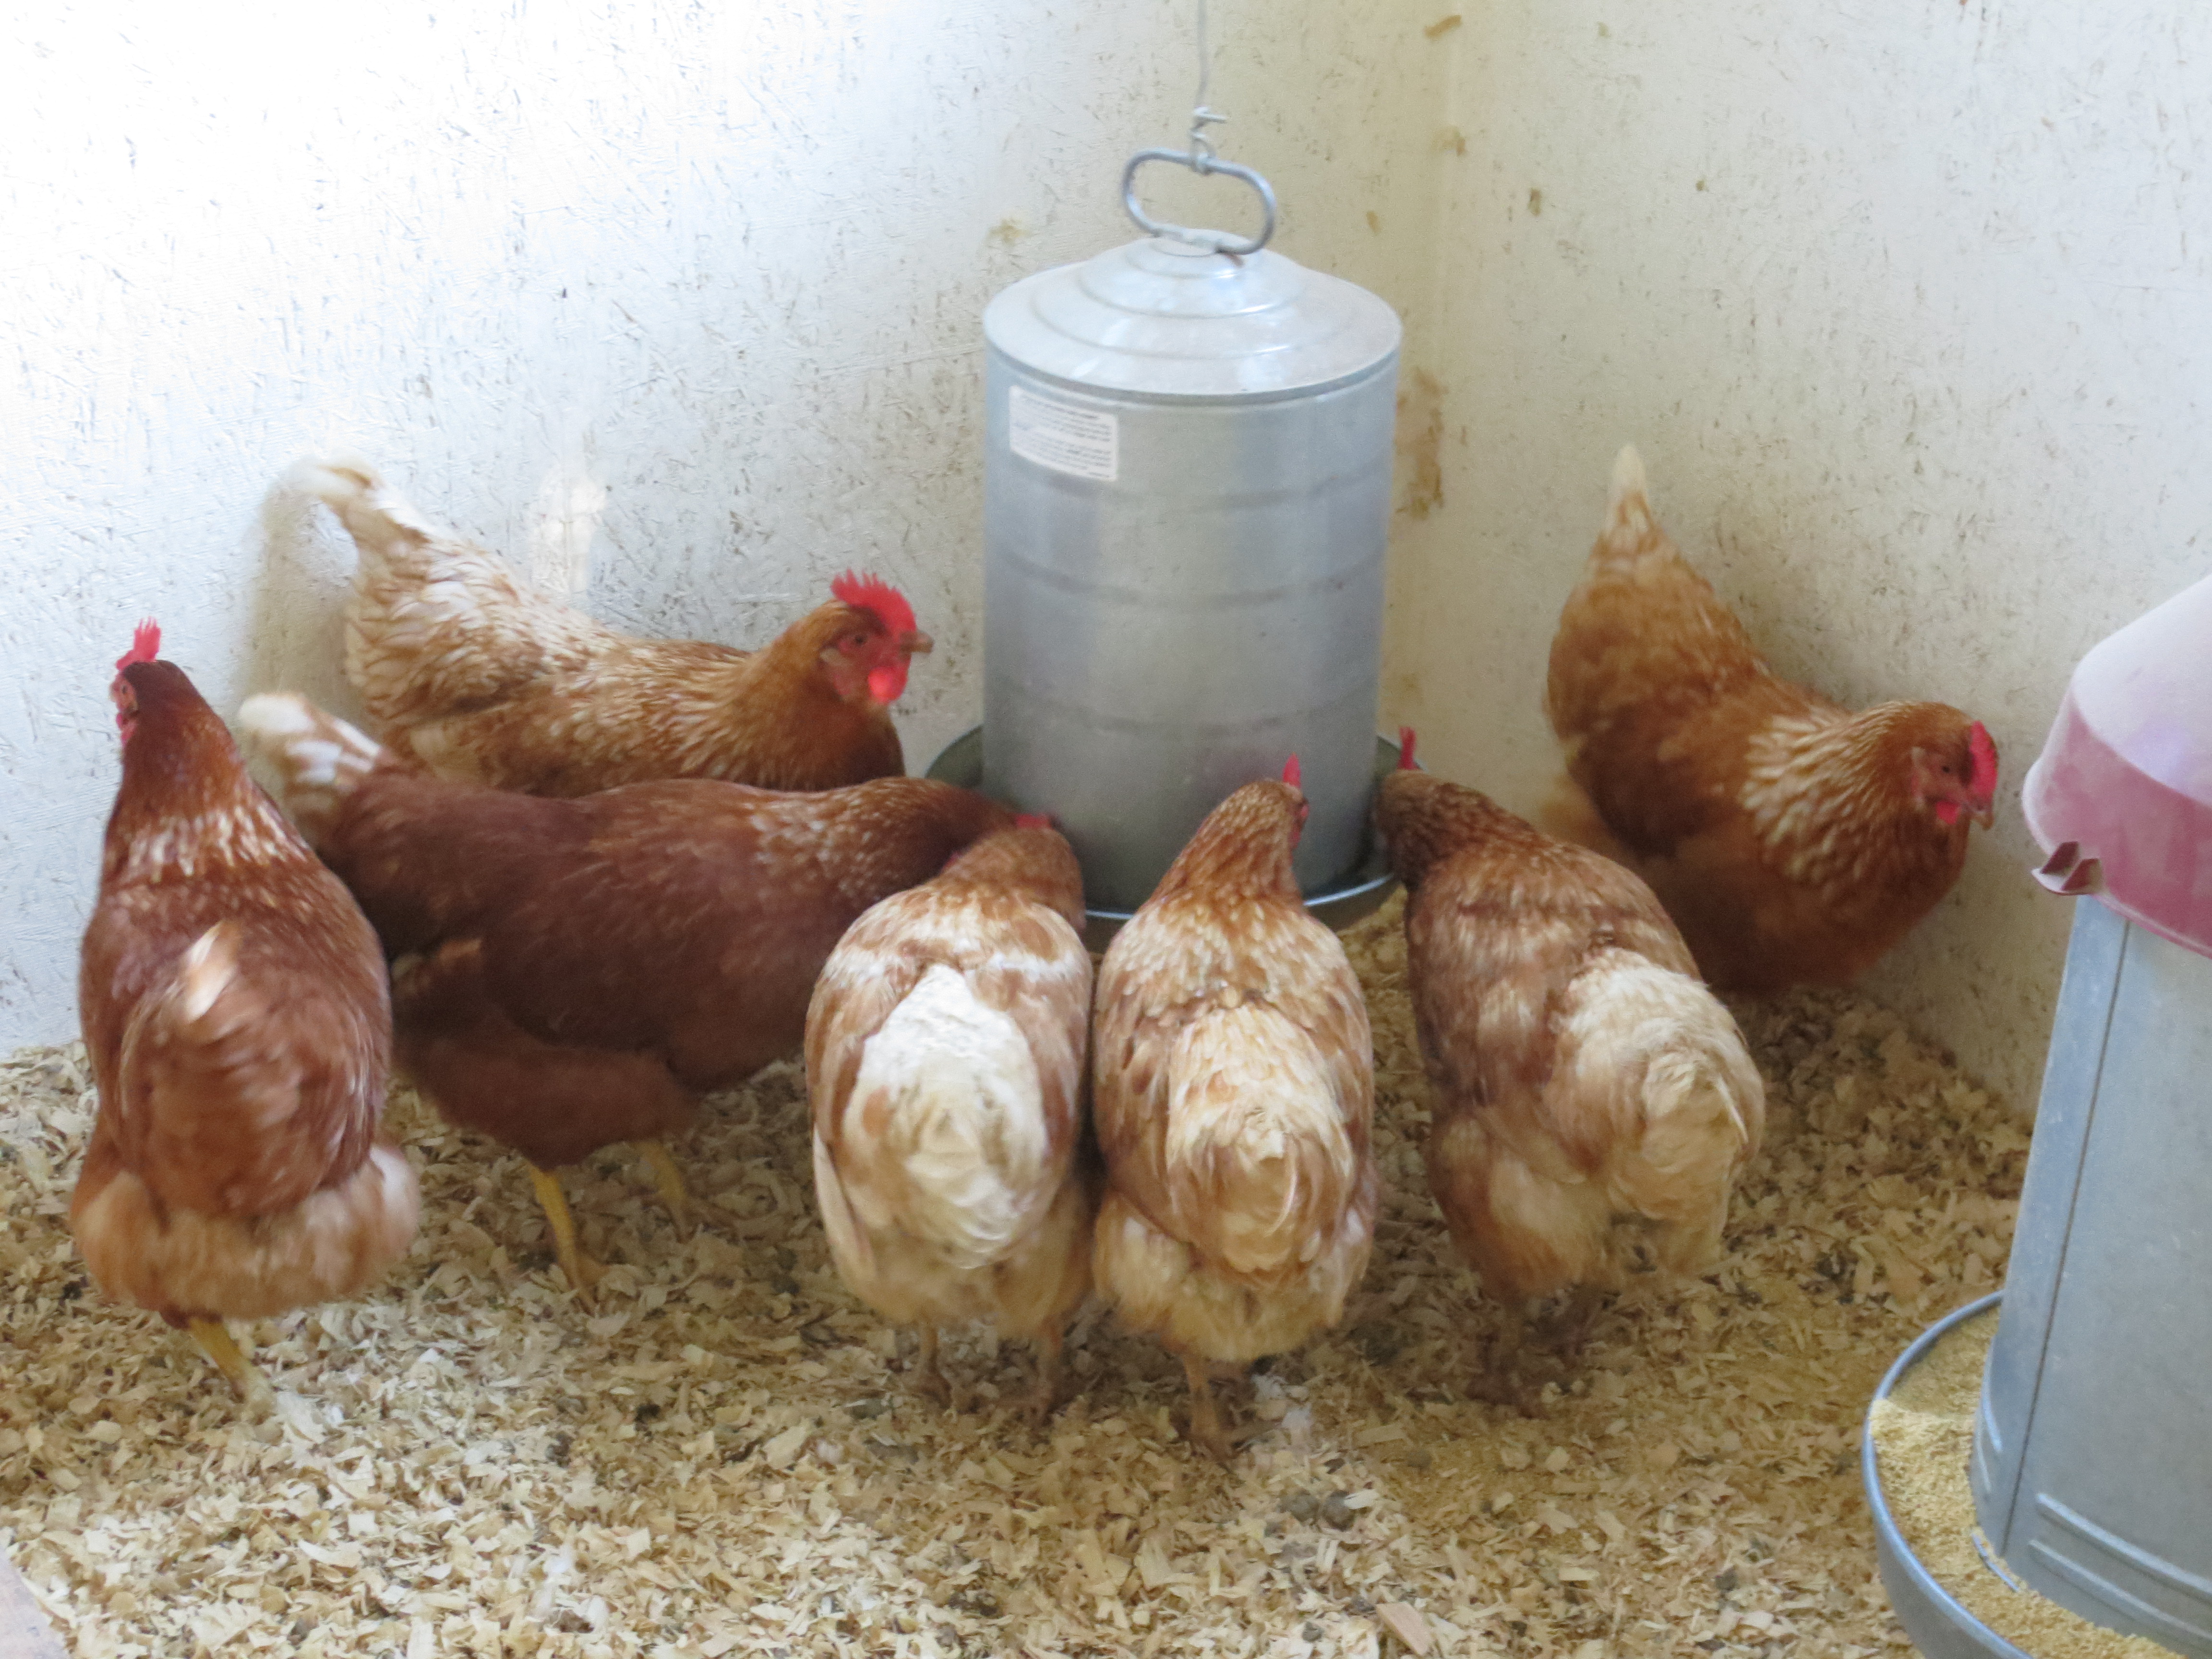
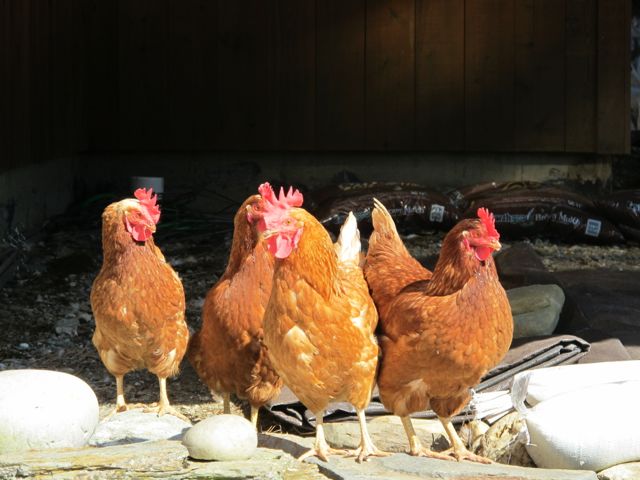
Another way we enjoy entertainment is by watching our chickens!
Chickens can be very entertaining!
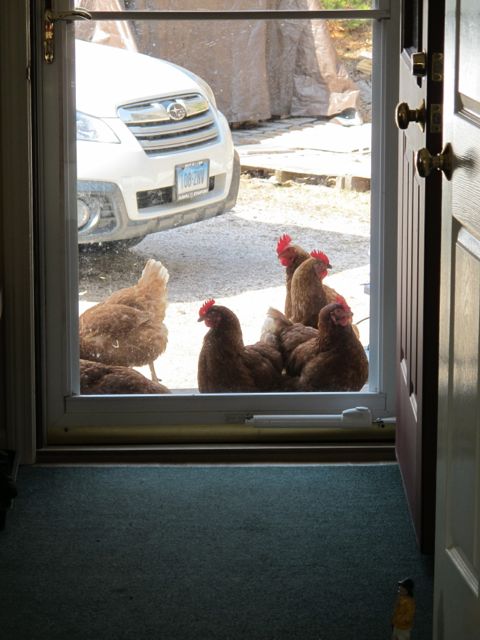
Chickens provide hours of entertainment. The minute we drive in the driveway they all come running; curious to see if we have any treats for them. During the fall we allow the chickens to free range, this means they can pretty much go wherever they want to. We often find them peering into our back door as if to say, “can we come in?”
Can we come in?
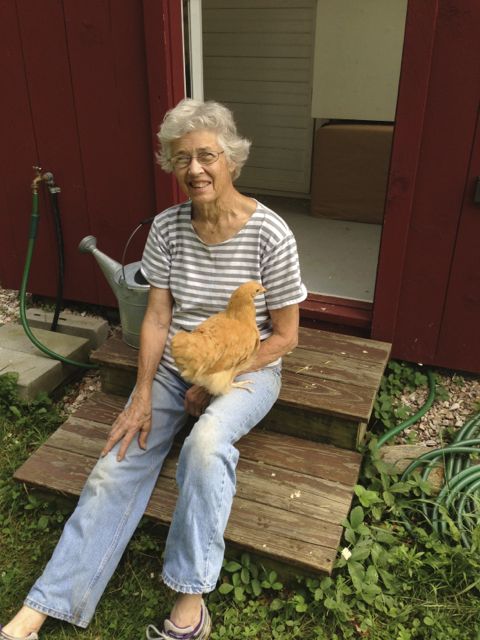
Our Buff Orpingtons are so friendly; I think they would rather spend time with us then with the rest of the flock. When my mother was visiting this summer, one of the buffs squeezed through the fence and began to follow my mother around. Eventually my mom just sat down on the coop steps and held the little Buff, that’s all she wanted.
My mom and our friendly Buff Orpington!
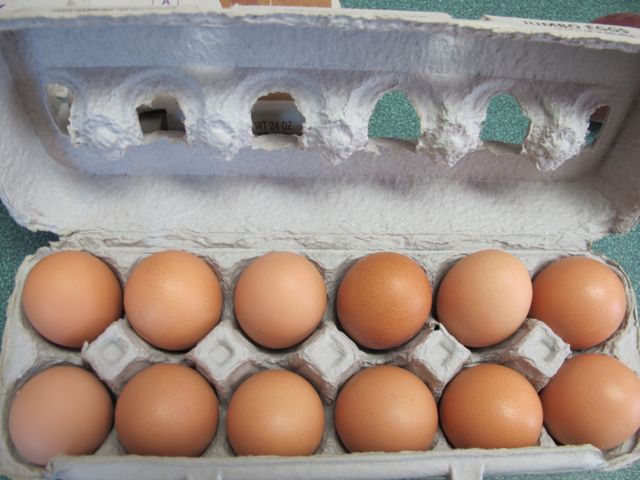
If you want some real entertainment give one of the chickens a worm, they will run around trying to quickly swallow the worm before any of the other birds can catch her. Not only are chickens entertaining but they also supply us with beautiful fresh eggs every day!
Who doesn’t love fresh eggs?
So if you’re looking for ways to cut your budget consider cutting the cable and getting a few chickens instead. You’ll be amazed at just how entertaining they can be!
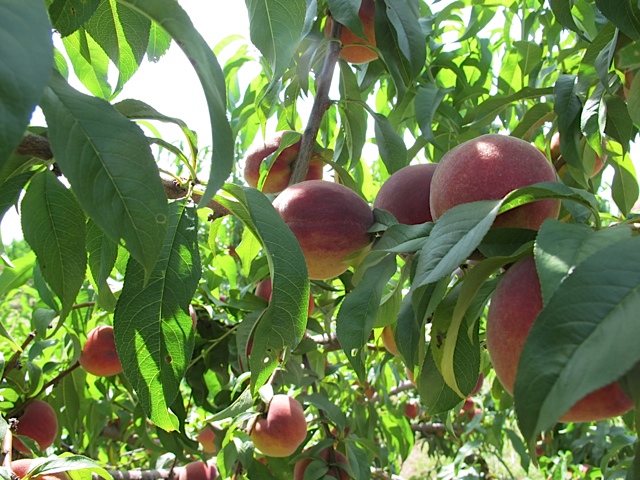
Peaches do not seem to grow well in Vermont; at least I have not found any place nearby to pick your own peaches. However where I grew up in Connecticut there is a wonderful orchard, Bishops Orchards, where you can go and pick the most wonderful peaches. Their peaches are ripe from mid August until mid September. I usually plan a trip to my old hometown to visit my mother and pick peaches. I love canning fresh peaches, they look so pretty in the pantry!
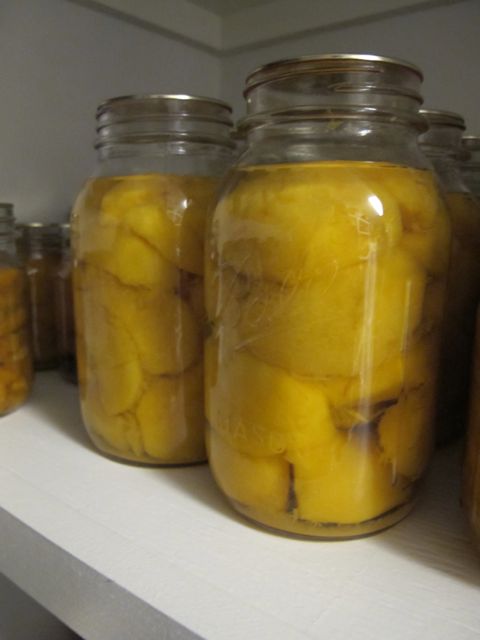
Canned peaches are so pretty to look at out on your pantry shelf and they taste wonderful in the middle of winter when it is cold and snowy outside.
Peaches in the Pantry.
Usually I just can the peaches in light syrup to be enjoyed at a later date. Often I will also can some peach pie filling.
Canning Fresh Peaches:
Peaches are very easy to can and can be processed in your water bath canner. You will need:
Ingredients:
2-3 pounds of peaches per quart
Sugar
Water
Directions:
Have your jars, lids and canner prepared and ready to go.
First make your light syrup by combining 2 ¼ cups sugar with 5 ¼ cups of water. You can also use honey by combining 1 cup of sugar, 1 cup of honey and 4 cups of of water to yield 5 cups of syrup. I mix this ahead of time and have it warming on the stove while I prepare the peaches.
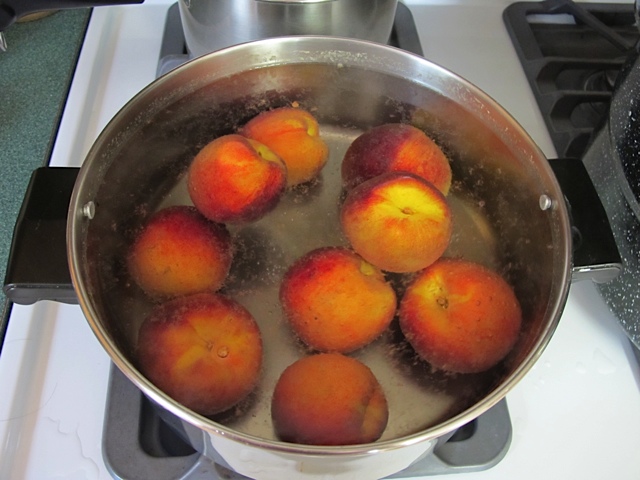
Prepare your peaches by washing them and dipping them in boiling water for 30-60 seconds.
Immediately dip the peaches in cold water. Slip off the peel. Cut in half; pit and scrape the cavity to remove any red fibers. (The fibers often turn brown during storage) You then want to treat the peaches to prevent darkening.
Drain the peaches and pack them into your hot jars, packing cavity side down, layers overlapping. Ladle hot syrup over the peaches. Leave ½ inch of headspace. Remove any air bubbles. Adjust your two-piece caps and process pints for 25 minutes and quarts for 30 minutes in a boiling water canner. Store in a cool dark place.
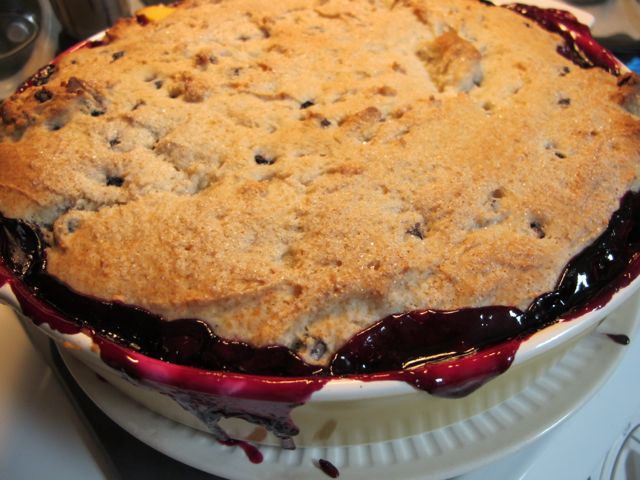
You may have seen the picture of all the peaches on my counter on my Heading Into Fall post. The peaches have been delicious and with the addition of the last of our blueberries I was able to make a very easy Peach Blueberry Cobbler. I found the original recipe on Mommy’s Kitchen. I had never thought about using a Muffin Mix as the topping. I used a King Arthur Flour Muffin Mix I had on hand and the results were yummy!
1 box of King Arthur Blueberry Muffin Mix
1 cup milk
1 tsp sugar
Directions:
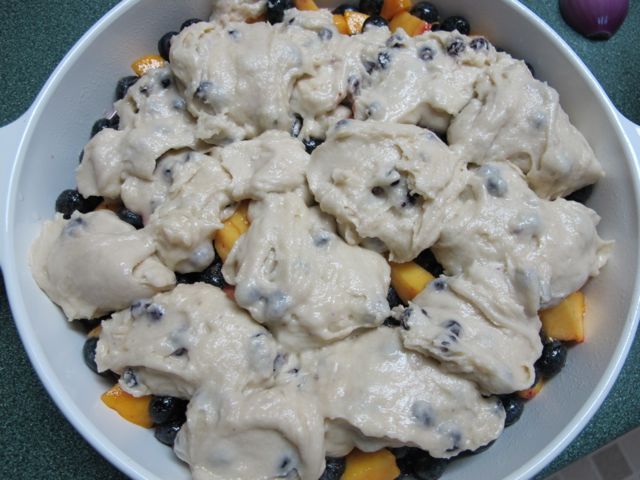
Preheat oven to 375 degrees. In a large bowl combine the blueberries, peaches, cornstarch, lemon juice and zest and the vanilla extract. Toss the mixture to coat.
Lightly grease your baking dish. I used a 2-quart but next time will use something a little larger! It bubbled over and made a mess of the oven! Add the blueberry-peach mixture to the baking dish.
In a separate bowl combine the muffin mix and milk.
Spread over the fruit mixture spreading to the edge. Sprinkle a teaspoon of sugar over the batter before baking.
Bake the cobbler for 30-35 minutes or until a toothpick inserted comes our clean and the cobbler is bubbling around the edges.
This wonderful dessert is delicious with a scoop of vanilla ice cream or just plain!
The end of the garden season is always a busy time of year. With children heading back to school and vegetables to harvest from the garden the days are full. While I am busy harvesting it is also the time of year to plant garlic.
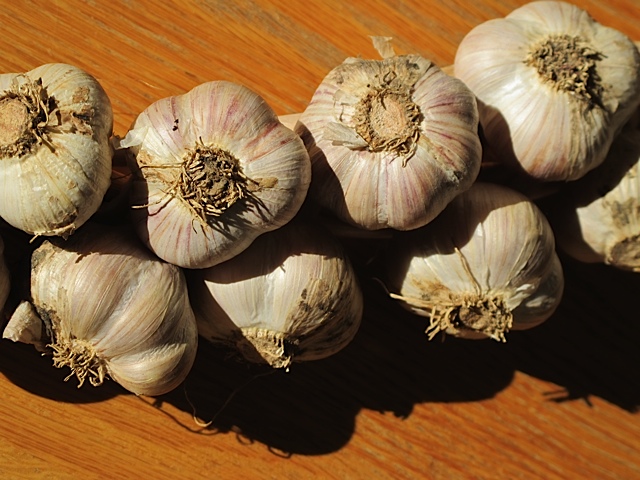
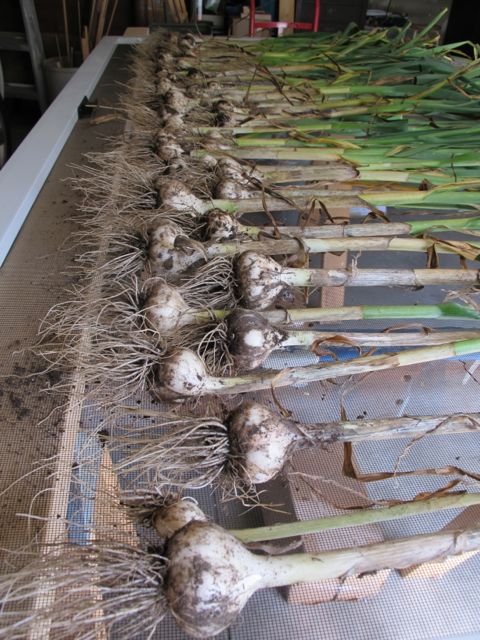
Garlic bulbs braided together.
I find that garlic is one of the more satisfying plants to grow in the garden. Once the garlic bulbs are planted there is not much more you have to do. Planting the garlic is very easy. Prepare your garden bed. Break the garlic bulbs into individual cloves.
Break the garlic into individual cloves. (Photo credit: Wikipedia)
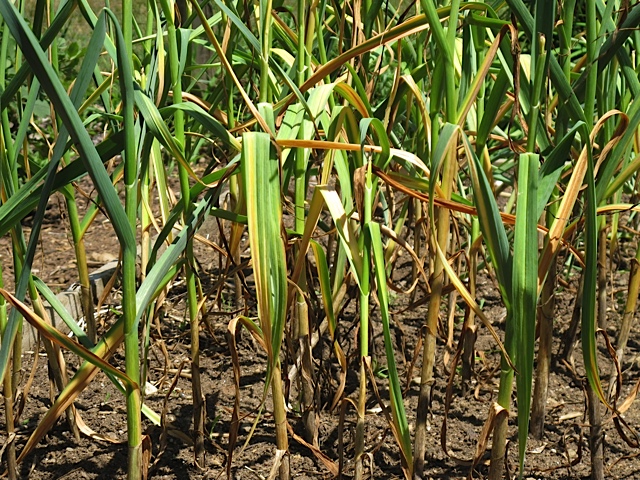
I plant the hard necked garlic which does very well for me.
Garlic
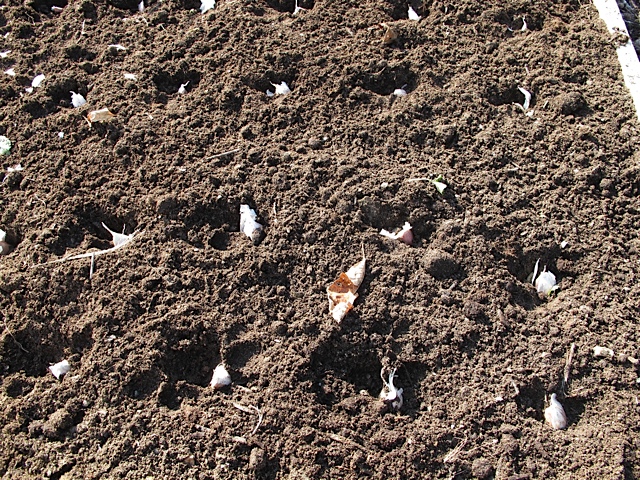
Plant each clove about 4 inches into the soil, about 5-6 inches apart. Cover lightly with soil. They should be far enough into the soil so the frost doesn’t push them up.
Garlic cloves are pushed into the soil.
Once the garlic is planted mulch the garden bed with straw. Nothing else to do but wait until next summer when it’s time to harvest! In the meantime I’ll be enjoying the garlic I harvested this year!