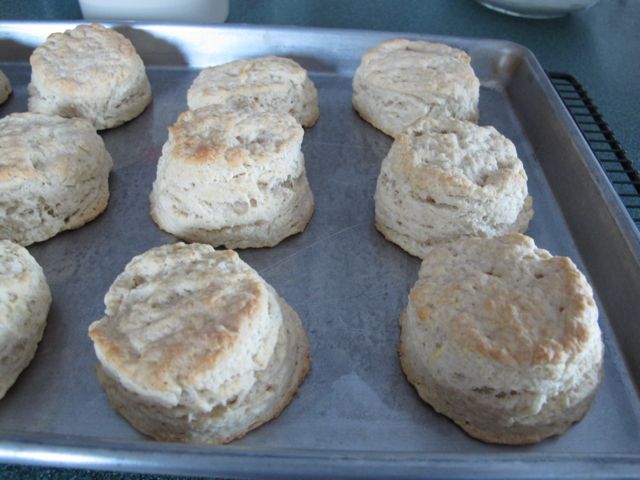
I love biscuits, especially flaky homemade biscuits. We’ve been challenging ourselves to eat from the abundance we have on hand which includes these amazing sourdough biscuits. I have a sourdough starter going all the time. It doesn’t take much time to maintain and I love sourdough biscuits.
This recipe makes about a dozen and I will usually keep four out for my husband and I and freeze the rest. That way I always have them on hand. This week I had to make a new batch. So despite the fact that we are eating from the freezer I am actually going to be putting a few biscuits back in the freezer!
Amazing Sourdough Biscuits
2 cups flour
1 tsp baking powder
1 tsp salt
½ tsp baking soda
½ cup cold butter
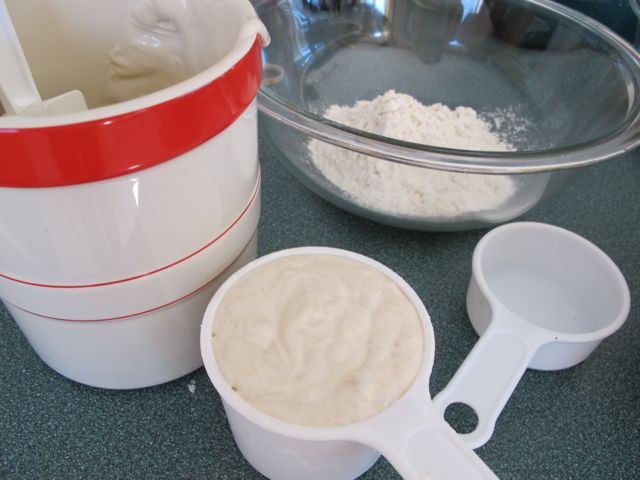
1 cup Sourdough Starter
½ cup buttermilk
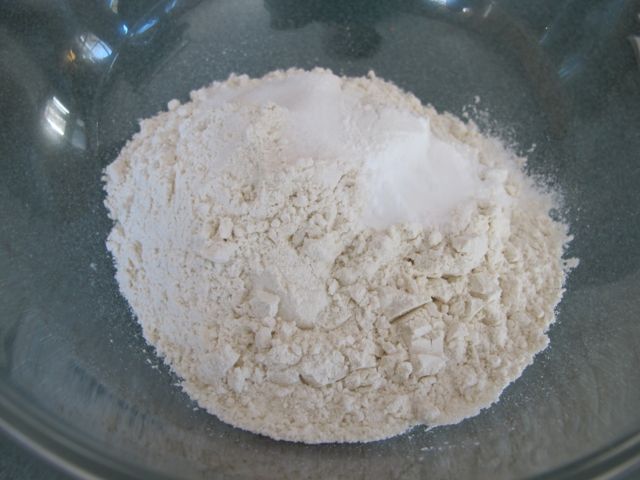
In a large bowl, combine the flour, baking powder, salt and baking soda.
Cut in butter until the mixture resembles coarse crumbs. Combine Sourdough Starter and buttermilk, str into crumb mixture with a fork until the dough forms a ball.
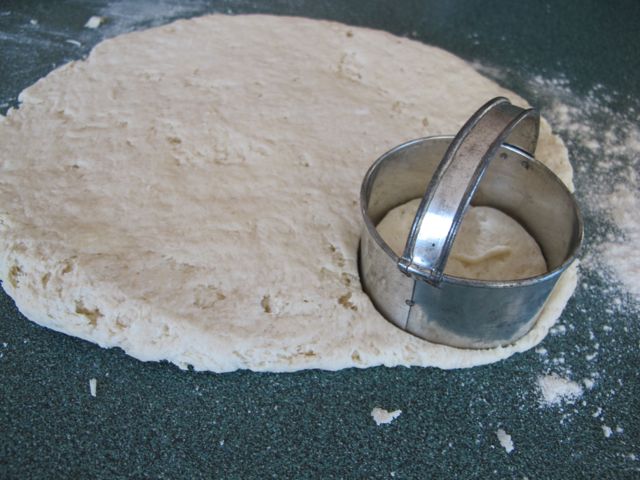
Turn the dough onto a floured surface and knead 10-12 times. Roll to ½ inch thickness. Cut with a floured 2 ½ inch biscuit cutter.
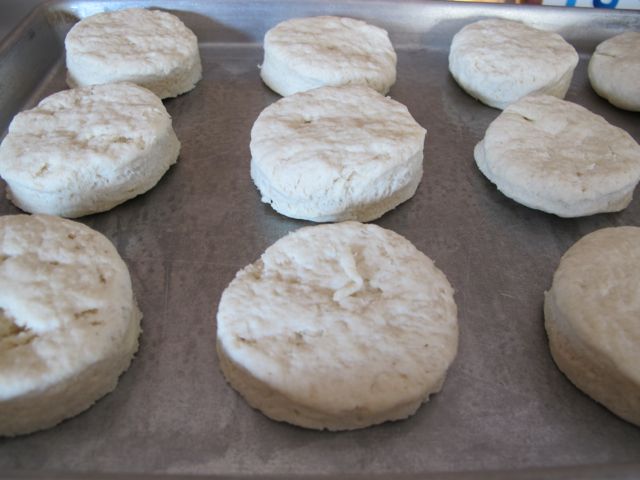
Place 2 inches apart on a greased baking sheet.
Bake at 425 for 12-15 minutes, or until golden brown.
If desired you can brush them with melted butter at this point. Remove from the baking pan to a wire rack to cool.
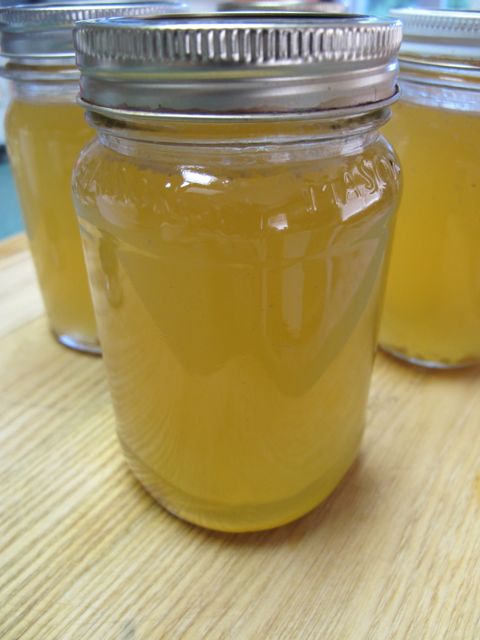
Nothing is better on a hot biscuit than homemade jam.
If you are living a prudent life recycling is one of the first steps in going green! Why is recycling important, you may ask. Recycling is reusing materials in original or changed forms rather than discarding them as wastes. In reusing material or changing material into new materials rather than throwing it away, the environment as well as we benefit from it.
Recycling will often save you money by decreasing the amount of material going into the landfill. In our town we pay for our trash pick up but the recycling is free. By recycling we lessen the amount of trash, which in turn slows the growth of the landfill and preserves the land.
Recycling will save you money!
Recycling conserves the world’s resources by using recycled materials instead of trees, metal ores, minerals, oil and other raw materials harvested from the earth.
Recycling saves energy by reducing the need to process new material, which usually requires more energy than the recycling process. Recycling aluminum saves 92% of the energy required to make the material from scratch.
Recycling Saves Energy.
Recycling prevents pollution. Decomposing waste often release noxious gases and chemicals as it decomposes at landfill sites. These gases and chemicals create air pollution. Air pollution is exactly what it sounds like, polluted air. When the chemicals leach into the groundwater this creates water pollution and our water is contaminated.
Recycling creates jobs and saves money. Recycling in the U.S. is a $236 billion a year industry. More than 56,000 recycling and reuse enterprises employ 1.1 million workers nationwide. (National Recycling Coalition)
If we created more recycling opportunities we would create more jobs and no one would have to loose their jobs either.
By simply following the recycle mantra of “reduce, reuse and recycle,” you can help forward the fight against environmental destruction.
You may wonder what patience has to do with being frugal. Actually it has a lot to do with it. We live in a world where it is possible to have things almost immediately even if you don’t have the cash to pay for them! Just put it on a credit card.
Just use your credit card!
Patience is being willing to wait and save your money once you have decided you want something. Have some patience before you make your next purchase and compare prices before making your purchase. That way you will know you are getting the best deal.
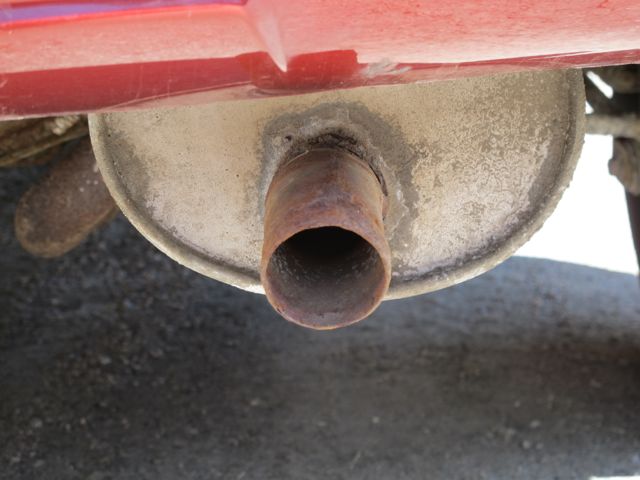
Recently we had an issue with the muffler on our family car.
Noisy muffler
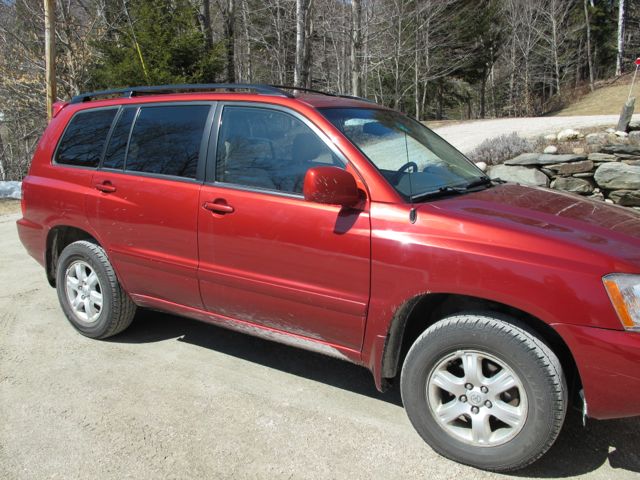
The car is over ten years old with high mileage but it’s been a good car. We’ve been thinking about replacing it but hadn’t done anything yet.
We dropped the car off at the dealership to have the muffler fixed. Imagine our surprise when they called and told us it would cost over $4,000 to have the car repaired. According to them we not only needed an entire new muffler system but the catalytic converter also needed to be replaced. They also said all four struts were shot and should be replaced. If we weren’t willing to do the work we should scrap the car.
Scrap our car?
We were shocked; we definitely weren’t about to spend over four thousand dollars to repair a car that had close to 200 thousand miles on it. We told them we needed a few days to make up our mind. Almost immediately the sales people started calling us, they’d be happy to loan us some money for the car, were we interested in purchasing a new or a used car?
We spent several days talking to other car dealers trying to decide what to do. Finally we just went and picked up the car and brought it to another mechanic. He looked at the car and said you have a dime size hole in you muffler, which could be fixed by welding in a new section of pipe. Struts look fine and the catalytic converter is fine. For $40.00 we had a new section of pipe welded on and the car is running fine. Now I realize the car will not last forever and eventually needs to be replaced.
Our fixed car
However we don’t need to run out today and purchase a new car. Had we listened to the dealership and their salespeople we would have gone right in, signed the paperwork, taken out a car loan and driven home in a brand new car. By being patient, getting a second opinion and deciding to just fix the car we have bought ourselves some time. We can now try to sell our car as is, and take some time to look around for another reliable second hand car.
Remember a patient consumer is the winner!
Be sure to check out my Celebrate Spring giveaway – High Mowing Seeds has donated a seed packet with ten different varieties of seeds! Enter here!
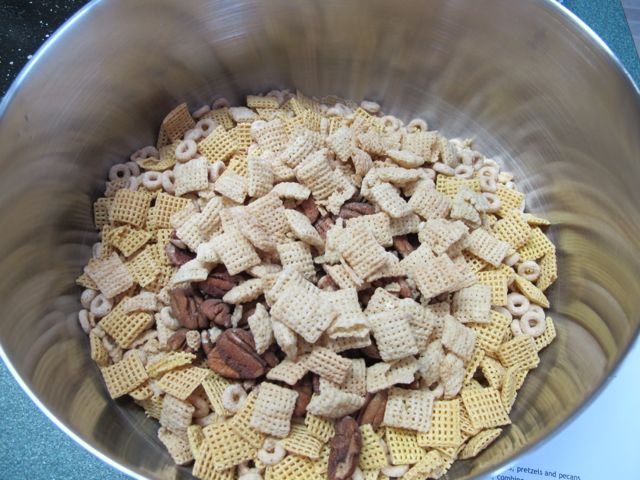
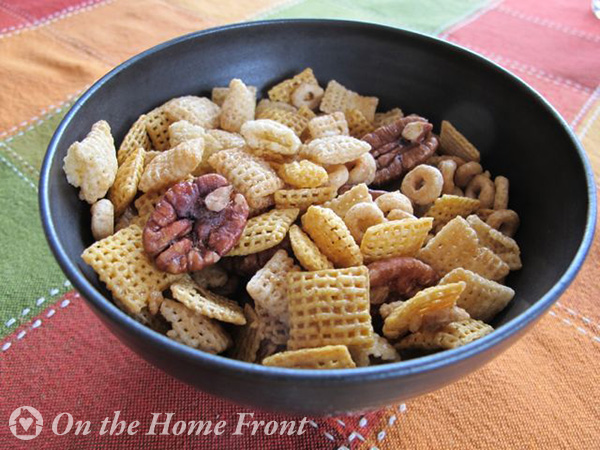
As you may know I am completing week three of our Spring Pantry Challenge. The freezer has a lot more room in it now that it did three weeks ago! Not only was I interested I using up food from the freezer but I was also using up food from our well-stocked pantry. I found this recipe online, made a few changes and was able to use up some cereal that had been sitting in our cupboard since our college age sons were last home!
I will share the original recipe and indicate the few changes I made. I wasn’t about to purchase any items so I made do with what we had on hand.
Maple Glazed Snack Mix
2 cups Corn Chex Cereal
2 cups Rice Chex Cereal
2 cups Honey Nut Cheerios (I used plain)
1 cup miniature pretzels (omitted used an extra cup of Rice Chex)
½ cup pecan halves, coarsely chopped
1/3 cup maple syrup
1 Tbsp butter
1 tsp vanilla extract
In a large bowl, combine the cereals, pretzels and pecans.
In a small microwaves safe dish, combine maple syrup and butter. Cover and microwaves on high for 45 seconds or until the butter is melted. Stir in vanilla.
Pour over the cereal mixture and stir to coat. Transfer the mixture to a 15x10x1 inch-baking pan coated with cooking spray. Bake at 250 degree for 45 minutes stirring every 15 minutes. Cool on a wire rack. Store in an airtight container.
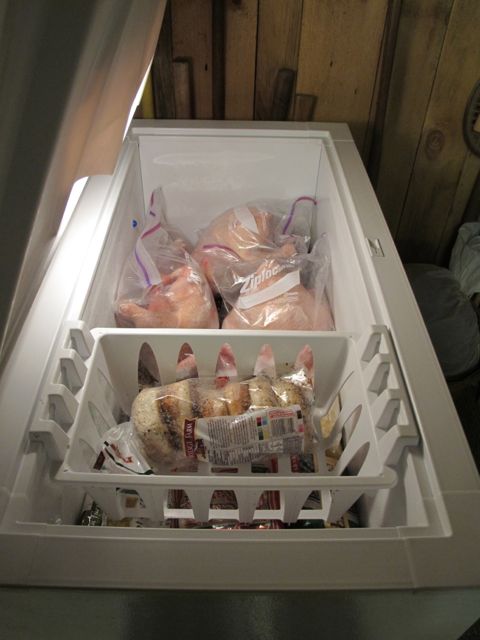
It always feels good to challenge yourself in one way or another. I am so glad to have challenged myself with this pantry challenge! We have used up nearly all of our frozen meals I had on hand and made a lot of room in our freezer.
There’s room in the freezer!
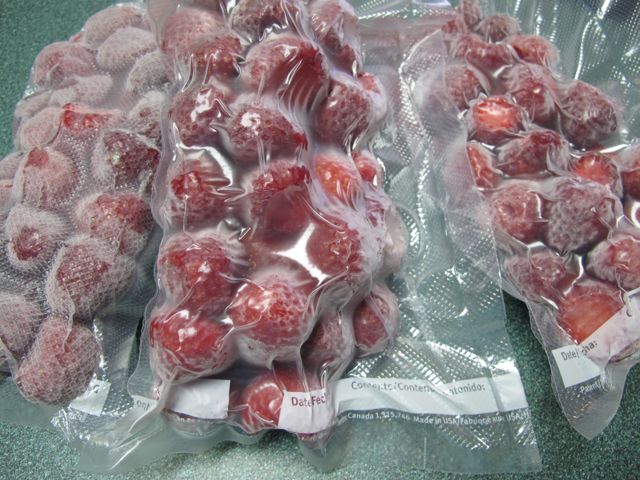
I can now look forward to the farm raised pork we will be putting in the freezer, and to the fruits and vegetables which will go in this summer.
Strawberries for the freezer
I took time to empty the freezer this week and do an update inventory so I know exactly what’s in there and where it is. I also enjoyed spending so little at the grocery store these last few weeks. When you have a well-stocked pantry and freezer you really only need to pick up fresh fruits and vegetables or dairy products at the store.
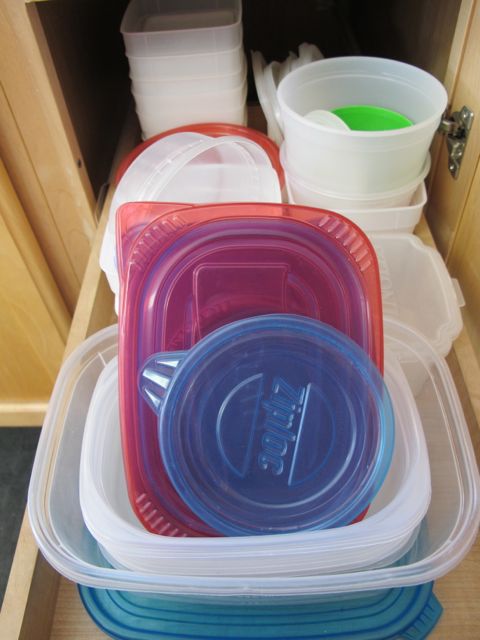
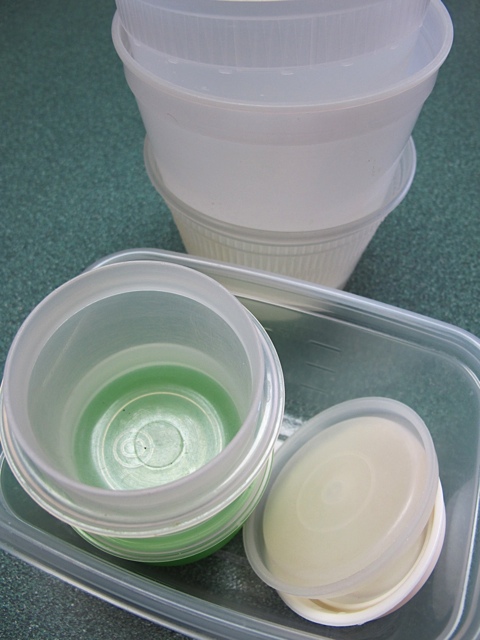
Sure is nice to look in the cupboard and see all the empty containers! I will continue to freeze meals and make a point of using the leftovers rather than letting them accumulate!
I love empty containers!
I will continue to challenge myself. I have a pressure canner, which I occasionally use. I’ve canned beans and chicken broth and beef broth.
Chicken broth for the pantry.
It would be nice to have some meals canned instead of taking up freezer space. Have you done this before?
How did you do with your pantry challenge? Any words of wisdom or lessons learned? Please let me know how your week went!
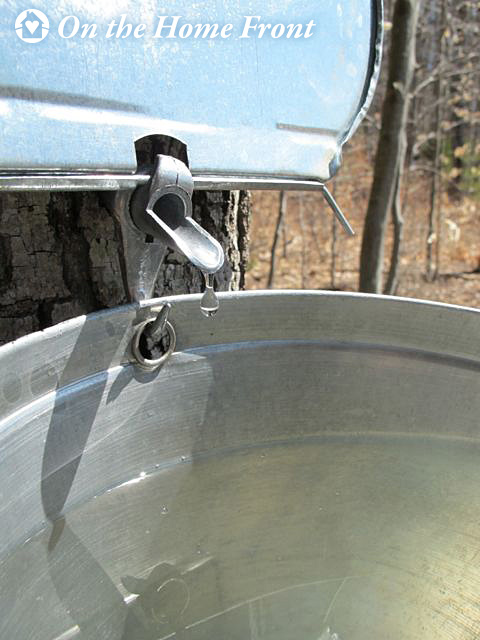
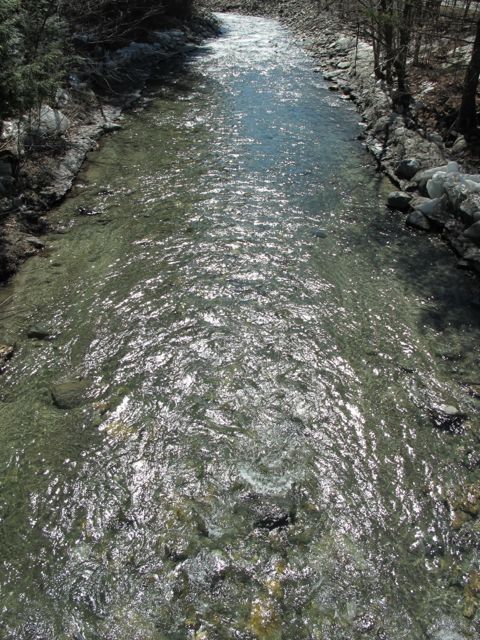
Spring is very slow in coming to Vermont, especially for those of us who live close to the mountains. It has been a good maple-sugaring season but the season is nearing the end.
It’s been a good sugaring season.
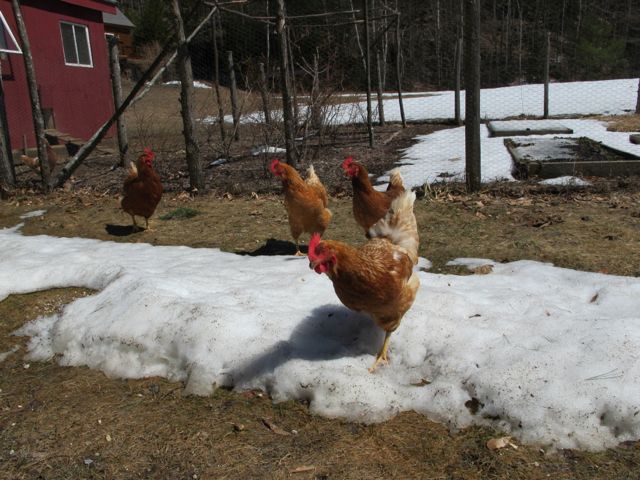
The chickens are enjoying their time out of the coop and finding ground that is snow free! Since we lost a chicken recently to a hawk they are much more cautious when they are free ranging.
The chickens are enjoying finding bare ground!
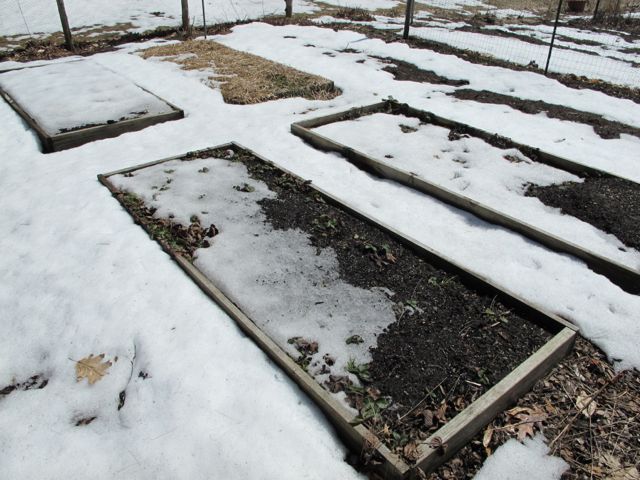
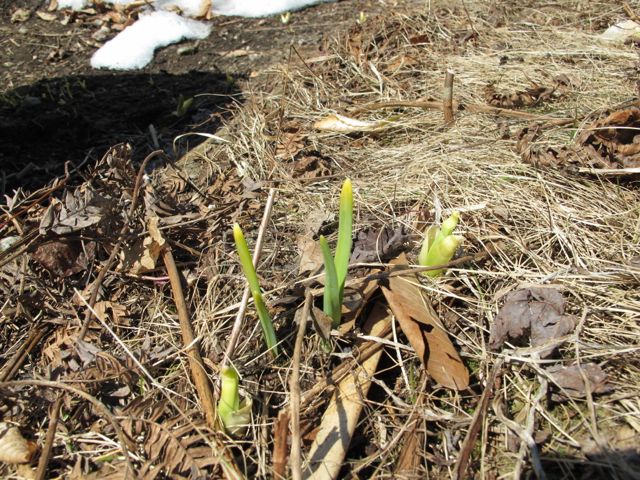
My raised beds are finally peaking through the snow.
Raised beds in the garden.
Even though there is snow in the garden the rhubarb is coming up!
Early daffodils.
There are even signs of the daffodils. It won’t be long before things start turning green on the home front!
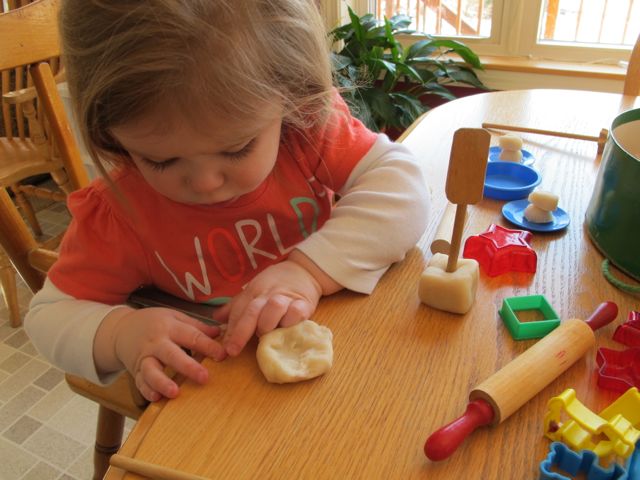
When our children were small I used this homemade play dough recipe all the time. It was easy and you could play with the end result and our children got a cooking lesson at the same time. It’s been a while since I’ve used my old recipe. My daughter and her two children are visiting us this week and I figured it was a perfect time to make it once again.
I also found a website with numerous play dough recipes. Playdoughrecipe.com has recipes using oatmeal and even non-cook recipes. I will have to check out their other recipes, but in the meantime I used my old standby, which I also found on the website.
Play Dough Recipe
Ingredients:
½ cup salt
1 cup water
2 Tbsp cream of tartat
1 cup flour
1 Tbsp of oil
Food coloring
Directions:
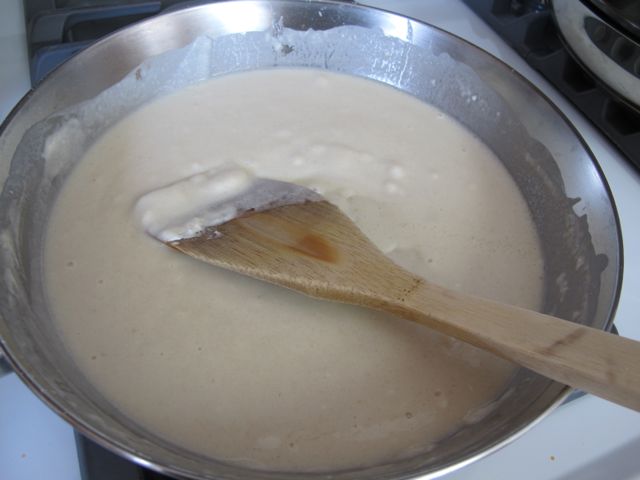
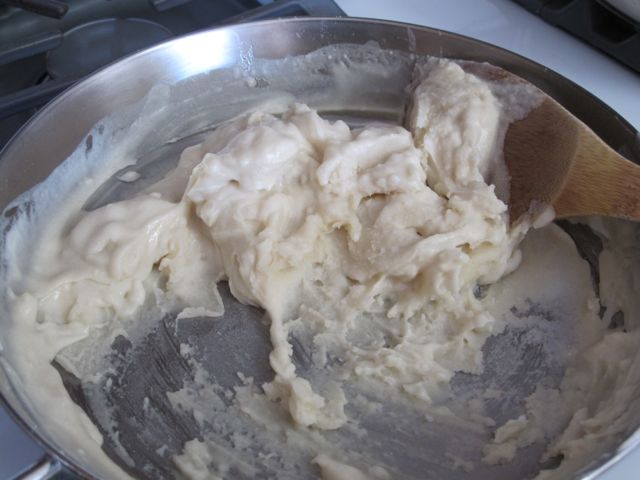
In a large frying pan mix the flour, salt, cream of tartar and the oil. Mix the food coloring with the water. I was out of food coloring so we just made white playdough. Add the water and food coloring to the other ingredients and mix well. Cook on medium heat for 4-5 minutes, stirring constantly. We decided to make our mixture white so we did not add any food coloring.
When the mixture becomes doughy remove the pan from the heat.
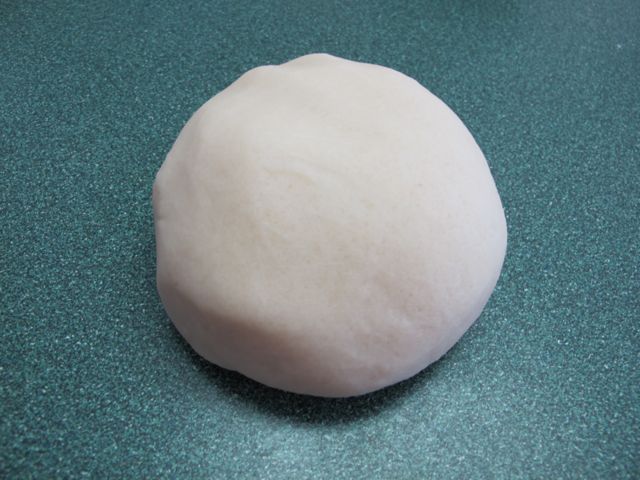
Take the mass of playdough and knead on the counter. Be careful as it is hot!
When it feels just right to you it is finished.
Have fun!
And when finished playing, store in an airtight container.
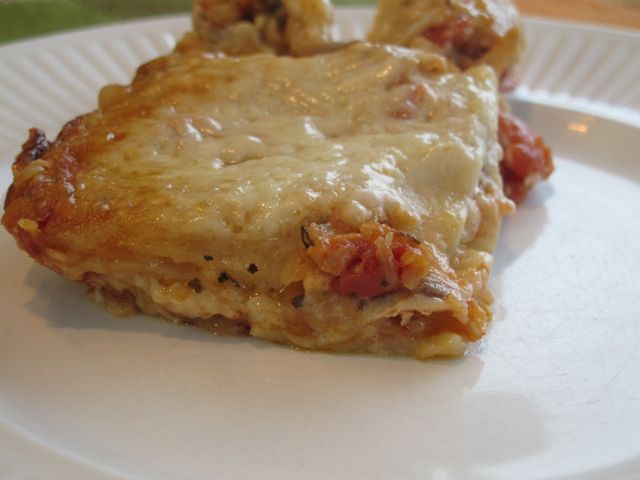
This week we’ve been taking part in our Spring Pantry Challenge. Other than the mushrooms I actually had everything on hand to make this dinner. This Creamy Chicken Lasagna recipe is a little unusual but it is delicious and very easy to make.
Creamy Chicken Lasagna
Ingredients:
5 Tbsp butter (divided)
1 cup chopped onion
2 garlic cloves, minced
1 (14.5 oz) can of diced tomatoes, drained
8 oz sliced mushrooms
½ tsp tarragon
½ tsp oregano
½ tsp basil
½ tsp sugar
1 ¼ tsp salt (divided)
2 ½ cups cooked chicken
3 Tbsp flour
2 cups half and half
½ cup dry white wine or chicken broth
3 cups shredded Swiss and/or mozzarella cheese (I used a combination)
8 oz lasagna noodles, cooked
¾ cup grated Parmesan cheese
Directions:
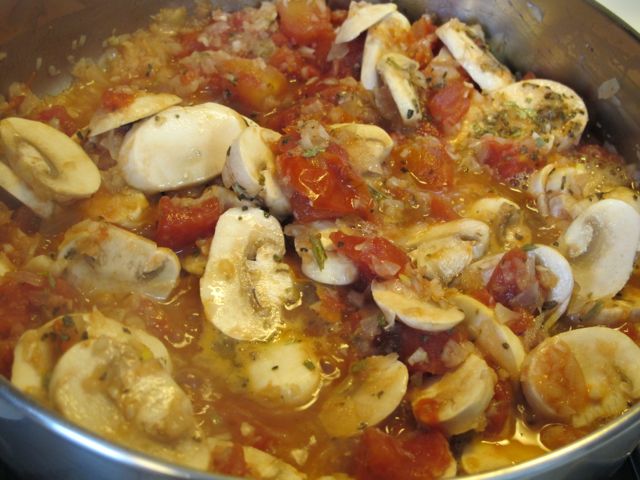
Heat oven to 350. Grease a 13 x 9 inch baking pan. Melt 2 Tbsp butter in a large skillet over medium heat. Cook and the stir the onion and garlic for 3-5 minutes or until the onion is transparent. Add the tomatoes, mushrooms, tarragon, oregano, basil, sugar and ¼ tsp of the salt; simmer 4-6 minutes or until the sauce thickens.
Stir in the chicken.
Melt the remaining 3 Tbsp of butter in a medium saucepan over medium heat. Stir in the flour and remaining 1 tsp salt; cook for 2 minutes. Stir in the half and half; cook and stir for 5-5 minutes or until slightly thickened. Stir in the wine; bring to a boil. Remove from the heat.
Spoon 1/3 of the tomato sauce into the bottom of the baking pan; cover with 1/3 of the white sauce. Top with 1 cup of the cheese; cover with ½ of the lasagna noodles. Repeat. Top with final 1/3 of the chicken sauce and the white sauce. Top with the remaining 1 cup of cheese and sprinkle with the Parmesan cheese.
Bake 40-45 minutes or until heated through and light golden brown. Let stand for 15 minutes and then enjoy. Serves about 8.
We are doing so well with our spring pantry challenge and I have decided to continue it a third week! We have ½ of a heritage pig coming the end of the month so I will continue to create meals with what we have on hand to make room in our freezer. I enjoy challenging myself and creating meals with what we have on hand. We’ve been following the menu I wrote out last week with a couple of exceptions, I switched the days around on a few meals.
Empty containers!
I did make our delicious Chicken Soup from scratch using two chicken carcasses I had in the freezer. Whenever we enjoy a roast chicken I will either make soup right away or put the carcass in the freezer. We have been enjoying leftovers all week, but I also ended up making delicious Creamy Chicken Lasagna, which I will share here. I used leftover chicken from the roast chicken, which worked out just fine.
Creamy Chicken Lasagna
Here is our menu for next week:
Monday: Chicken Parmesan (leftovers in the freezer)
Tuesday: Spinach Quiche (used up some frozen spinach I had on hand)
Wednesday: Penne with Vodka Sauce (leftovers in the freezer)
Thursday: Chicken and Pepper Stir Fry (used up frozen peppers I had in the freezer)
Friday: Taco Soup (In the freezer)
Saturday: Muffin Meat Loaf (in the freezer)
Sunday: (Roast Chicken – only 4 meat birds left in the freezer)
Has anyone else joined me in this Spring Pantry Challenge? How is your freezer/pantry looking? Are you making progress with using leftovers and frozen meals in your freezer? Please let me know how you are doing! I figure by the end of next week we will have made an incredible dent in our freezer. I can then look forward to filing it with the garden’s bounty this year!
I feel like I’m in a holding pattern at the moment, seeds are started but not ready to be moved to large pots yet. The garden outside is still snow covered so I can’t get to any outside work yet. So I thought I would share what I’m planting in the garden this year, or for today, what seeds I’ve already started.
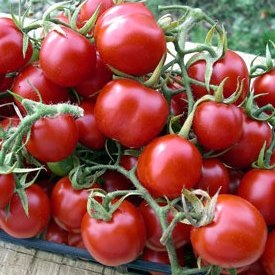
This year I’m trying to cut back on the number of varieties I grow. I have a tendency to get carried away and start numerous varieties. This year my goal is to simplify. So I am starting three different varieties of tomatoes; Glacier tomato, Grandma Mary’s Paste tomato and Principe Borghese Tomato. Glacier tomatoes are an early tomato variety that produce small tomatoes perfect for salads and fresh eating. Grandma Mary Paste tomatoes are a large, early and meaty paste tomato that does well in the cooler climates. The Principe Borghese tomatoes are an Italian heirloom tomato; the small 1-2 oz. grape-shaped fruit are very dry and have few seeds. They have a rich tomato taste that is wonderful for sauces.
Principe Borghese Tomato
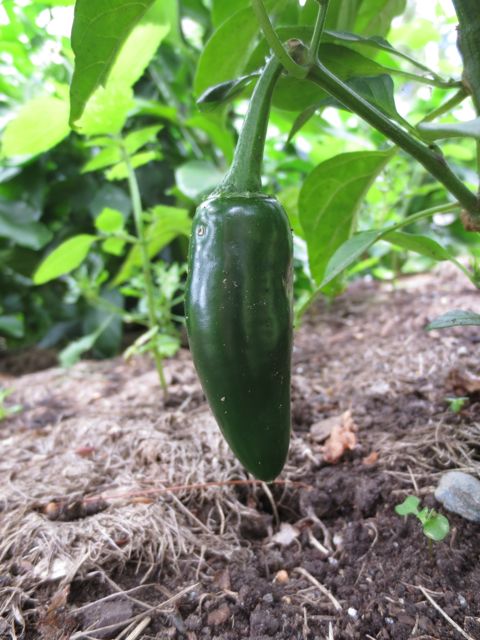
There will only be two types of peppers in the garden this year Early Jalapeno Hot Peppers and King of the North Sweet Pepper. Both of these peppers are standbys and have done well in my garden.
Jalapeño Pepper
Each year I attempt growing eggplants, I don’t usually have much luck as we live in a cold climate. I am going to try Swallow Eggplants and see how they perform. Swallow eggplants are supposed to be easier to grow than other varieties so we’ll see how it does!
Last year I grew onions for the first time and had great success. I am trying a new variety (for me) this year called Red Marble Onions. I am also growing Copra Onions, which I also grew last year. We are just finishing up the last of them, they store very well. The Red Marble Onion can be planted close together for a pearl-sized onion or further apart for a full sized onion. They are supposed to have great long-term storage ability.
Growing onions for storage.
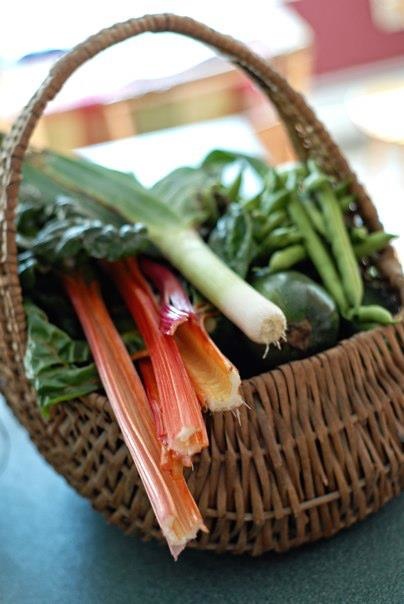
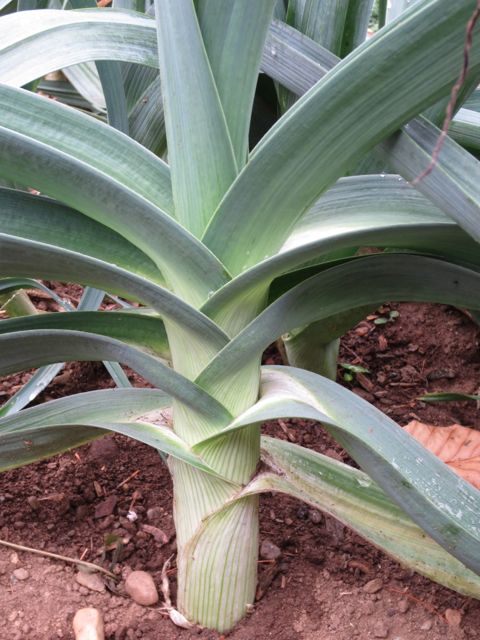
Leeks have always done very well in our garden. I dehydrated a bunch of them last year and even froze some. However I love fresh leeks so I am growing Lincoln Leeks once again!
Leeks
The last packet of seeds I have started are Falstaff Red Brussels Sprouts.
Brussels Sprouts
I love Brussels sprouts and usually grow them every year. For now these are the seeds I have started. Our kitchen is a little crowded with my grow table, but starting seeds is something I look forward to each year. It means that spring is on the way!