As spring rolls around, we start to think of being outside, enjoying the wonderful weather. Now is also the time to think about establishing your vegetable garden – it’s a wonderful way to save money, get exercise, and help your family to eat healthy. And taking care of a garden is a never-ending and rewarding learning experience.
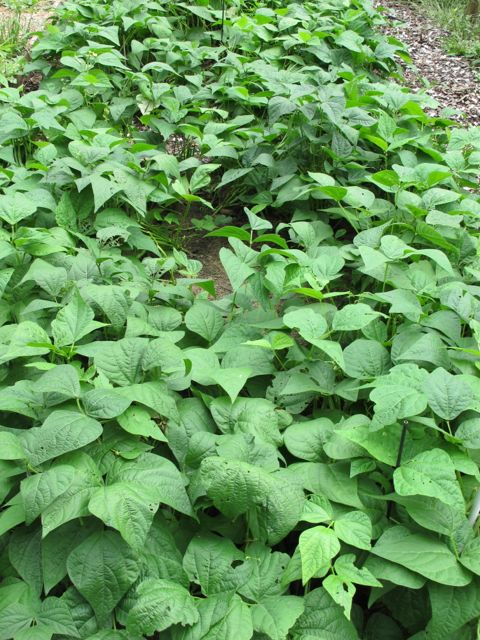
The most important thing to consider is where your garden will be located. Gardens need sun, the more the better. Locate your garden away from any shadows cast by large trees or buildings. Ideally, you would like to have level ground; if the garden is on too steep a slope, the soil will erode and nutrients will be washed away. Ideally you want to choose the sunniest, brightest spot in the whole yard. If you are limited for space you can also grow some vegetables in containers on a sunny patio or deck. I have a friend who lines their front walk with large containers planted with lettuce. It’s very pretty to look at, convenient and you are providing your family with fresh greens.
If this is your first year gardening, you also want to consider the size. It is better to start small and increase your garden size year by year. A 15 x 15 foot plot would be a good size to start with.
Once you have decided where to place your garden, the next thing to consider is the soil preparation. Well-prepared soil will help you have a successful garden. However, any soil can be improved. Soil quality is determined by three characteristics: composition, pH (its acidity), and fertility. All of these areas can be improved by adding generous amounts of organic humus: compost, peat moss, well-rotted manure or processed manure. Be sure to mix the organic humus thoroughly with your existing soil.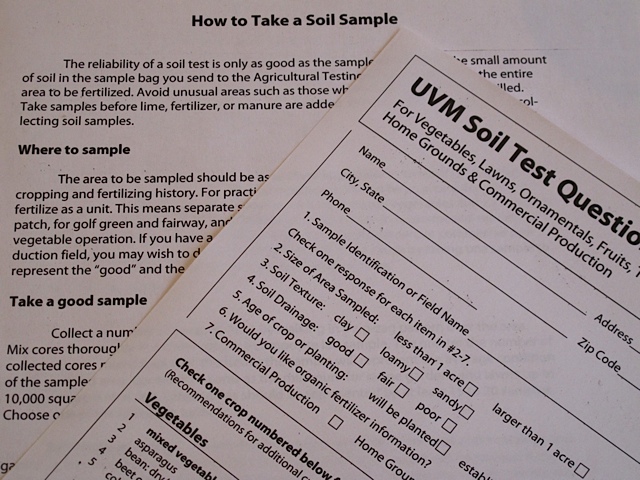
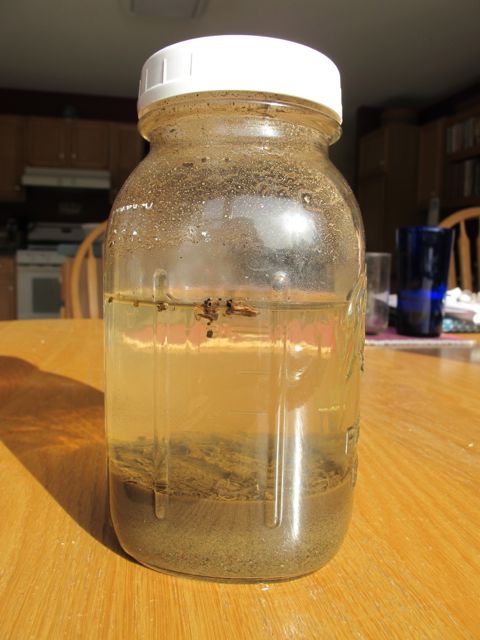
- Composition: The composition of the soil determines a great deal about its growing potential. Soil is made up of clay, sand, silt and biological sediment. If the soil is too loose and sandy, or too heavy and clayish, aeration, drainage and nutrient retention will suffer. You can determine the composition of your soil by doing this simple test. Take a shovel and dig a hole about six inches deep and remove the surface layer. Spoon about one cup of the mix into a glass-canning jar and fill with 2 cups of water. Shake it up for several minutes to fully mix the contents. Let the jar sit for 24 hours and look at it. The small clay particles will be on the top; the silt will be in the middle and the coarse sand particles on the bottom. An ideal garden soil would be 40% sand, 40 % silt and 20% clay. Here is a handy graphic regarding soil composition.
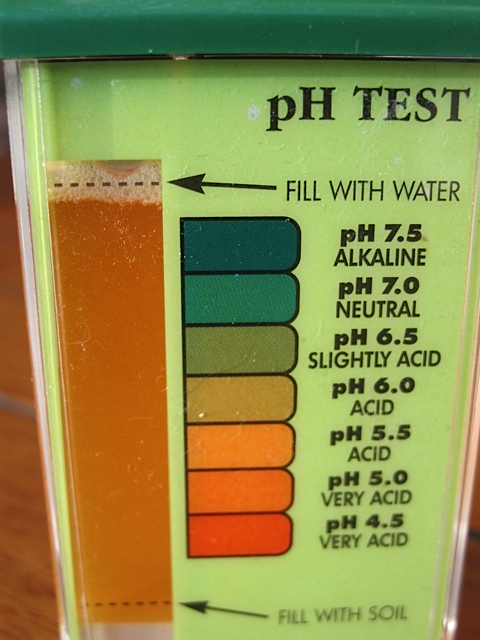
- pH: Vegetables require a pH range of 6.0 – 7.0, anything above or below that and optimal growth will be affected. pH measures the acidity or alkalinity of your soil. Basically it is a measure of the amount of lime contained in your soil and the type of soil you have. An acid soil has a pH lower than 7, and alkaline soil has a pH higher than 7. You can test your soil yourself with a pH soil tester which you can purchase at your local garden center or online. Your local extension bureau will also test your soil for a modest fee. Once you have determined your pH you can amend your soil. To have your soil tested by your local Extension office you purchase a kit, which includes a mailer, sample bag, and information form. The fee for the basic test in Vermont is $14.00, this incudes the pH and your potassium, phosphorus and calcium levels as well as Magnesium, Sulfur, micronutrients, CES (carbon exchange capacity) BS (basic saturation percent), organic matter and will give recommendations for one crop. When you are filling out the form you can say that you are growing mixed vegetables. This is the best way to find out exactly what shape your garden is in and what the recommendations are to improve the soil.
- Fertility: The fertility of a soil refers to its ability to supply nutrients for plant growth. Insufficient fertility cannot support healthy crops. For a soil to be healthy it must have nutrients readily available and a pH value at a recommended level for the plants that will be growing in the soil. The nutrients that should be available for the plants are nitrogen (for leaf growth), phosphorus (root growth) and potassium (overall health). In addition to the essential nutrients there should also be trace elements like calcium and magnesium. Plants growing in a fertile soil will be very strong and healthy and produce well.
No matter what type of soil you have the addition of organic matter will work wonders. Organic matter is plant and animal residues in varying forms of decomposition. Compost is an excellent way to help amend your soil. Compost is already decomposed and can work wonders in the garden. If your soil is lacking nutrients and you don’t have access to compost you can purchase various fertilizers at your garden center.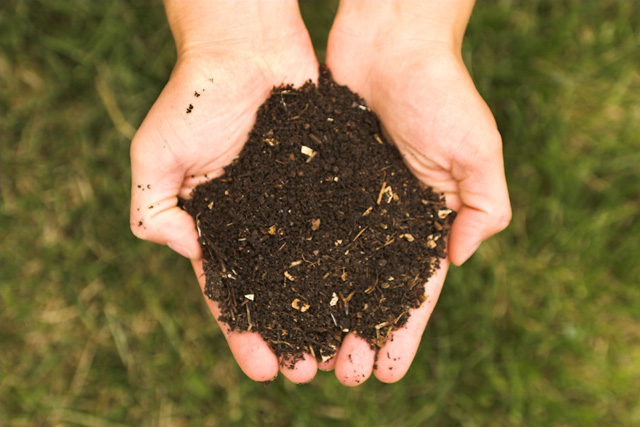
Now that your garden plot is laid out and the soil is ready, it is time to decide what vegetables you want to plant. Before you decide what to plant in your garden, determine the eating habits of your family. You want to grow vegetables that your family will eat. There are many sources online that will help you determine just how many rows to plant of each vegetable. One source I found is this simple seed-planting chart: http://www.humeseeds.com/seedneed.htm If you want a rewarding, productive garden, do some research to find out what grows well in your area. An excellent resource is your state’s agricultural extension office. You want to make sure you know what growing zone you are living in; when your last frost date is expected in the spring, and when the first date of frost in the fall is expected. These dates will determine when you can plant outdoors, what you should try to grow, since the days to maturation will need to fit in this last frost to first frost window, and when you should be harvesting your vegetables.
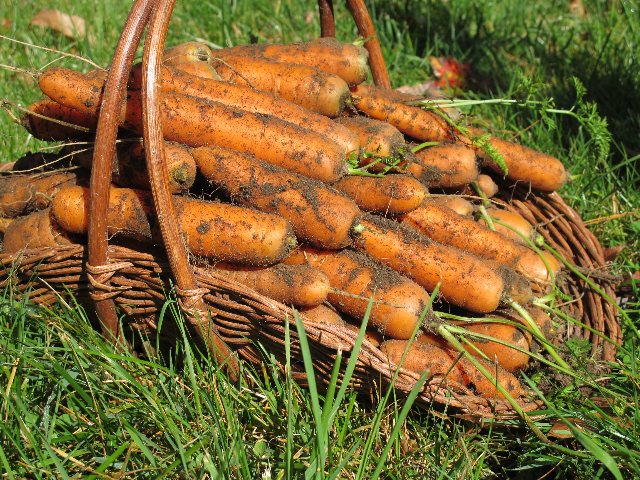
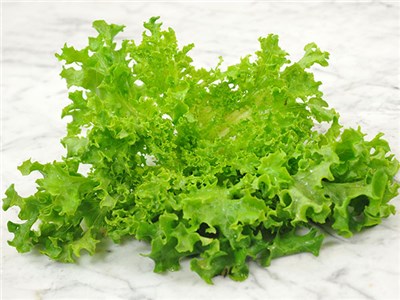
You have now decided on your garden location, figured out which vegetables and how many to grow. You must now figure out where the plants will be placed in your garden. The taller crops should be planted on the north side of your garden so they don’t shade the other plants. At the southern end of the garden plant your shorter vegetables, like your carrots and lettuce. By taking time to plan out your garden now you will be rewarded with a bountiful harvest later this summer.
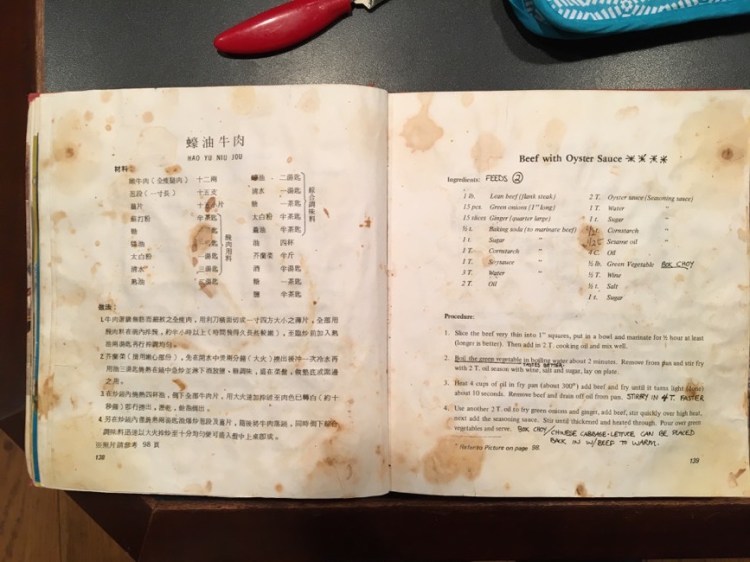
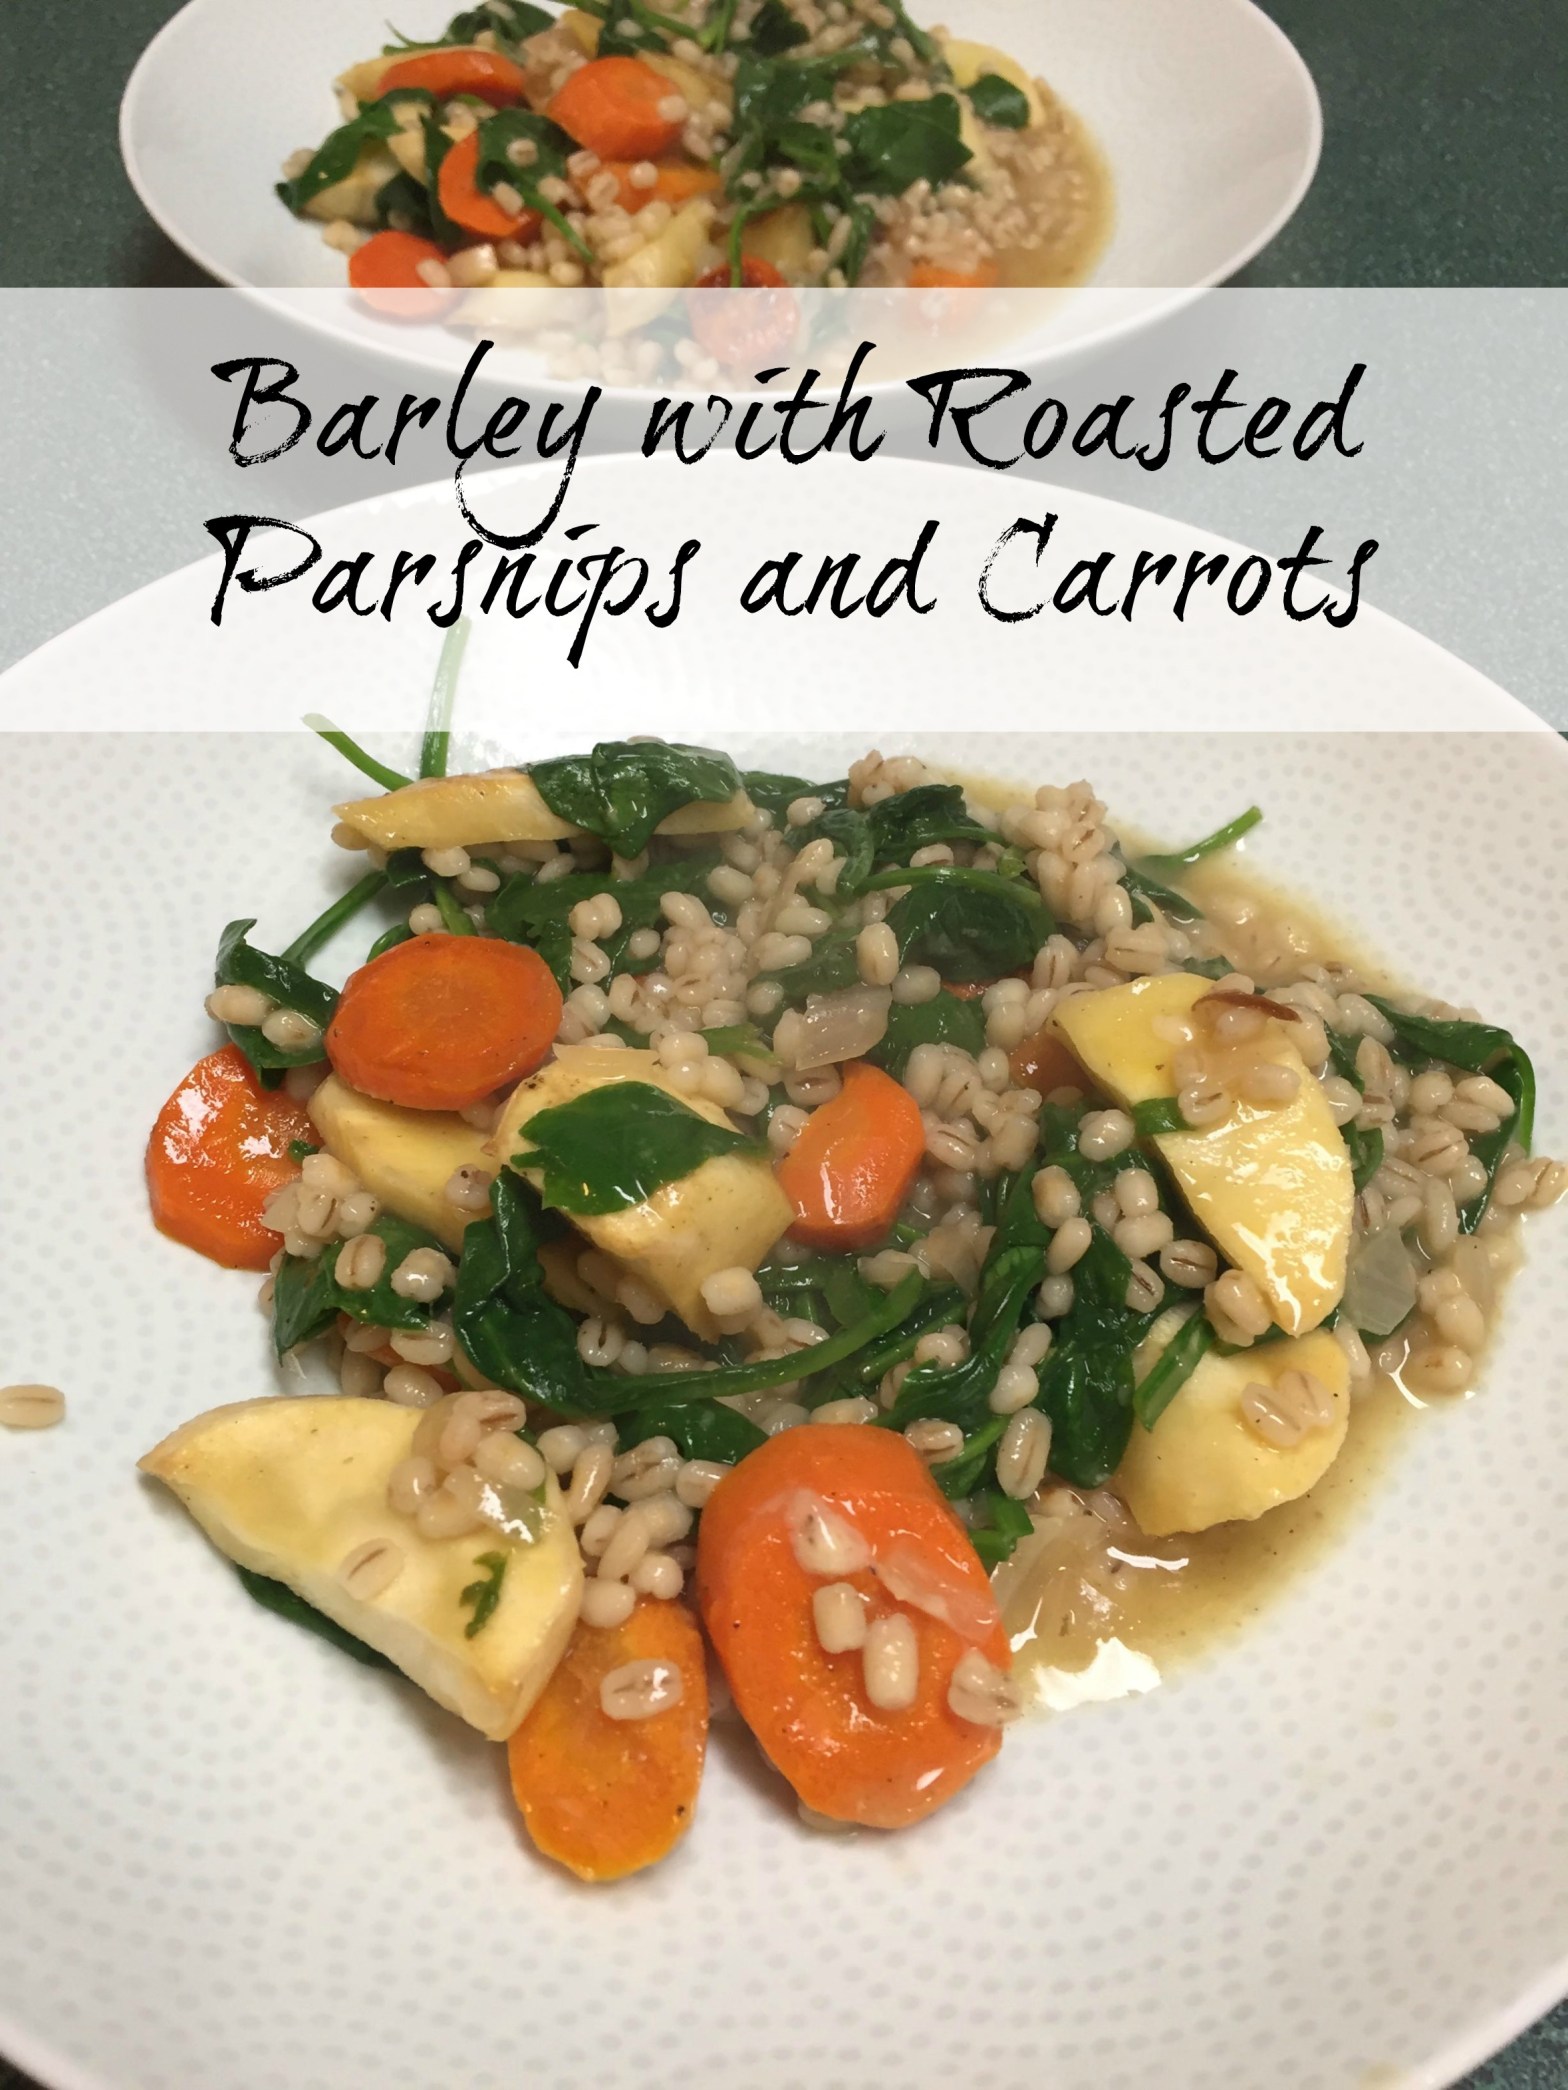
 This was our menu for the dinner:
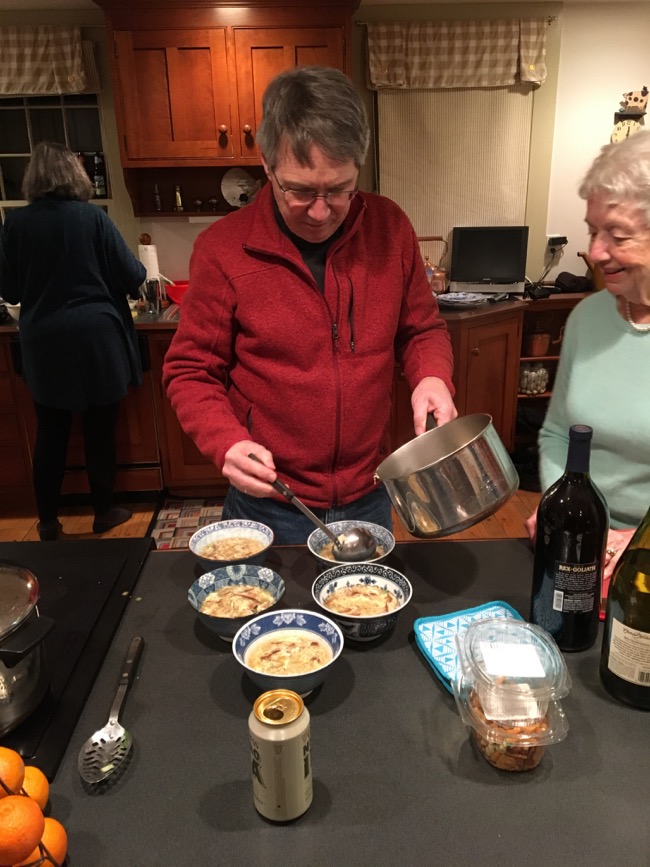


 Serve at once.


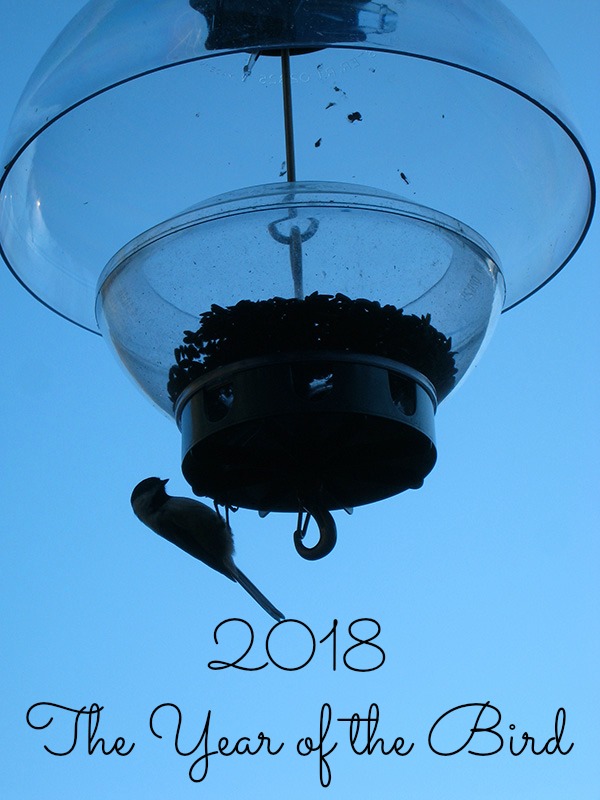

 They provide so much entertainment. It is also very interesting to see which birds come to the feeders each year. We now have a pair of cardinals that have been visiting our feeder all winter. Although we have had them visit in the past they have never stayed around.


 I know the holidays are over and we’re all try to make better eating choices but I had to share this recipe from my husband’s grandmother. For years I have been hearing about “Gram’s Coconut Candy”. I have a cookbook that contains all the recipes she had in her file and one of the recipes is for Alma’s Coconut Candy. As the Valentine’s Day approached my husband and I decided to give it a try.
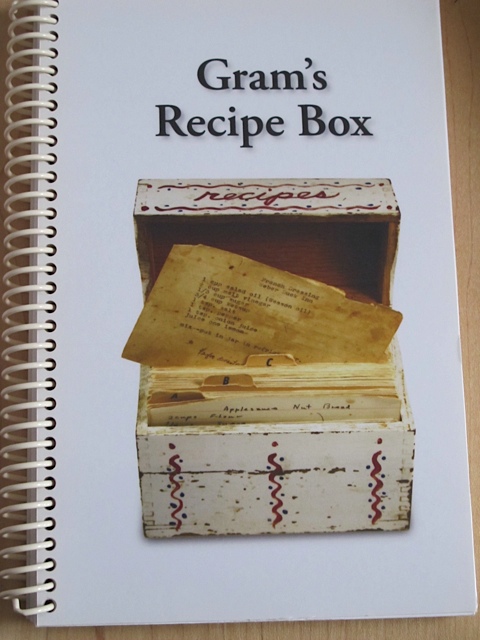
 It would also help to have more chocolate melted that the original recipe called for as I ran out of chocolate halfway through the process. We were all pleased with the result and will try it again using fresh coconut.

 Once the balls cooled store in a cool place or in the refrigerator.


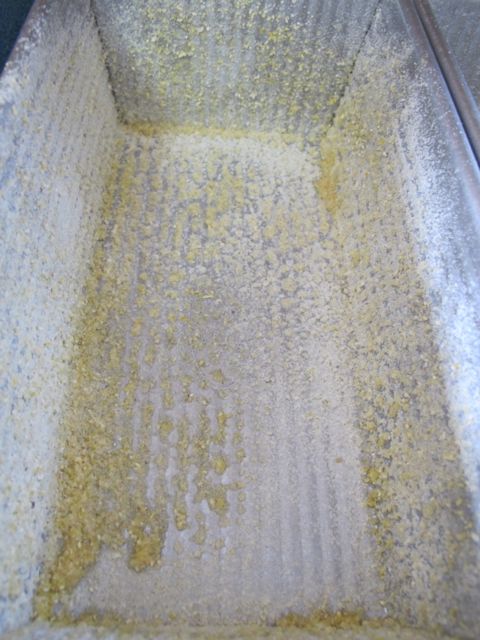
 If I cover with plastic wrap it helps to lightly spray the plastic wrap with nonstick spray.
 Removed from the pans immediately and cool on a wire rack.