Top 7 Posts of 2016

I am never quite sure what posts my readers will most enjoy and give them ranking of the top 7 posts.. Over the last year I have written a number of posts on various subjects. Here are the top 7 posts of 2016 and the top 4 posts since I started blogging in 2012!Top 7 posts


The Top 7 Posts of 2016


Between the Lines

It’s not often that you get excited when someone reaches out to you because of your age! However when Katharine from Katherines Corners told me she wanted to feature 50 Bloggers Over 50 I thought it was a wonderful idea and I was thrilled to be asked to be part of her blog series “Between the Lines”!

In fact when you follow this series you will meet some amazing bloggers all over the age of 50!On The Home Front Garden.

Bird Feeding Month

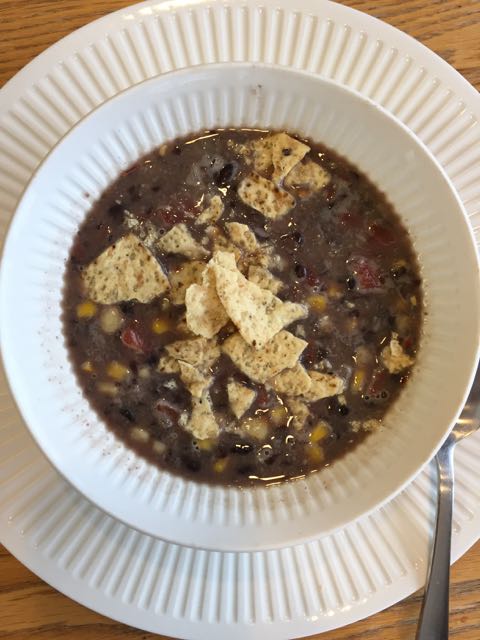
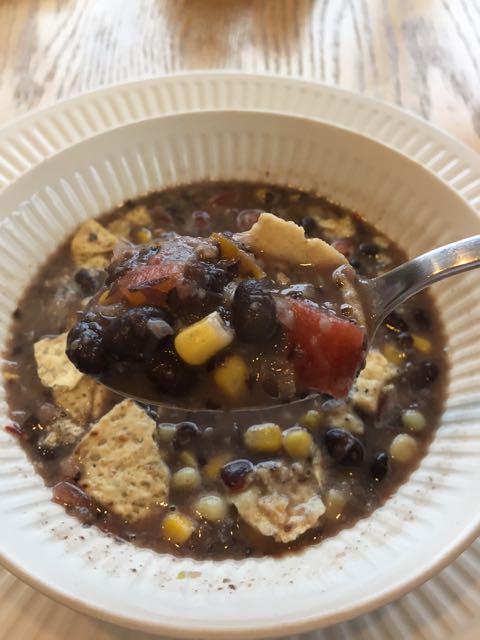
I never realized that each month is dedicated to something. January was the soup month and February is dedicated to feeding the birds! Do you feed the birds? My husband loves to feed the birds and we have various feeders all around the house. We have a homemade suet feeder, which the woodpeckers and nuthatches just love.Barred Owl

DE cluttering

Yesterday I shared a guest post talking about the 12 spring-cleaning chores you shouldn’t miss. Today I am continuing the discussion about spring-cleaning. Spring is always a busy time for me, it’s time to get out in the garden and start cleaning up after the long winter. It’s time to sort through my seeds and figure out what needs to be planted now!Konmari

Exploring Vermont with Our Grandchildren

Exploring Vermont with our grandchildren was such fun. Recently we were blessed to have our two daughters and three grandchildren visit us for ten days. Having three children ages, 5, 3 and two months under our roof was exhausting, but I wouldn’t have traded the time for anything. It gave us the opportunity to do some exploring with our grandchildren and show them the things we love about Vermont. It was also peak foliage so it was the perfect time for them to visit.exploring Vermont

Picking Sour Cherries

Sour cherries grow in Vermont but their season is short, sometimes only two weeks long! If we have an unusually cold spring there might not be any sour cherries. Last Friday my husband and I decided to go on an adventure and find some elusive sour cherries to pick!cordial, prudent pantry, prudent living

Simple Christmas Gifts

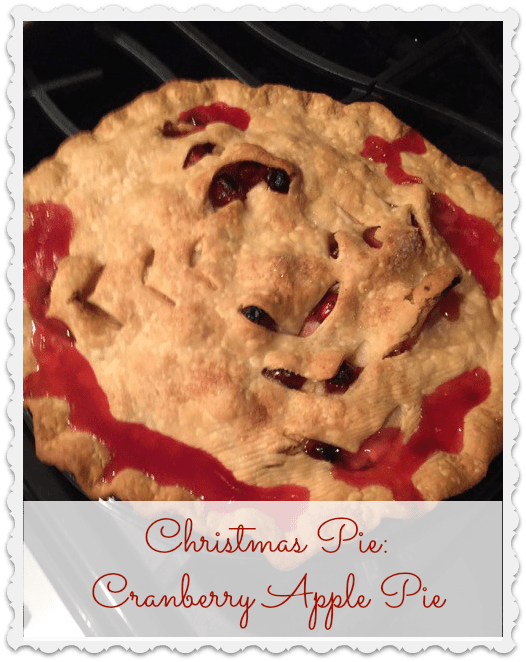
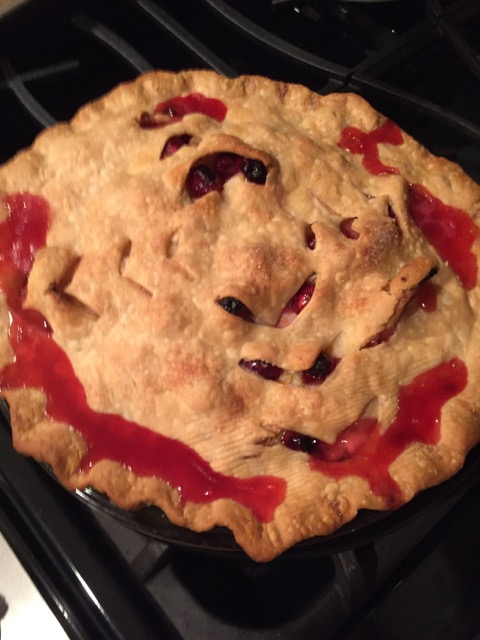
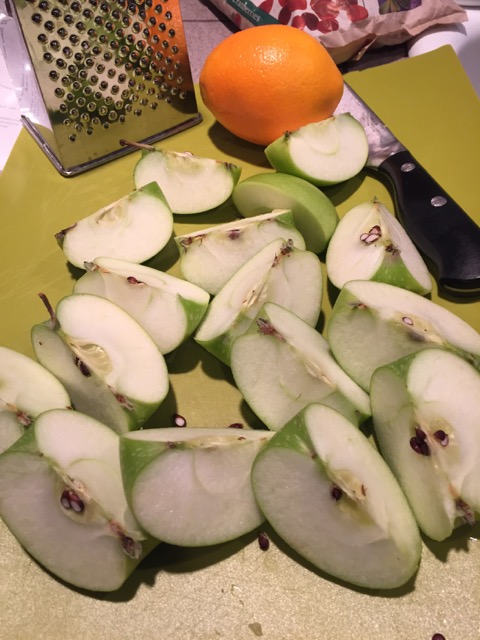
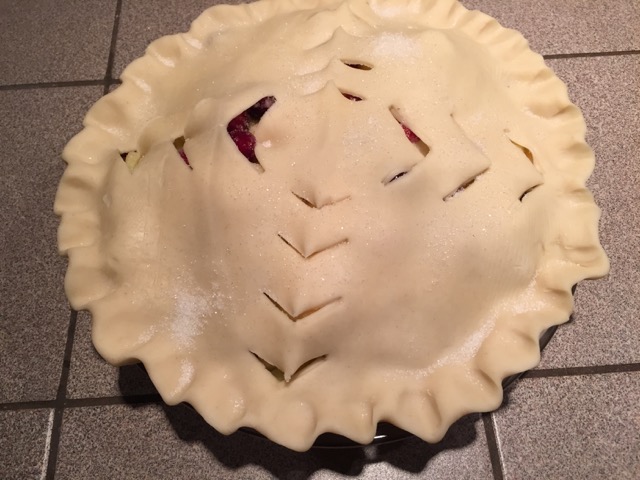
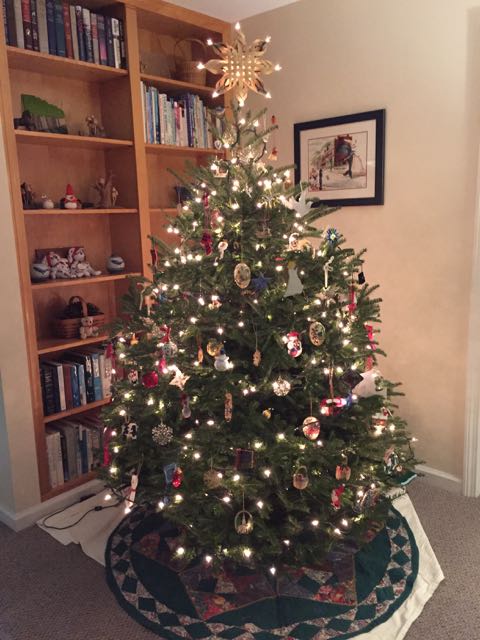
I love to give gifts at Christmas and simple handmade Christmas gifts are the best kind. This year we are cutting back on our gifts, instead I am working on making several simple Christmas gifts.simple Christmas gifts

Skunked

If your dog runs into a skunk here is a wonderful recipe that I can vouch for!skunk, solution


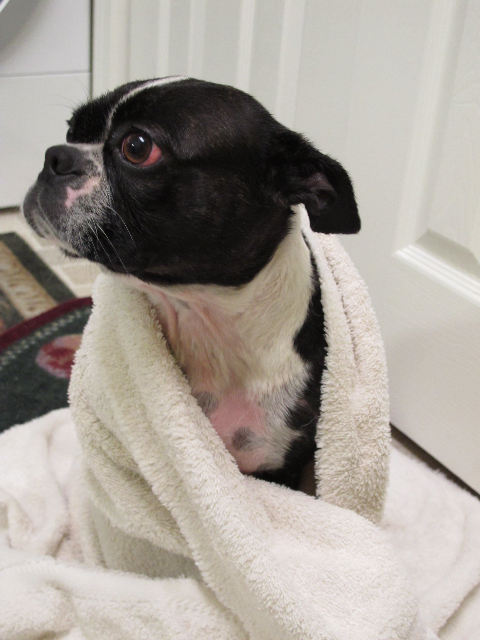
Top Posts of All Times


Cleaning a Burnt Pot

Did you ever have a burnt pot that was so bad you thought you would have to throw it out? Here is a wonderful way to get the pot clean!dirty pots in the sink

Insulating a Chicken Coop

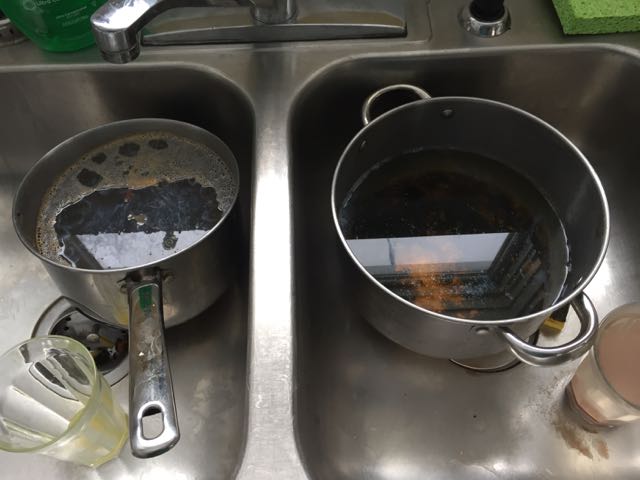
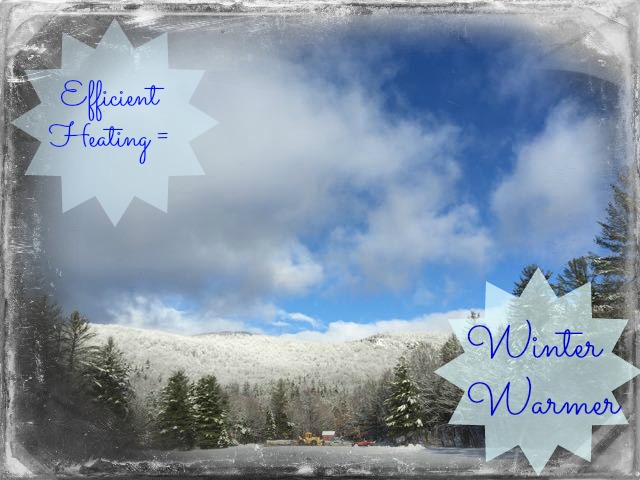
Recently I was contacted by Bryce Thomas of IncubatorWarehouse.com. Not only were they willing to have me review some of their equipment used in hatching chicks but he also wrote a wonderful guest post for me. For the next couple of weeks I am not going to be posting as regularly as I have to make several trips out of state to prepare for my mother’s service. This seems like the perfect time to share his post on “How to Insulate a Chicken Coop”. With all the cold weather we are having this information is rather important to help keep our chickens warm and healthy!chicken coop

Master Tonic

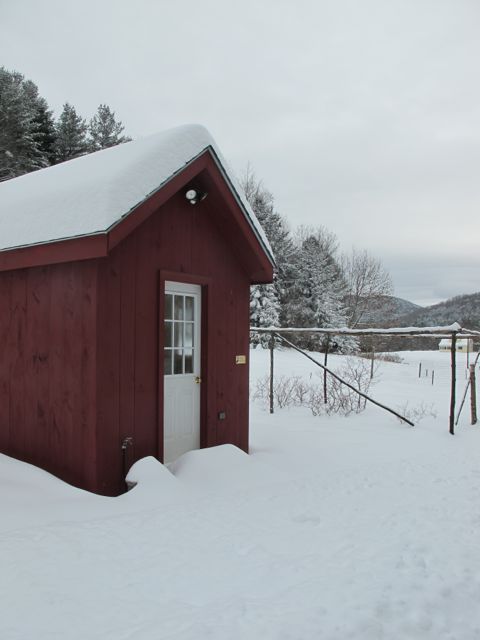
During the winter months when there is so much flu going around we try to take all precautions to stay healthy. When my son was younger he would usually be the one to catch whatever flu bug was going around. A friend of mine shared this recipe for The Master Tonic and once we started using it even my son stayed healthy! I’ve often thought it would also make a good seasoning for a Chinese dish! It is meant to be used to gargle with first and then you swallow it. If you use really hot peppers I swear you can feel the heat flowing through your blood vessels. I have shared this with several friends who now use it regularly during the flu season as well.Master tonic

Restoring a Wool Sweater

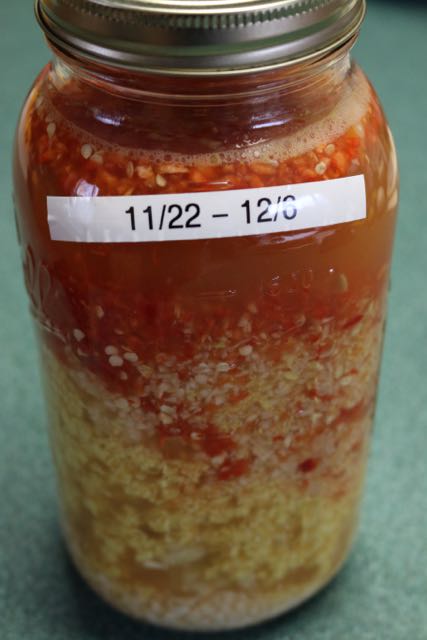
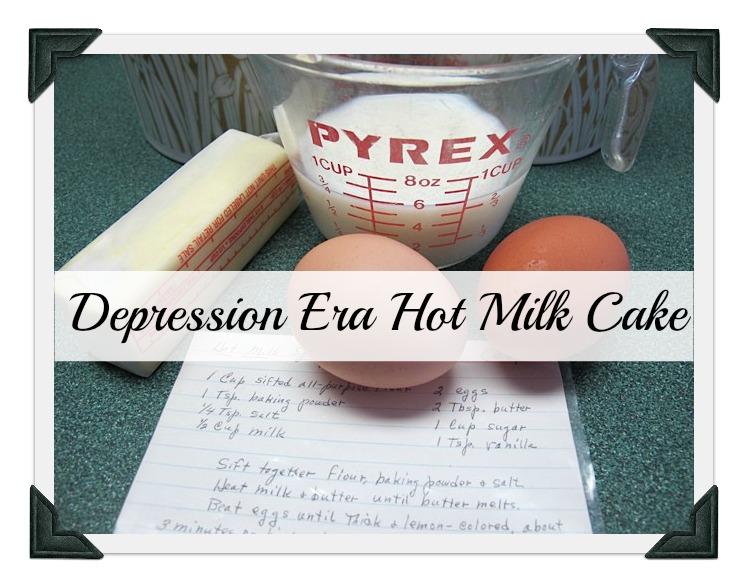
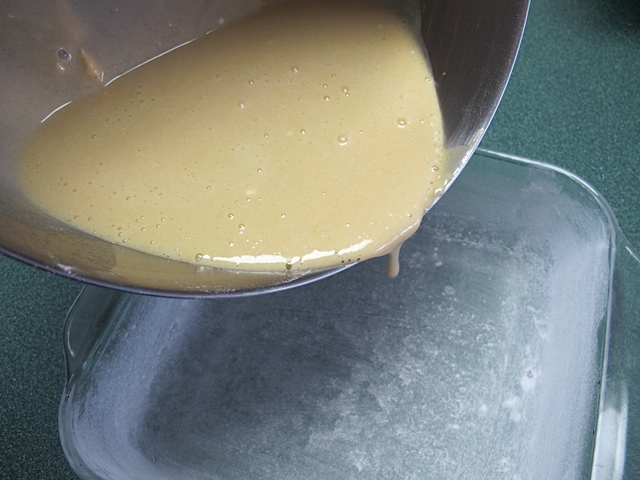
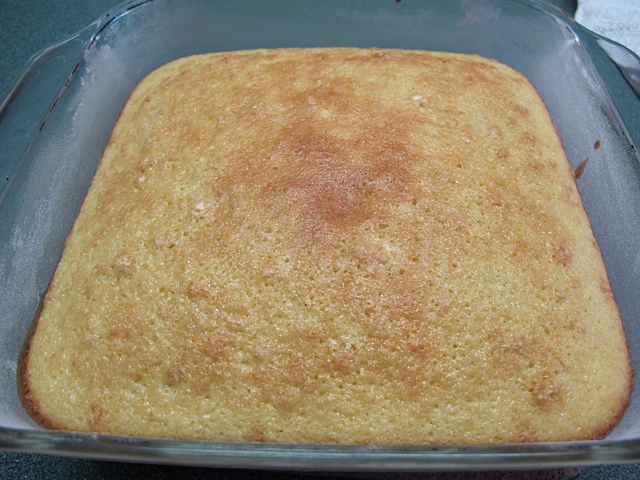
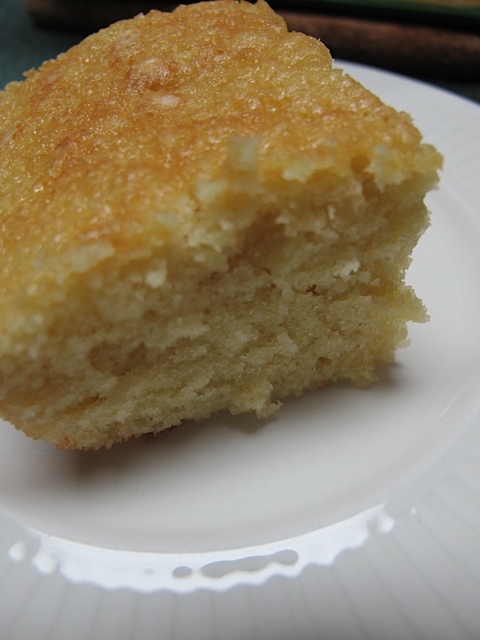
I have to say the most popular post I ever wrote was a post I wrote in 2013 on how to restore a shrunken sweater! I first shared this tip again in January of 2015. This post is still getting comments, several of them asking me why I was washing my son’s sweater (which I shrunk) and not having my son wash it! What kind of mother was I to raise children that don’t know how to wash their own sweaters! Too funny, as they totally missed the point of the post. I was just sharing a tip on how to restore a sweater that you may have shrunk my mistake!
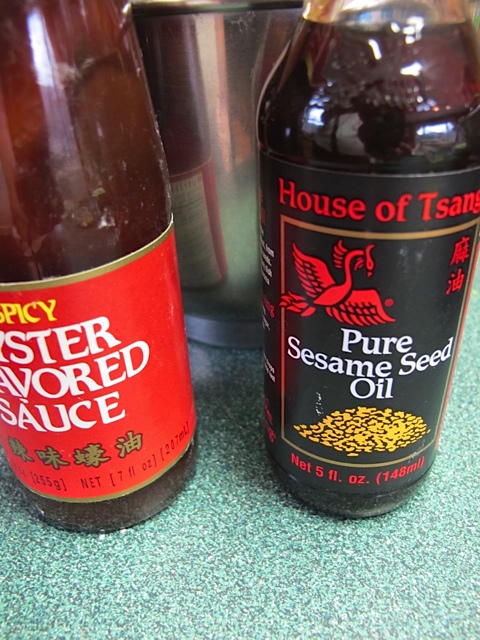
sweater


Beef with Oyster Sauce

Beef with Oyster sauce is one of our favorite Chinese meals. Before we were even married my husband was cooking from a wonderful Chinese cookbook called Pei Mei’s Chinese Cookbook. Apparently Pei Mei was a famous Chinese culinary artist with a very distinguished background. In 1955 she established the Chinese Cooking Institute in Taipei. In 1962 she started a cooking show on TV. She has been awarded many other honors and I’m not surprised because her recipes are wonderful.

The only special ingredient you will need to make this tasty recipe is Oyster sauce, which can be found in most grocery stores. When we first started cooking from this cookbook many of the ingredient s could only be found in a Chinese grocery store. This simple recipe will make you feel like you’ve just brought home take out from your favorite Chinese restaurant!beef with oyster sauce

Beef with Oyster Sauce

Ingredients:

1 lb lean beef (flank steak)
15 pieces of scallion, sliced
15 slices of ginger (the size of a quarter)

Marinade:

½ tsp baking soda
1 tsp sugar
1 Tbsp cornstarch
1 Tbsp soy sauce
3 Tbsp water
2 Tbsp oil

oyster sauce, sesame oilSeasoning Sauce:

2 Tbsp oyster sauce
1 Tbsp water
1 tsp sugar
½ tsp cornstarch
½ tsp sesame oil
oil
1 pound green vegetable (bok choy, broccoli)
½ Tbsp wine
½ tsp salt
1 tsp sugar

Slice the beef very thin into 1” squares, put in a bowl and marinate for ½ hour at least (longer is better). Slice the beef when it is still partially frozen as you can cut it into very thin slices. Then add in 2 Tbsp oil and mix well.beef, Chinese cooking

Boil the green vegetable in boiling water for about 2 minutes.green vegetable, broccoli 
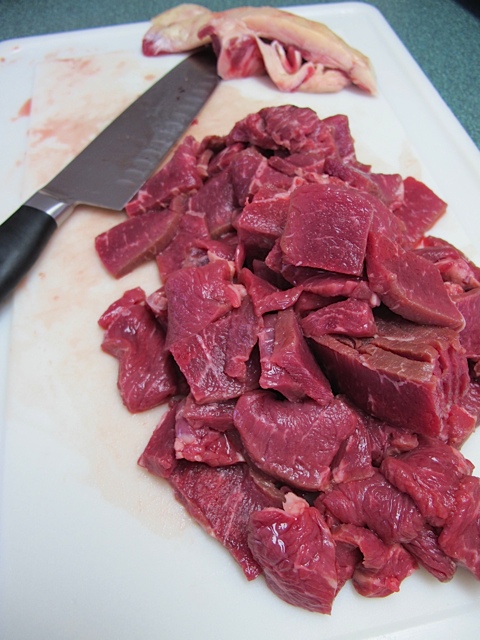
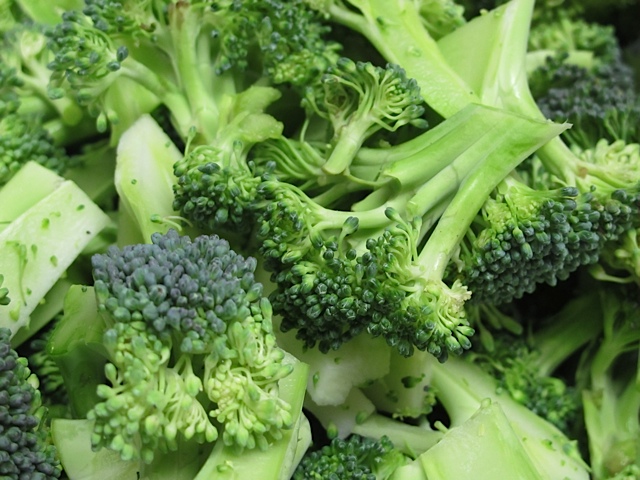
Remove from pan and stir-fry with Tbsp oil, season with wine, salt and sugar, set aside.

Heat oil in wok add beef and stir fry until done. Remove beef and drain off oil from pan.

Use another 2 Tbsp oil to stir fry scallions and ginger, add beef, stir quickly over high heat, add the seasoning sauce.Beef and Broccoli, Chinese cooking 
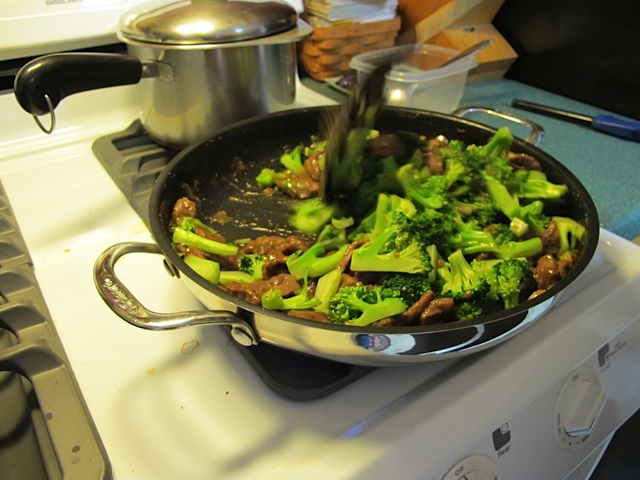
Stir until thickened and heated through. Add the broccoli.beef and broccoli, Chinese cooking

Serve over rice. Even the leftovers are delicious!Chinese cooking, beef and broccoli

Gete Okosomin Seeds Available

Many of you have been following my adventures with the Gete okosomin squash seeds I obtained last year when we were in South Dakota. There are several stories going around about the origin of these seeds, they are also known as the 800 year old squash, but regardless they are an heirloom squash seed. These seeds have been grown by Native people in North America for hundreds of years. The squash produced is not only very large, up to 18 pounds, but extremely delicious! I’ve tried it oven roasted and in a soup and both were very tasty!gete okosomin


When I first wrote a post about the seeds I was swamped with requests. It wasn’t until after my small harvest that I had seeds to offer. Even then I didn’t have a lot of seeds to give away. Up until now the seeds have not been available commercially. However you can now purchase the seeds from the Whole Seed Catalog, put out by Baker Creek Heirloom Seeds.Gete okosomin


I have been working my way down my list contacting folks that originally expressed interest in the seeds. There have been a dozen or so people that have responded to my emails. I have been sending seeds out all over the place from Tennessee to Germany! One fellow I sent seeds to is married and his wife is Cherokee. They plan to share the seeds with the Cherokee Nation. Apparently the National Tribal Headquarters is just 25 miles from where they live.  I look forward to hearing back from these folks when they start growing their own seeds. I love when people are interested in growing heirloom vegetables and saving their own seeds, it’s so important!Gete okosomin


In the meantime for those of you who want seeds to plant this year I would suggest contacting Baker Creek Heirloom Seeds. Their catalog is beautiful and packed full of gorgeous pictures of heirloom vegetables!Gete okosomin


I hope you give these squash a try; you only need to harvest a few due to their large size! You’ll be glad you did! Plus if you order them from Baker Seeds they will be donating all proceeds from the sales of this squash to Native American non-profit organizations. Sounds like a win-win to me!Gete okosomin

Depression Era Hot Milk Cake

Some of the recipes from the depression era are my favorites. Simple, down to earth recipes that you can usually make with ingredients you have on hand. No need to run to the store for an ingredient that you may never use again. These are the special recipes passed down from our grandparents or our parents. They usually have very few ingredients. Next time your looking for a special dessert to serve try this depression era hot milk cake!

A dear friend I met while living in Florida shared today’s recipe with me. She and I had the same birthday and she was like a surrogate grandparent to our children while living so far from family. Needless to say she was a very special person in my life and this is a delicious simple recipe.depression era,Hot Milk Sponge Cake

Hot Milk Cake

Ingredients:

1 cup all purpose flour
1 tsp baking powder
¼ tsp salt
½ cup milk
2 eggs
2 Tbsp butter
1 cup sugar
1 tsp vanilla

Sift together flour, baking powder and salt. Heat milk and butter until butter melts. Beat eggs until thick and lemon colored, about 3 minutes on high speed if using an electric mixer. Gradually add the sugar while continuing to beat for 4-6 minutes. Add sifted dry ingredients to egg mixture; stir just until blended. Stir in hot milk mixture and vanilla; blend well. Pour into a greased and floured 9×9 inch pan.depression era, homemade cake, milk sponge cake

Bake at 350 for 25-30 minutes. Cool in pan.depression era, homemade cake, prudent living

Excellent for shortcake with fruit, use with a sauce such as rhubarb sauce, or very good plain! Top this cake with some frozen strawberries that you have in your freezer or serve with chocolate sauce. There are so many ways to enjoy this cake.cake, home cooking

You probably won’t have any leftovers but if you do this cake also freezes well. This simple, old-fashioned cake tastes so good it will surprise you! It’s a prefect ending to your next meal.

Christmas Tree: Live or Artificial?

I grew up with the tradition of going out with the family and cutting down a live Christmas tree. We would head out to a local tree farm, find the perfect tree and cut it down. After we were married we continued this tradition with our children. We did this every year until we moved to Florida and there were no local tree farms around.


The first year we lived in Florida our friends shipped us a live tree from LLBean! Yes you can actually ship a live tree through the mail! Not the small tabletop trees they now sell but a full size Christmas tree!Christmas tree


When we moved into our first home in Florida we decided that perhaps purchasing an artificial tree would make more sense. At the time (early ’90s) we spent what we thought was a lot of money on an artificial tree – $189! It was a beautiful tree that you would assemble branch by branch. Turns out it was an amazing investment as we used the tree for the next 21 years averaging out to a cost of $9.00 a year! We even moved the tree to Vermont and used it every year!Christmas tree


With an eventual move coming up and trying to get rid of the things that we will not move we decided to sell our artificial tree. It was still in excellent condition and although it had lost some needles over the years when it was decorated you really couldn’t tell it was fake.Christmas tree 
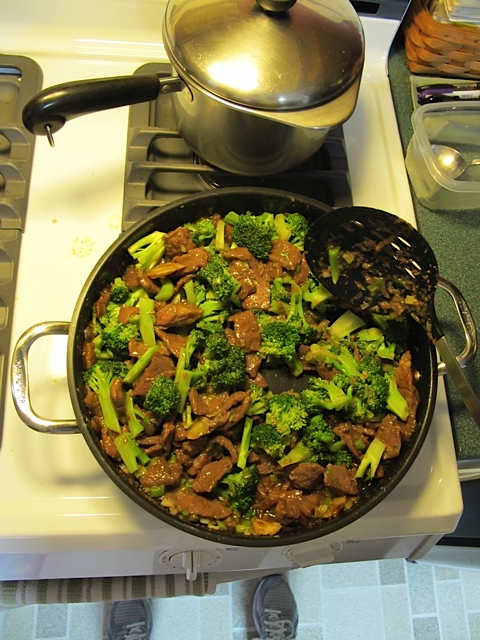
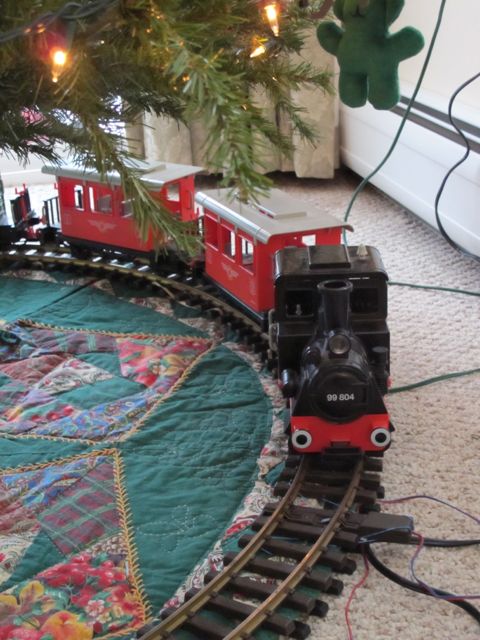
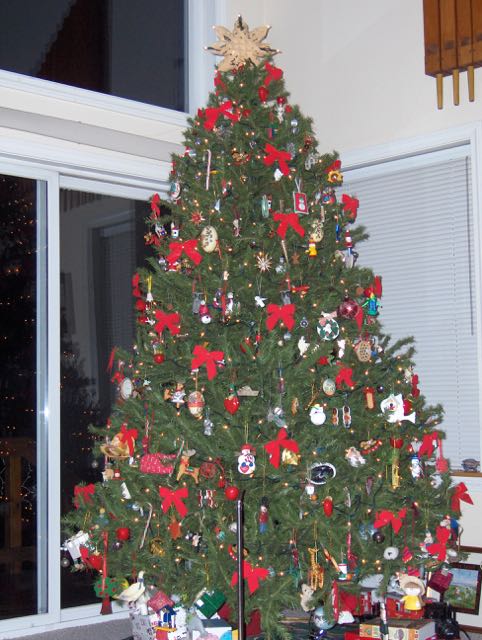
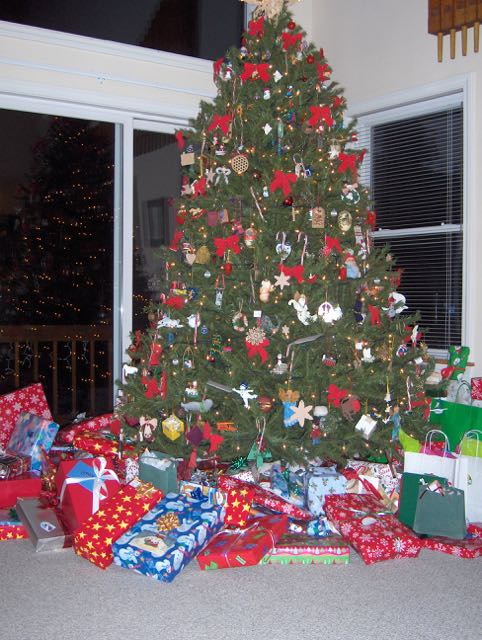
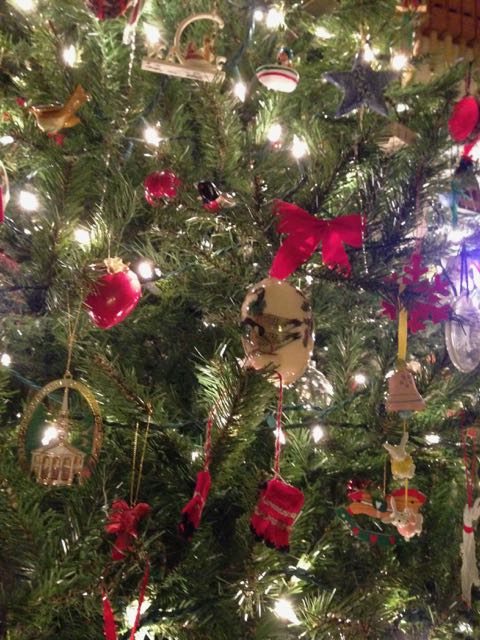
So we sold the tree this fall. Hoping that perhaps we’d have an offer on our home before Christmas.


Well that didn’t happen and here we are celebrating yet another Christmas in Vermont. No children or grandchildren home this year but we decided to go out and purchase a live tree from a local tree farm.Christmas tree


Our tree is adorable but half the height of our old artificial tree. Not to mention this tree must be watered every day as we have a woodstove and the tree tends to drink water! I imagine the tree will have to come down shortly after Christmas because the needles will start falling out.Christmas tree


Bottom line, when we eventually relocate to the Pacific Northwest we will once again invest in an artificial tree. Although I love the smell of a fresh tree the pros of an artificial tree out weigh the enjoyment of a fresh tree.Christmas tree


With an artificial tree you can set it up the weekend after Thanksgiving and it will still look as good for New Years. You don’t have to worry about daily watering. The branches are sturdy and can actually be moved so you can hang an ornament just right! The only downside besides the lack of smell is the fact that you have to store it each year.


What sort of tree do you have? I was always a live tree type of person but over the years I have changed my mind!frugal tips, prudent living


Wassail Parade – Woodstock, Vermont

The Woodstock Wassail Weekend is a holiday tradition that sees the town come to life with festive holiday events and attractions the second weekend of every December.Wassail Parade 
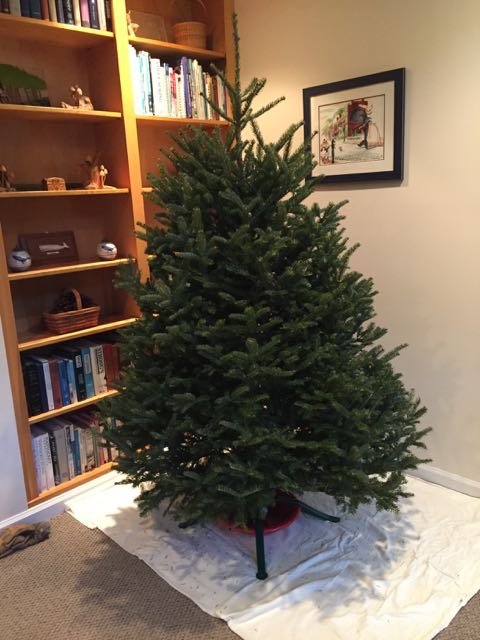
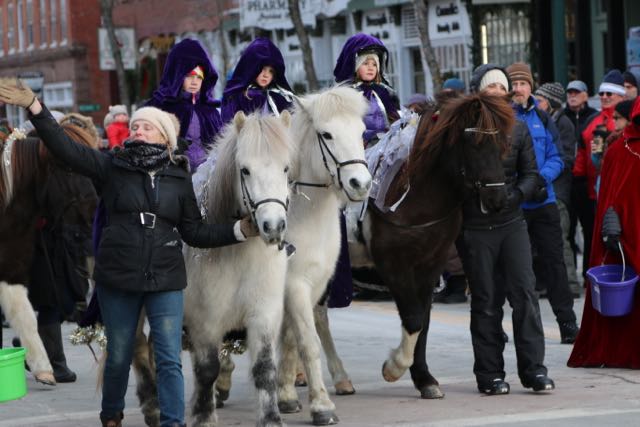
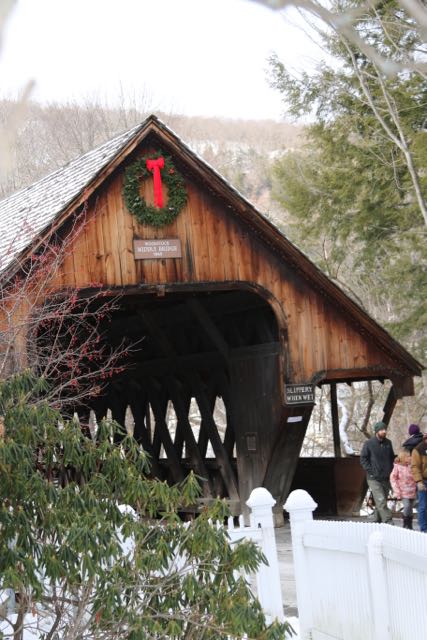
The weekend’s nonstop schedule includes a parade, concerts, craft fairs, holiday house tour, and much more. Often named one of the prettiest small towns in America, the village of Woodstock, Vermont becomes the ultimate holiday destination during its annual Wassail Weekend.Wassail Parade


The highlight of the weekend is the Wassail Parade through the center of Woodstock with more than fifty horses and riders dressed in holiday costumes and period dress from the early 19th Century.Wassail Parade 
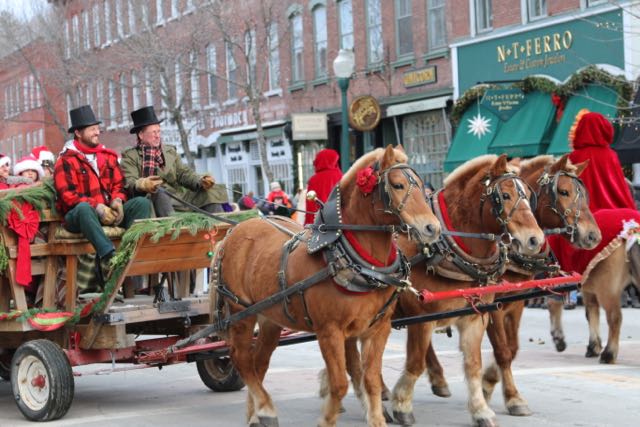
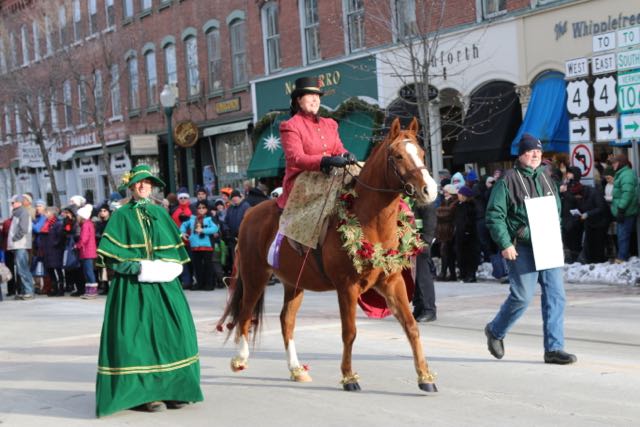
Spanning the entirety of downtown, the Wassail Parade winds past the stately First Congregational Church before circling the town green and the Woodstock Inn, where each entry is formally announced.Wassail Parade Throughout the route, upbeat crowds lined the street, waving and clapping and calling out “Merry Christmas!”
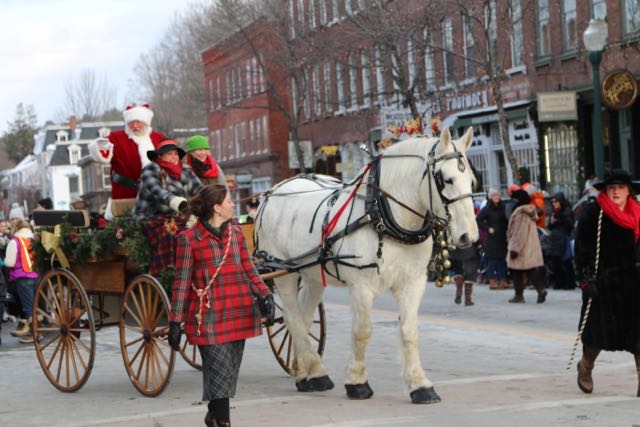
Wassail Parade


Mr. Claus himself usually puts in an appearance and then heads on to our Little Theater where he greets the children at the magical “Christmas Visions.”Wassail Parade


The merriment of the parade, paired with the Christmas-drenched scenery of Woodstock (a town already celebrated for its visual charms), is an utter delight.Wassail Parade


After the parade, as the Yule log burned low, volunteers lighted the 400 glowing luminaries.


Spicy Black Bean Soup

Simple soups are soups that you can make in no time. This Spicy Black Bean Soup is one of those recipes. In under an hour you can have a batch of delicious black bean soup ready to serve. The wonderful thick texture comes from pureeing some of the beans before adding them to the soup. I have a favorite Black Bean Soup recipe that takes all day to make, it’s delicious but sometimes you just don’t have all day to make soup! This simple soup is a perfect standby when you want to enjoy some black bean soup but don’t have all day!simple soups, spicy black bean soup

If you add a salad and a loaf of bread and you’ve got a quick supper to serve the family. If they don’t like the spiciness of this simple soup just cut back on the amount of crushed red pepper flakes you use.simple soups, spicy black bean soup

Spicy Black Bean Soup

Ingredients:

1 onion, diced
4 garlic cloves, chopped
3 (15.5oz) cans of black beans, un-drained
1 tsp ground cumin
½ tsp crushed red pepper flakes
1 (14.5oz) can of vegetable broth
1 (14.5oz) can dice tomatoes with green chilies
1 (11oz) can of sweet corn, drained

Spray a large Dutch oven with nonstick spray and place over medium heat. Add the onion and garlic and cook for about 5 minutes, stirring occasionally.

Place the onion mixture, 1 can of the black beans, the cumin and red pepper in a blender and pulse until smooth. Pour back in the Dutch oven. Place one more can of beans in the blender and pulse until smooth, add it to the Dutch oven. Add the remaining can of beans, the broth, tomatoes and corn to the Dutch oven; bring to a boil. Reduce the heat and simmer, uncovered until slightly thickened, 20-25 minutes.simple soups, spicy black bean soup Serve hot.simple soups, spicy black bean soup

Repotting a Peace Lily

Repotting a Peace Lily


Early winter is a good time for repotting your houseplants. Over the summer I tend to neglect my houseplants. Some of them are moved outside for the summer while others just enjoy the sunny windows. I keep them fed and watered but that’s about it. When the gardening season is over I catch a breath and really take a look at my various houseplants. Usually one or more will need some attention. My bay plant is doing wonderfully. Since they prefer a smaller pot I will not be transplanting it.transplanting a peace lily


My Peace lily is another story. Many people have a peace lily (spathuphyllum tango) in their home; it is very easy to care for and produces wonderful flowers. They thrive in indirect bright light. They like heavy watering but also like to dry out in between watering. Do keep pets and children away from this plant, as it is one of the many poisonous houseplants. Although they prefer a more compact root ball every other year or so I divide the plant, which seems to keep it pretty happy. When the active growth slows down or the leaves become smaller it is time to repot.transplanting a peace Lily


My plant is flowering less and less and it is extremely crowded so I know it’s time to re-pot.spathuphyllum tango, houseplants, repotting

First Steps in Repotting:


Repotting is rather easy. You can divide the plant into a number of new plants; perhaps you have a friend you would like to share with?

First fill a slightly larger pot that has drainage holes halfway with potting soil. Choose a pot only slightly larger because the plants grow well in crowded conditions. Make a small space in the middle of the soil for the divided peace lily plant.houseplants, repotting, potting soil

Loosen the dirt around the roots of the peace lily. Use a gardening spade to loosen the soil, and then carefully lift the plant out of the container. You can also tilt the container on its side and squeeze on it to loosen the soil from the container. I gently pull the plant out of the pot over some newspaper, usually in the garage. You can see that the plant is rather root bound.houseplants, root bound, repotting

Today it was too cold for such a project in the garage so I made a huge mess over a sheet on my kitchen floor. When you start pulling the plant apart you will realize it is made up of many plants.repotting houseplants, plants


You could actually put each plant in it’s own pot! After separating the plant I set aside the ones that will get re-potted. Rinse the dirt off the roots and run the roots of the plant under cool water.washing roots, repotting


Place the peace lily in the new container. Fill it with potting soil, and pack it down around the roots. Water the peace lily to keep the soil moist. I usually give the leaves a wipe with a damp cloth as well.repotted peace lily


I now have two plants and a pile of discarded plants for my compost pile!
repotted peace lily, houseplants
Don’t expect your plant to immediately look better. Give it several weeks and you should start to see signs of new growth. Transplanting is rather dramatic on a plant so give it some time to start looking good again. Believe me it won’t be long before you’ll be repotting it again.

Christmas Pies: Cranberry Apple

When you think of Christmas pie you may think of pumpkin or pecan pie, but I think of Cranberry Apple Pie. Many years ago my (ex) brother-in-law introduced me to this fabulous variation of an apple pie and I will forever be grateful! Whenever we spend Christmas with family I am asked to make this pie. After all these years when I think of Christmas pies I think of Cranberry Apple Pie.Cranberry Apple Pie


I always use the pie pastry recipe from King Arthur – you can’t beat it. Perhaps it’s the fact that they only use butter, but the crust is always flaky and delicious. If you have your own pie crust recipe that’s fine, but I strongly suggest checking out the pie pastry recipe on the King Arthur site.


Christmas Pies: Cranberry Apple Pie


Ingredients:


Use a basic pie crust recipe for a double crust 9” pie.

1 cup sugar

2 Tbsp flour

¼ tsp salt

2 cups cranberries

½ cup raisins (optional)

4 tart apples (Pippin or Granny Smith work best), peeled, cored and thinly sliced

Freshly grated zest of one orange

2 Tbsp unsalted butterIngredients for Cranberry Apple Pie


Preheat your oven to 425 degrees. Roll out your pasty for the bottom crust and line a 9” pie pan. Roll out top crust an set aside.

In a large bowl stir together the sugar, flour, and salt. Add the cranberries, raisins, apples and orange zest. Toss to mix well. Pile the fruit mixture into the pastry lined pan and dot with bits of butter.Cranberry Apple Pie


Cover with the top crust, trim and flute the edges. Cut a few vents in the top.Cranberry Apple Pie


Bake 20 minutes at 425 degrees and then reduce the heat to 350 degrees. Continue to bake until the crust is browned and the fruits are tender – about 40-50 minutes.Christmas Pies, Cranberry Apple Pie


Perfect to enjoy at the end of your holiday meal! Christmas Pies, Cranberry Apple Pie


Always good to the last bite!Cranberry Apple Pie

Efficient Heating = Winter Warmer

The basic principles of efficient heating are simple: keep warm air in, cold air out, and your heater or furnace in tip-top shape. There are a few other steps you can take to ensure a cozy winter without resorting to wearing a parka indoors.efficient-heating


  1. When the heat is on, set your thermostat as low as possible. Lower the thermostat to 55 degrees at night. Even a few degrees difference will lead to considerable savings. Remember, warm clothing provides an excellent source of insulation, as does adding another blanket to your bed. There are also smart thermostats that you can get where you can pre-program the temperature. Turn the heat down when no one is at home.heat control, frugal tip, prudent living
  2. Keep windows next to the thermostat closed tightly so the rest of the house is not several degrees warmer than the area around the thermostat.
  3. Make sure your heating system is operating efficiently. If you have a furnace or heat pump, check the filter at least every other month during the winter. Clean the filter as needed and replace it when it appears to be worn out. Have a professional tune an oil-fired system once a year. Gas-fired systems and heat pumps need to be tuned only once every two years.
  4. If you use an electric furnace for heating, consider a heat pump. These pumps are expensive, but they can reduce your total use of electricity for both heating and cooling by 30-40 percent.
  5. Close off unoccupied rooms or rooms not currently in use. This means shutting the heat or air conditioning vents, unless you have a heat pump. Shutting vents in this case could harm the heat pump.
  6. Keep your fireplace damper closed when not in use. It also helps to install a glass front to keep warm air from going up the chimney.
  7. Use insulating shades on the windows, this will help keep the cold out out and the warm air in!Close the windows and blinds during the day.


By following these basic principals of efficient heating this winter you will save money and stay warm.Winter

Design a site like this with WordPress.com
Get started