
Fall has come to Vermont and the weather is much cooler now, it’s the perfect weather for this best ever Cheeseburger Soup! We can’t always enjoy a yummy cheeseburger for lunch instead mix up a batch of this delicious soup. This Cheeseburger Soup is similar to potato soup but even more satisfying. I haven’t tried freezing this soup as it is usually consumed within a day or two! Pair it with a fresh salad and you have a complete dinner.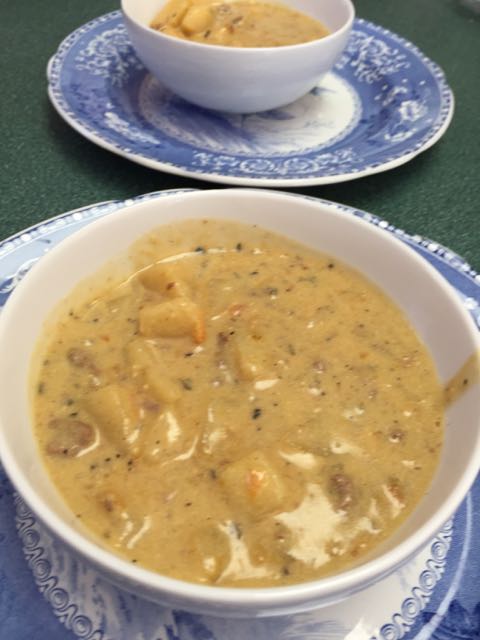
Best Ever Cheeseburger Soup
Ingredients:
½ pound ground beef
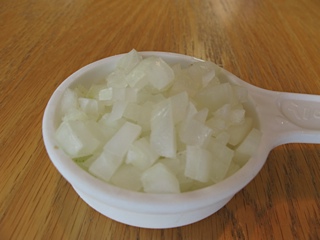
¾ cup chopped onion
¾ cup shredded carrots
¾ cup diced celery
1 tsp basil
1 tsp dried parsley
4 Tbsp butter (divided)
3 cups chicken broth
4 cups diced peeled potatoes
¼ cup flour
2 cups (8 oz) process cheese (Velveeta)
1 ½ cups milk
¾ tsp salt
¼ tsp pepper
¼ cup sour cream
Directions:
In a saucepan brown the beef; drain and set aside. In the same saucepan sauté onion, carrots, celery, basil and parsley in 1 Tbsp of butter until the vegetables are tender, about ten minutes. Add broth, potatoes and beef; bring to a boil and reduce heat; cover and simmer for 10-12 minutes or until the potatoes are tender.
Meanwhile, in a small skillet, melt the remaining butter. Add flour; cook and stir for 3-5 minutes or until bubbly. Add to soup; bring to a boil. Cook and stir for 2 minutes. Reduce heat to low. Add cheese, milk, salt and pepper; cook and stir until cheese melts.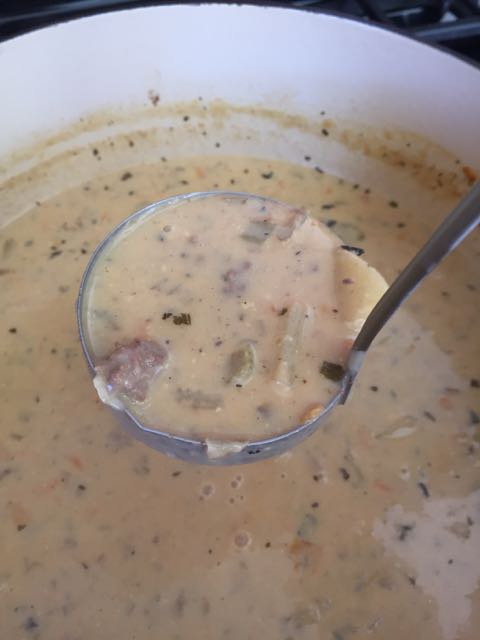 Remove from heat and blend in sour cream.
Makes 8 servings.


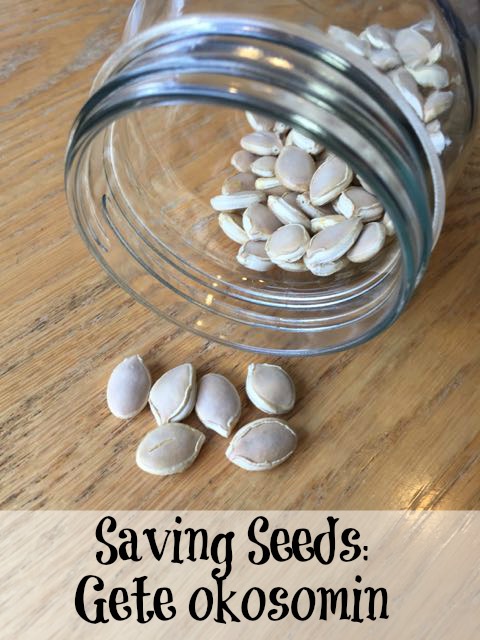
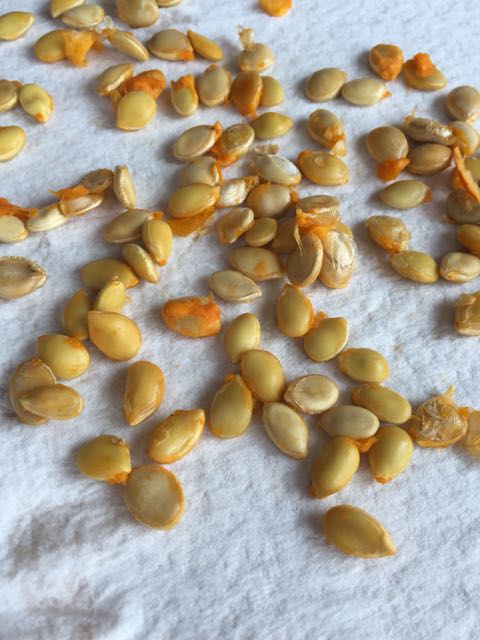
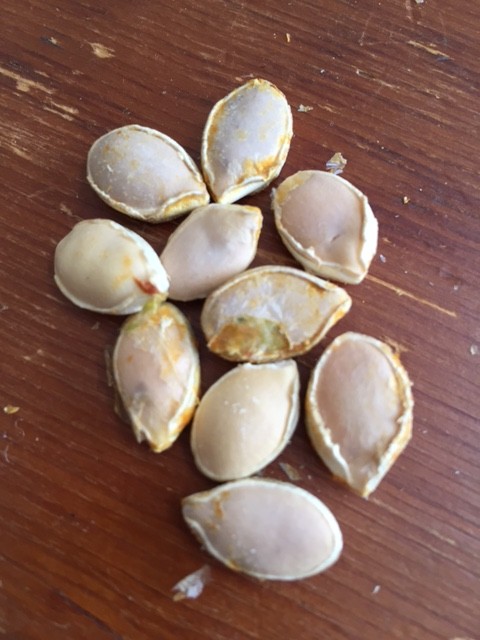
 The seeds were then paced on a paper towel and allowed to air dry. Once the seeds are dry I will store them in a jar. I have about 100 seeds to share. Not nearly enough to fill all the hundreds of requests I’ve had but I will be contacting the folks that requested seeds and work my way down the list until I run out of seeds!

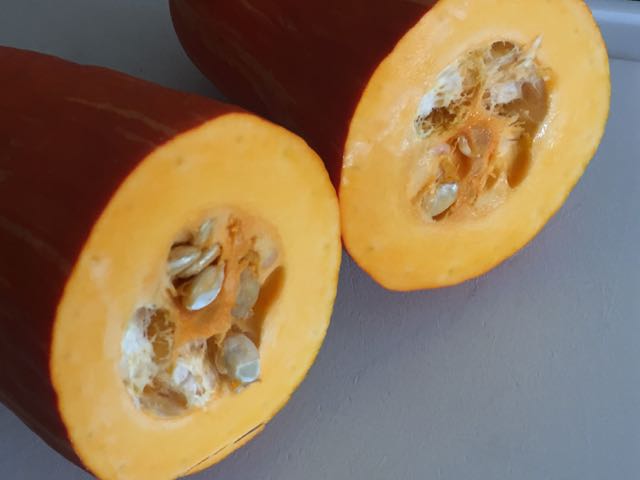
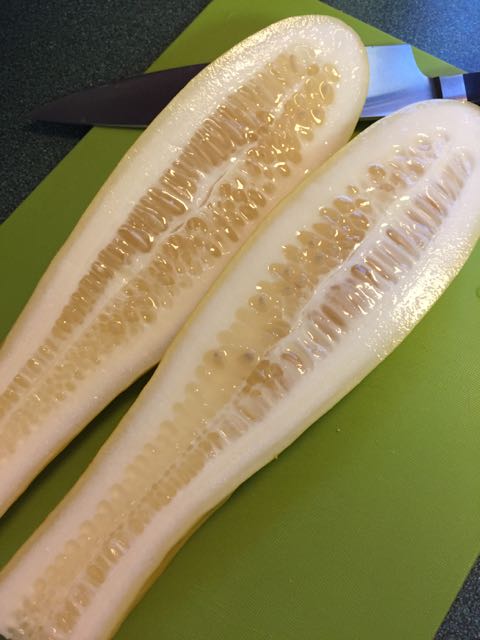 Each cucumber seed is encased in a gelatinous sack that is most easily removed by fermenting the seeds.
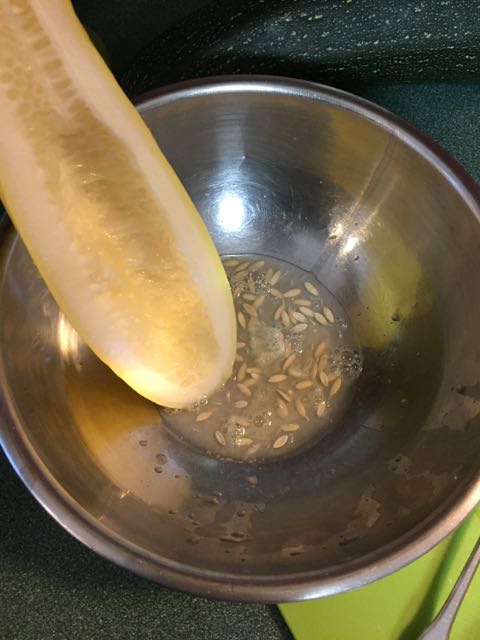 Add about as much water as seeds but not too much or fermentation will be slowed. Set the bowl away from sunlight in a protected location to ferment. Depending on the temperature, fermentation will take from one to three days. During this time the aromas coming from the bowl will be less than pleasant and some mold may form over the top of the mixture. Stir the mass twice a day. Fermentation is complete when most of the seeds have settled to the bottom of the bowl and the seedcases are floating on top of the mixture.
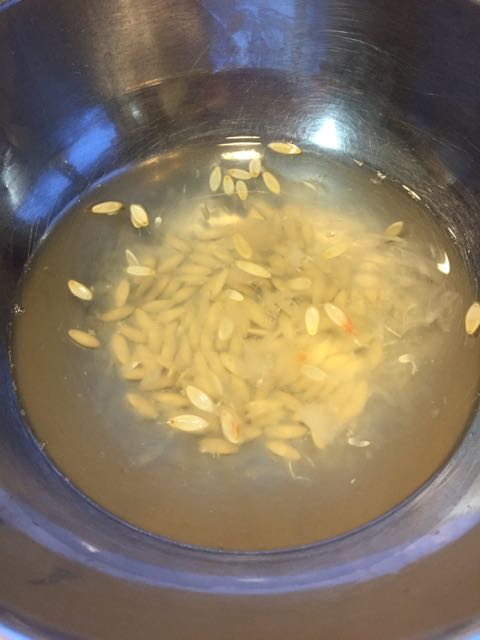
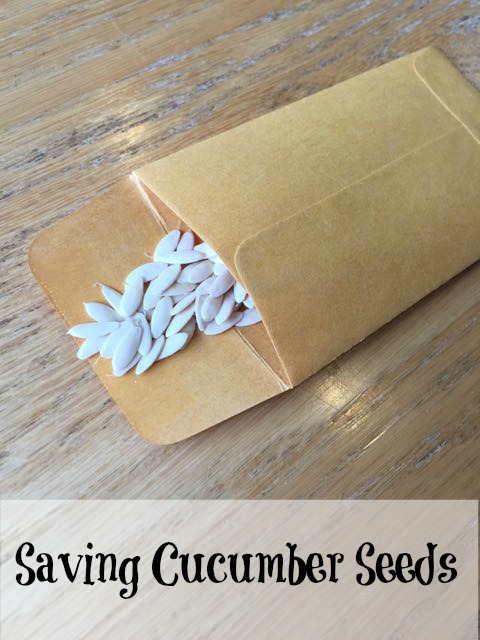
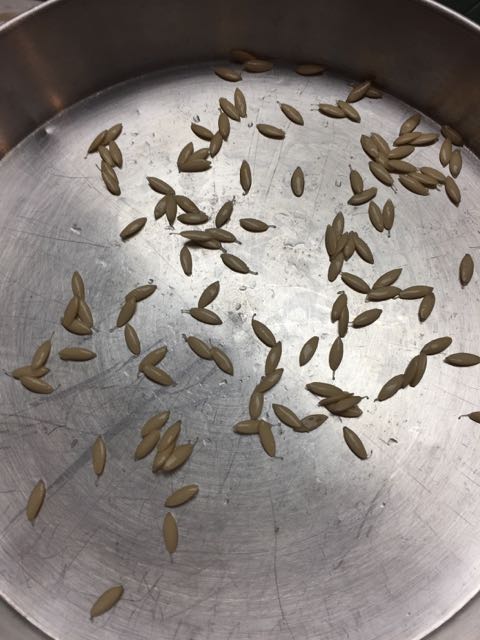 Cucumber seed will remain viable for ten years when stored under ideal conditions. Saving cucumber seeds is quite easy and now I now I will have seeds to plant next year.

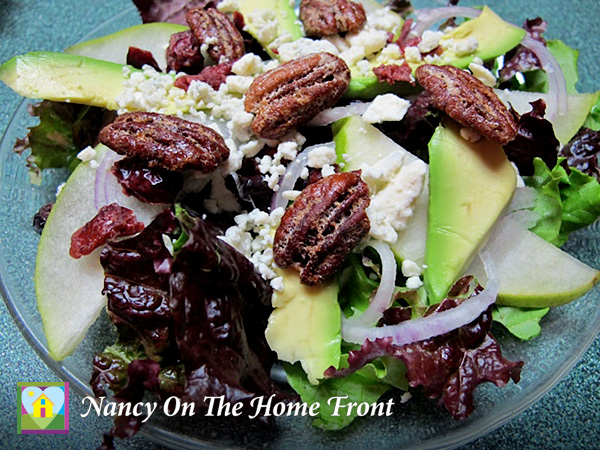
 Add avocado or dried cranberries as desired. Pour over the salad just before serving. Serve and enjoy.

 Of the four seeds only three sprouted and did extremely well at first.
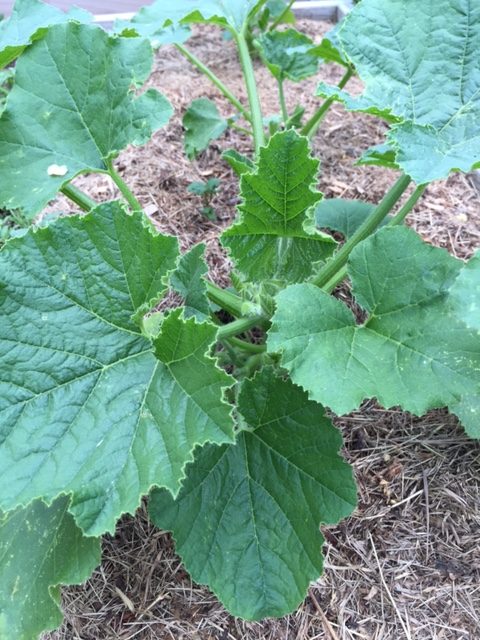 Unfortunately we had several things going against us this year. Our garden was overrun with
 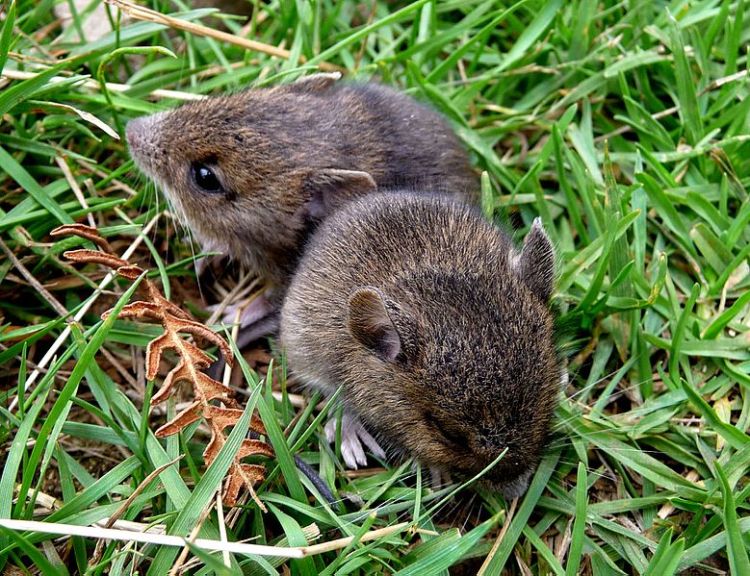 We also experienced a drought this summer. While normally this isn’t a problem as we have a deep well and plenty of water to keep the garden well irrigated. However we had a granddaughter arriving in August, at the height of the growing season. When I left for Seattle the garden was doing well, it was also used to getting well watered each day. During the two weeks we were gone the garden was not watered and it suffered. When I returned home there was only one squash plant alive and even that was suffering. Insects had burrowed into the stem which limited the amount of water going to the growing squash. One of the growing squash also was suffering from some sort of end rot.
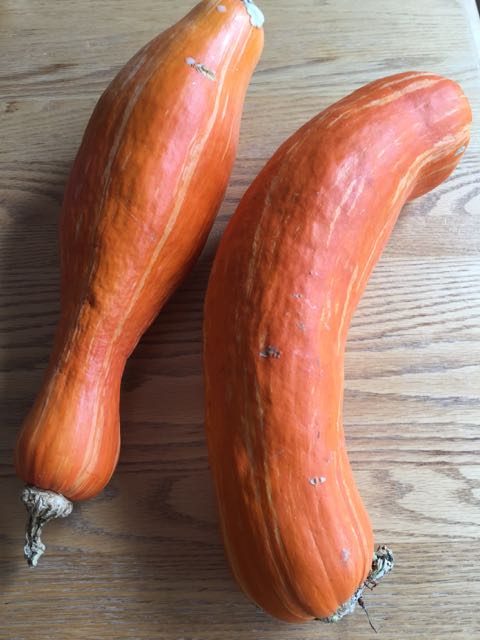
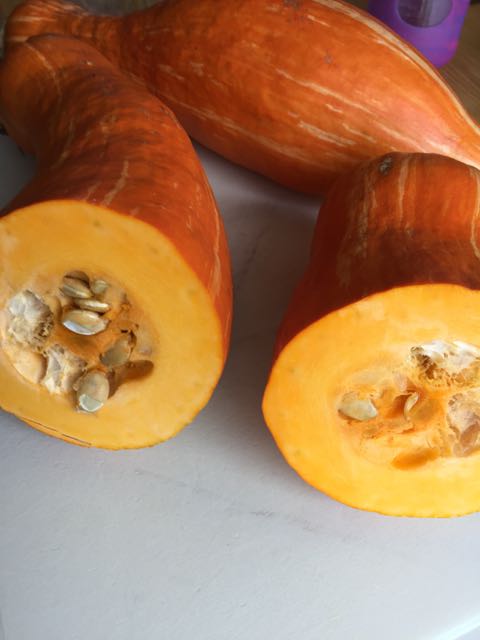
 I have never had such a dismal harvest before. Usually when I grow winter squash or pumpkins I have more than enough. Not this year. I was only able to harvest two small squash plants.
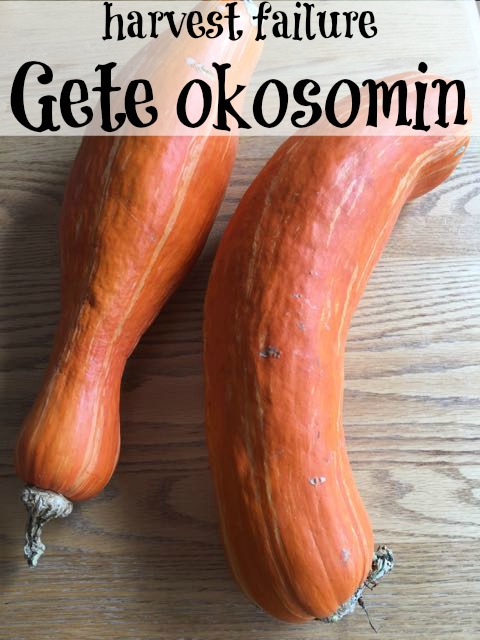 Certainly there are not enough seeds to supply the hundreds of people that have written me requesting seeds.
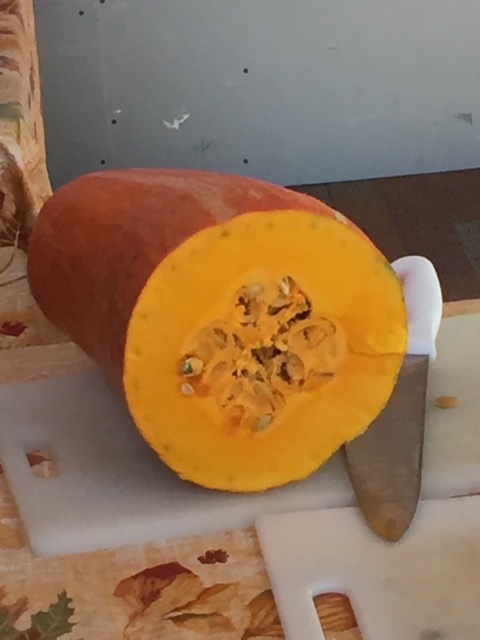
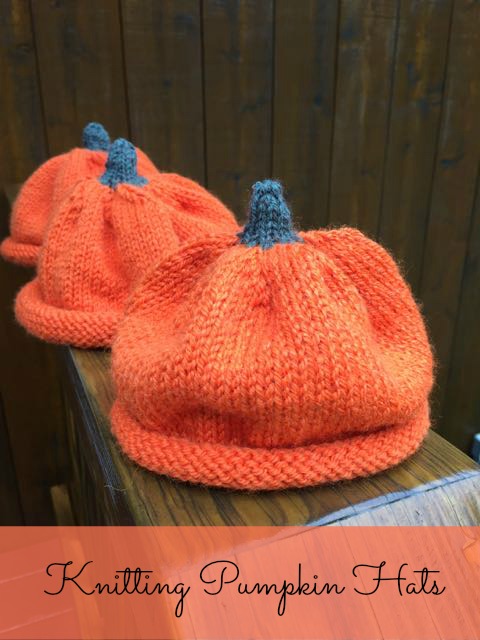
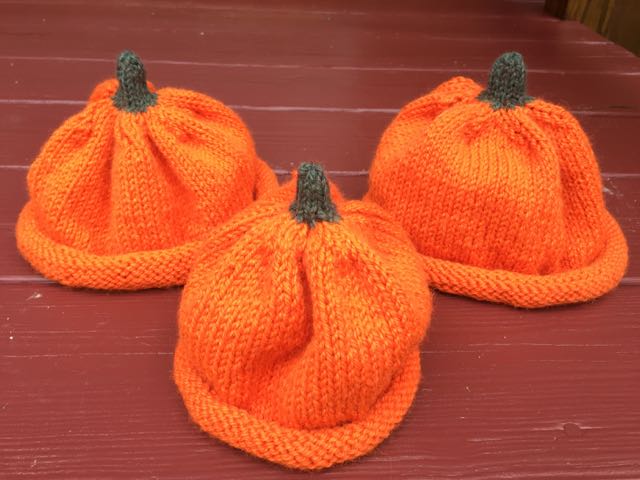 My husband thought the hats were so cute he asked for one as well. By the time I was finished I had completed four adorable hats.
 It was a wonderful day at the
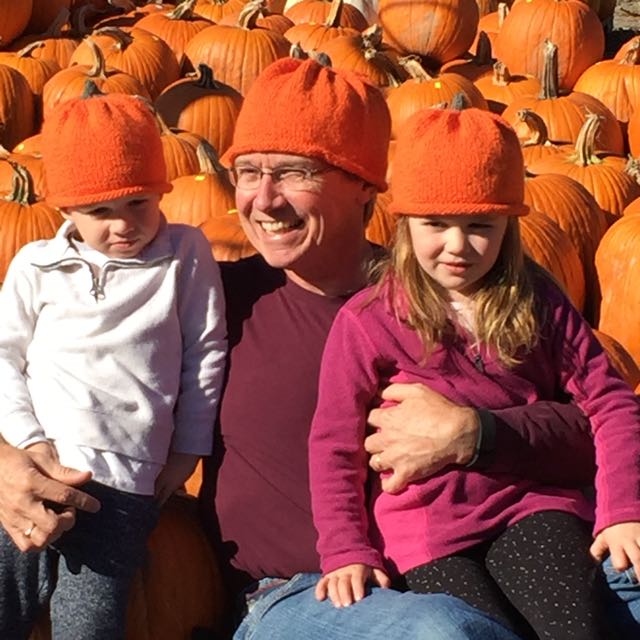

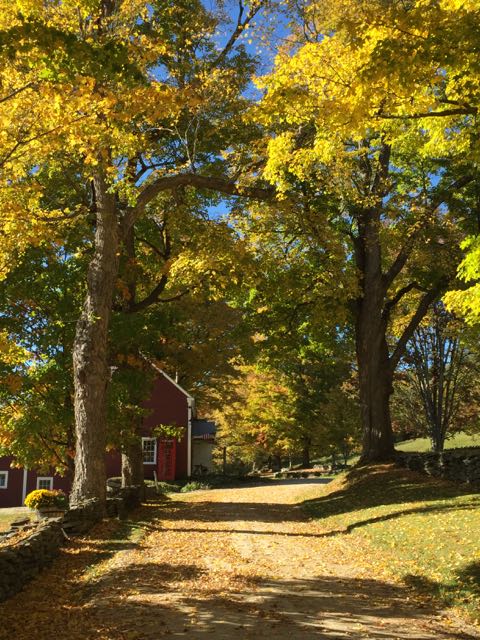
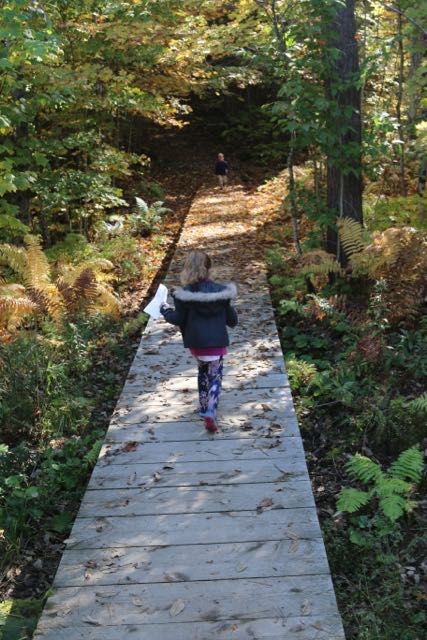 My husband drew a scavenger hunt of items to look for. In addition to finding the maple leaves and salamanders we also found beautiful spider webs and exquisite fall foliage.
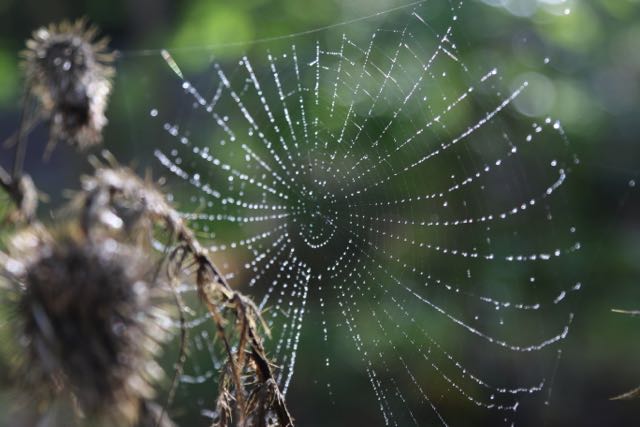
 My granddaughter was lucky enough to find one last remaining carrot in the garden. I think it is so important to introduce children to gardening and where our food comes from.
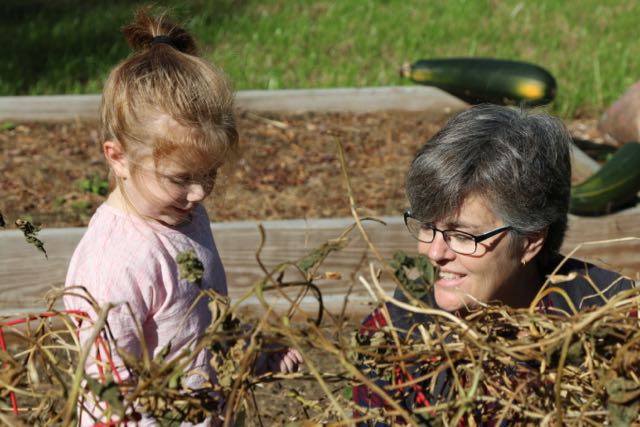
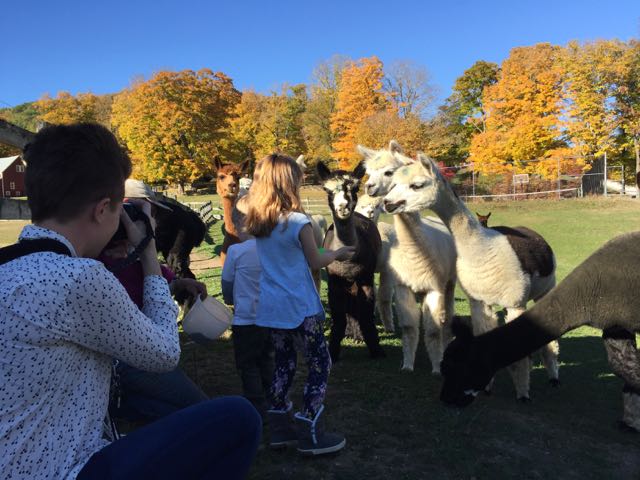
 It was wasn’t easy but we managed to get a great shot of them all wearing pumpkin hats while at the same time entertaining everyone with our photo shoot!

 I also miss the lively conversations at the breakfast table.
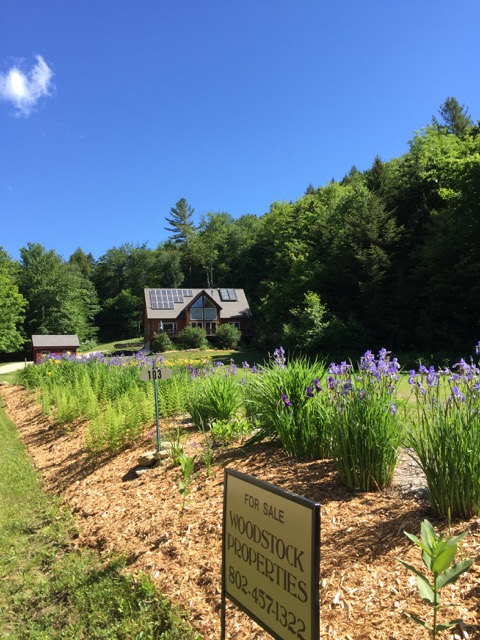
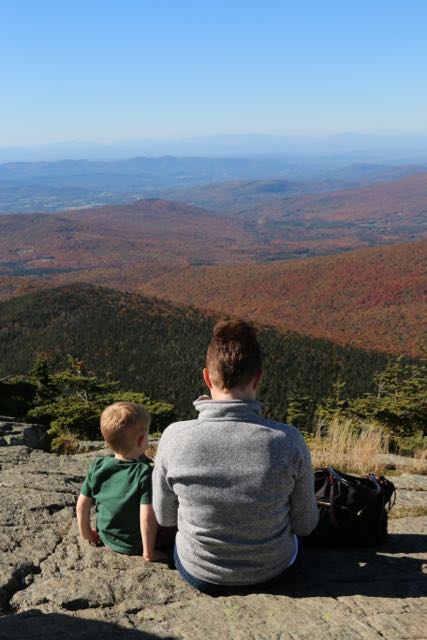
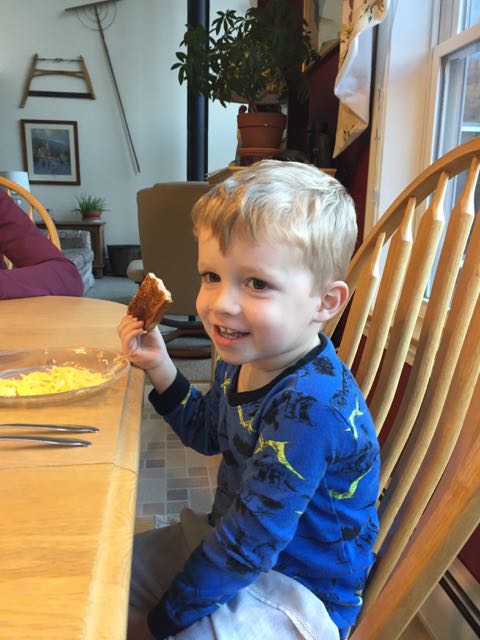 I am so thankful for this time we had with our daughter’s and our grandchildren. Exploring Vermont with our grandchildren was amazing. Such fun to see everything through their eyes. Our desire is to sell our home and relocate to the Pacific Northwest to be closer to our children. Eventually it will happen and we look forward to creating another home front on the west coast!