I have mentioned before how much I enjoy shrimp. For me this shrimp and pasta salad is one of those perfect summertime salads, it can be served as a light dinner with some fresh homemade bread or you can enjoy it for lunch. To make it lighter use fat-free mayonnaise. By all means use fresh ingredients from your garden if possible! This easy salad makes about 9 servings.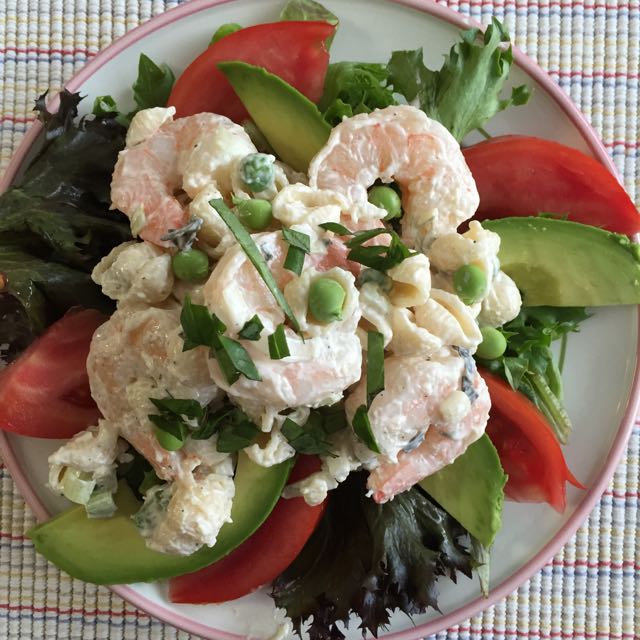
Shrimp and Pasta Salad
Ingredients:
8 oz uncooked small pasta shells
1 cup mayonnaise
¼ cup grated Parmesan cheese
¼ cup buttermilk
1/3 cup finely chopped onion
2 Tbsp minced fresh parsley
1 ½ tsp minced fresh basil
½ tsp salt
½ tsp pepper
1 pound cooked medium shrimp, peeled and deveined
¼ cup frozen peas
1 medium tomato, seeded and chopped
2 scallions, thinly sliced
Directions:
Cook the pasta according to the package directions. While the pasta is cooking make the dressing. Combine the mayonnaise, Parmesan cheese, buttermilk, onion, parsley, basil salt and pepper in a blender; cover and process until blended.
Drain the pasta and rinse in cold water. In a large bowl combine the pasta, shrimp, peas, tomato and scallions. Add dressing and toss to coat. Cover and refrigerate until chilled.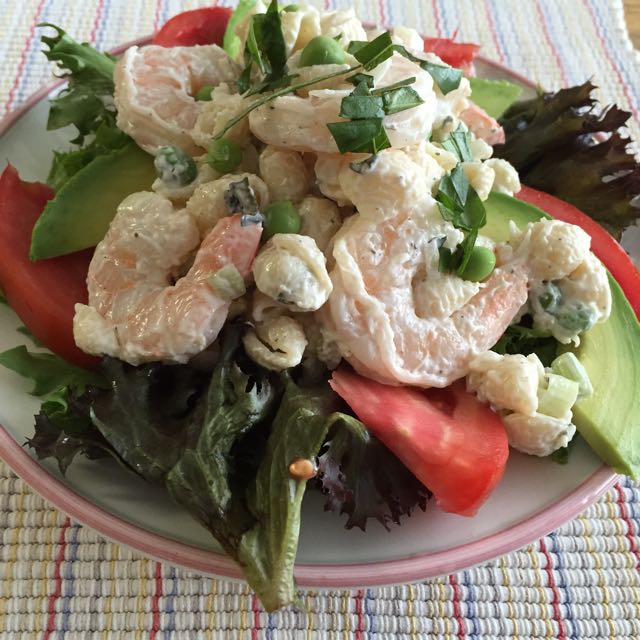
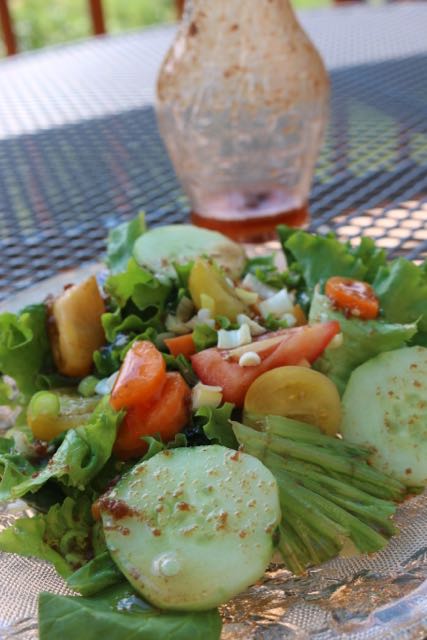
Perfect with a glass of wine on the deck!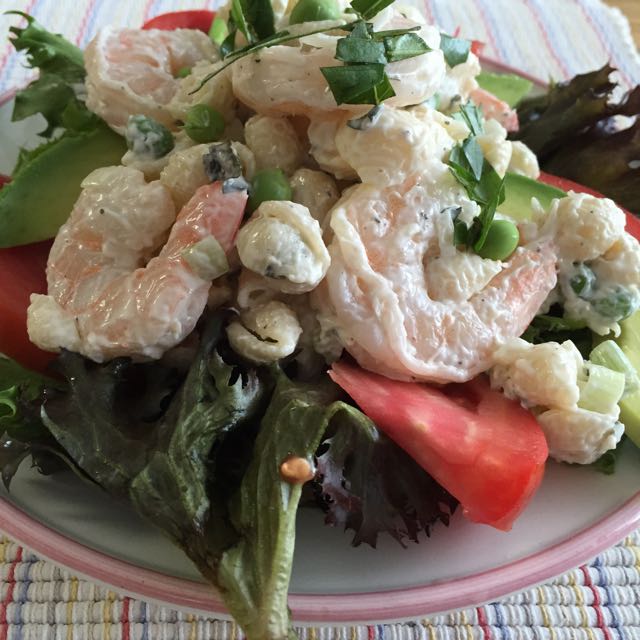


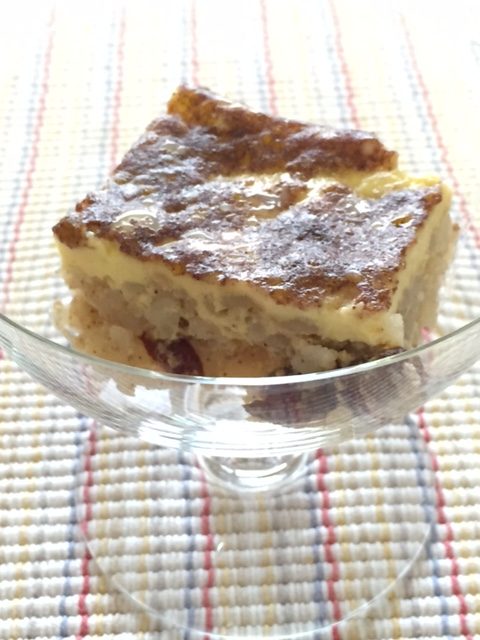

 Serve warm, at room temperature or chilled. I have to say this is a tasty way to use up leftover rice!
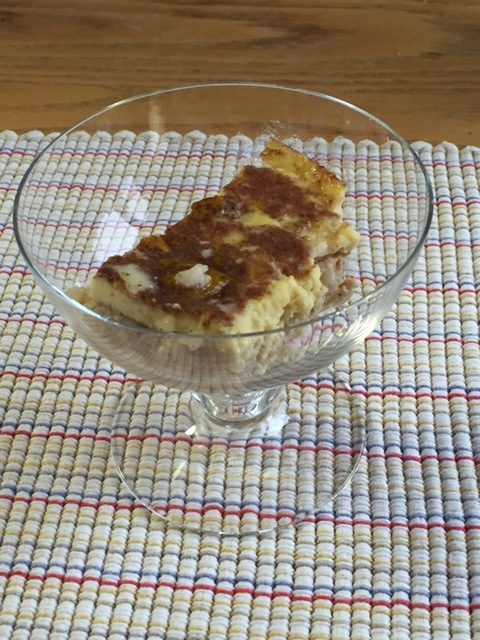


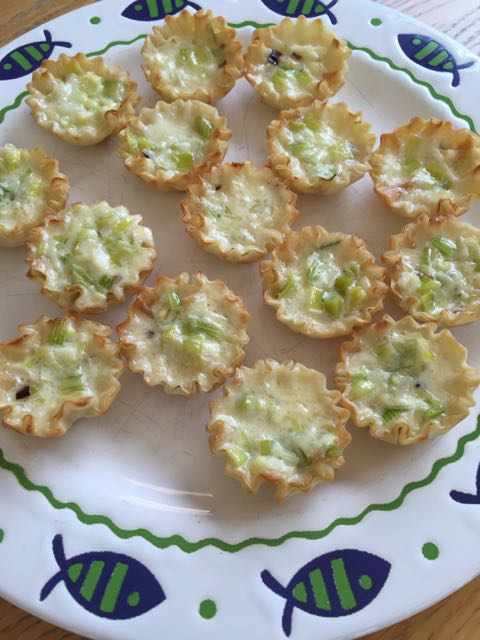

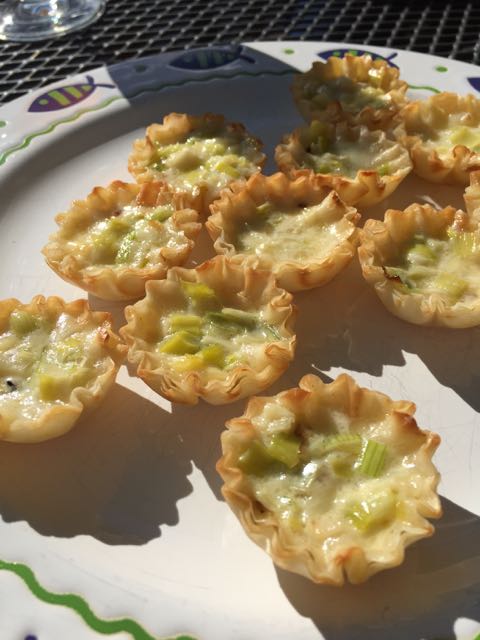
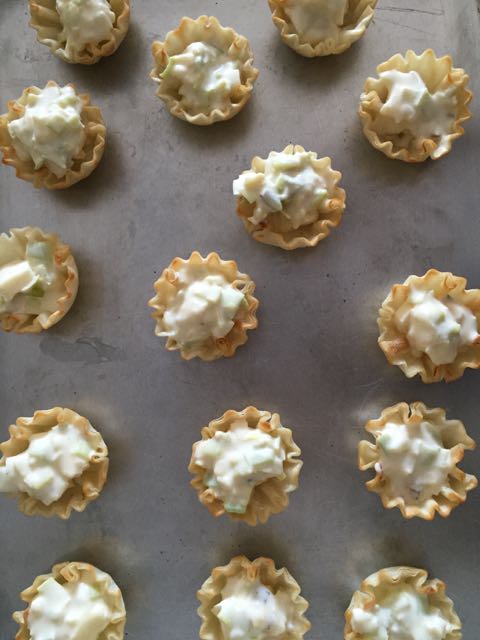 Bake at 350 for 6-8 minutes or until the tartlets are heated through. Serve immediately.
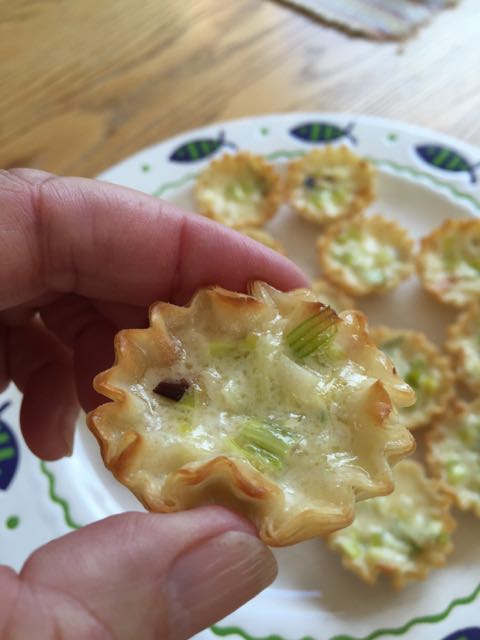 Leftover Brie Leek tartlets can be refrigerated. Makes 15 appetizers.