
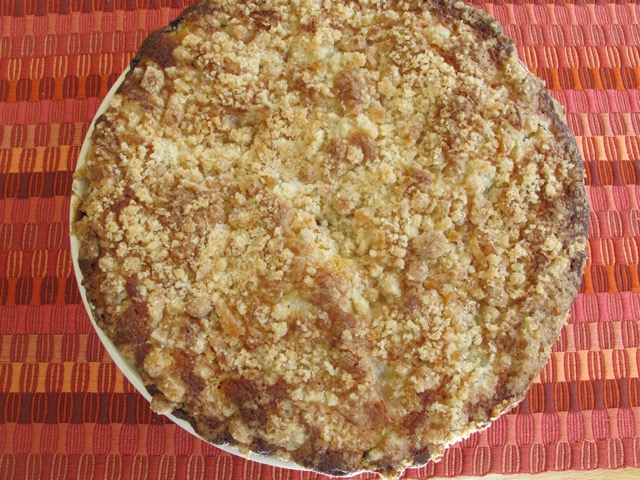
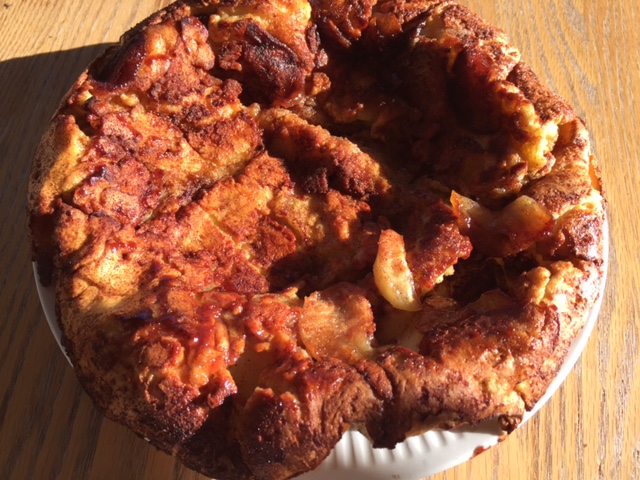
Several years go a good friend of mine gave me a special Mary Ann Cake Pan. These pans were first introduced in the United States in 1921. The pan is designed to bake light cake shells to hold everything from fresh fruit to rich custards. When the cake is baked it has an inverted well for spooning in lightly sweetened whipped cream or lemon curd and fresh fruit. I decided to make a delicious strawberry rhubarb shortcake. It was a delicious dessert enjoyed by all.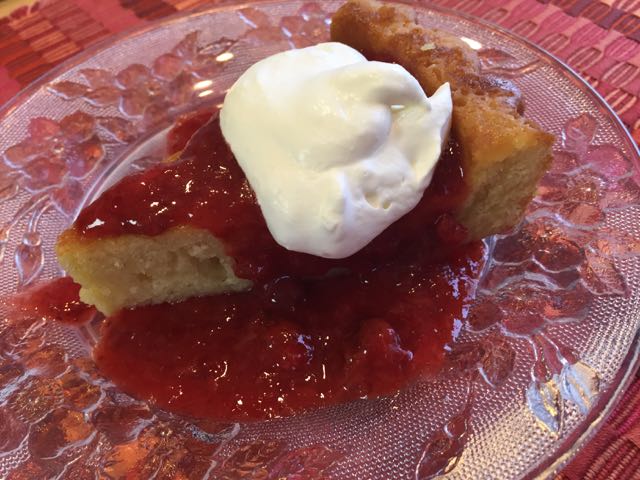
Strawberry Rhubarb Shortcake
Shortcake Ingredients:
2 cups flour
2 tsp baking powder
1 tsp salt
2 sticks of butter, room temperature
1-1/2 cups sugar
4 eggs
2 tsp vanilla extract
1 cup milk
Directions:
Preheat your oven to 350 degrees. Grease and flour your Mary Ann cake pan. In a small bowl combine the flour, baking powder and salt. Set aside.
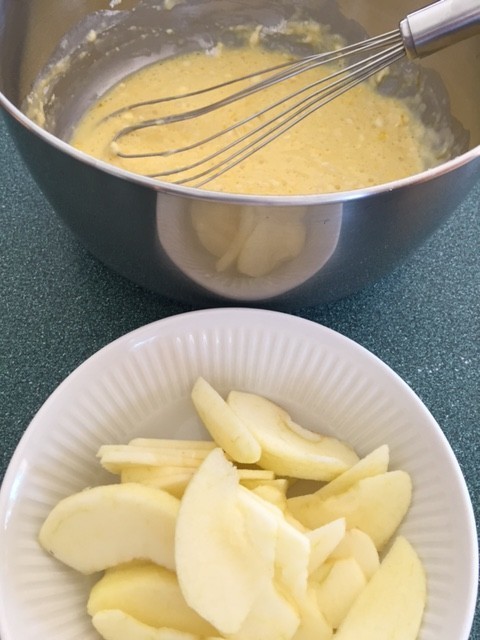
Using an electric mixer beat the butter until smooth and creamy. Reduce the speed and gradually add 1 ½ cups of sugar, beat until well blended. Add the eggs one at a time. Beat in the vanilla.
Reduce the speed to low and add the flour mixture alternating with the milk. Blend until there are no lumps of flour left. Carefully pour the batter into the cake pan. Bake at 350 for 40 minutes. Transfer the pan to a wire rack and let cool 15 minutes. Carefully remove the cake and let cool completely, at least an hour.
While the cake is cooling make your strawberry rhubarb sauce.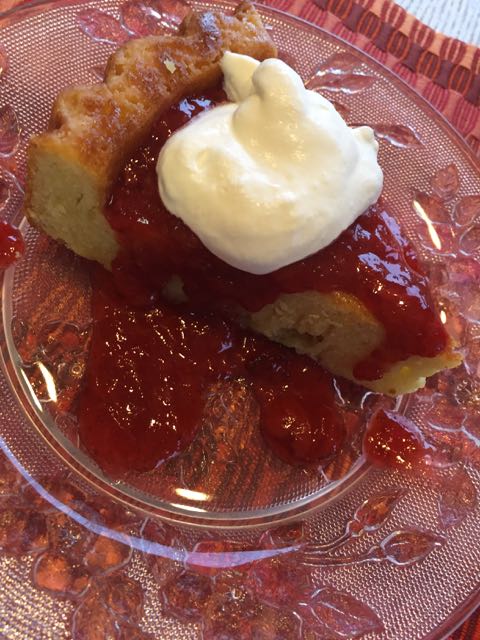
Strawberry Rhubarb Sauce
Ingredients:
3 Tbsp quick cooking tapioca
4 cups fresh or frozen strawberries
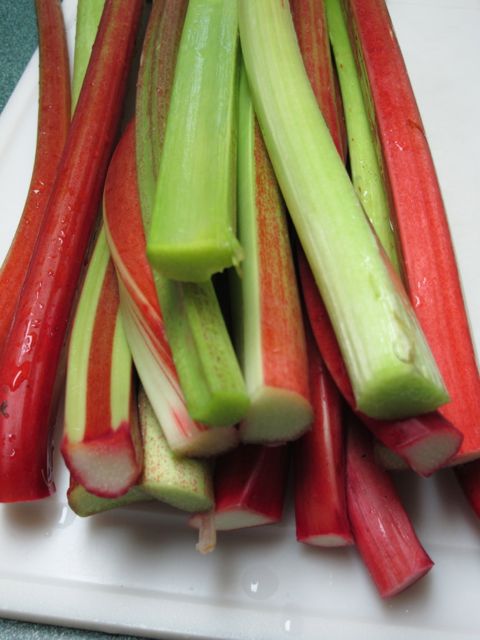
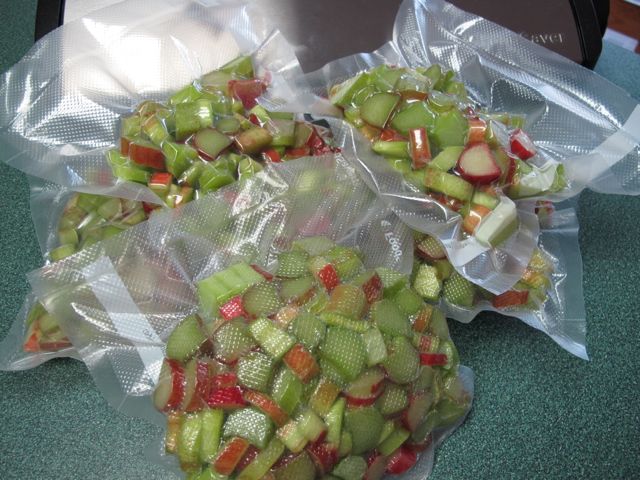
2 cups sliced fresh or frozen rhubarb
¾ cup sugar
1 tsp grated orange peel
1 tsp vanilla extract
¼ tsp cinnamon
¼ tsp salt
Directions:
In a large sauce pan, combine strawberries, rhubarb sugar, orange peel, vanilla , cinnamon, salt, and tapioca.Bring to a boil then reduce heat and simmer covered for 15-20 minutes or until the strawberries are tender. Stir occasionally while cooking. Transfer to a large bowl and refrigerate.
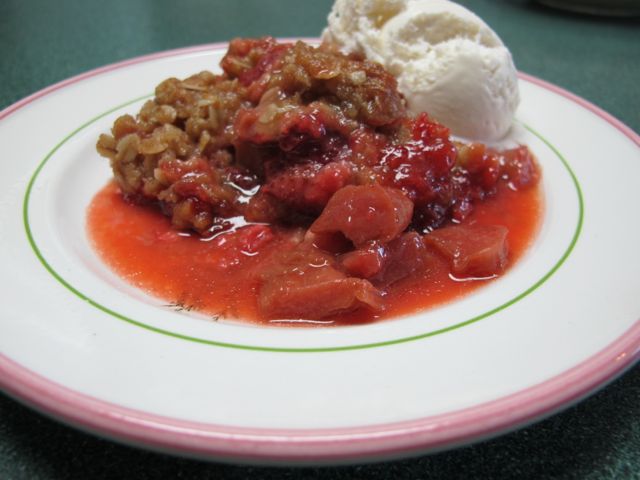
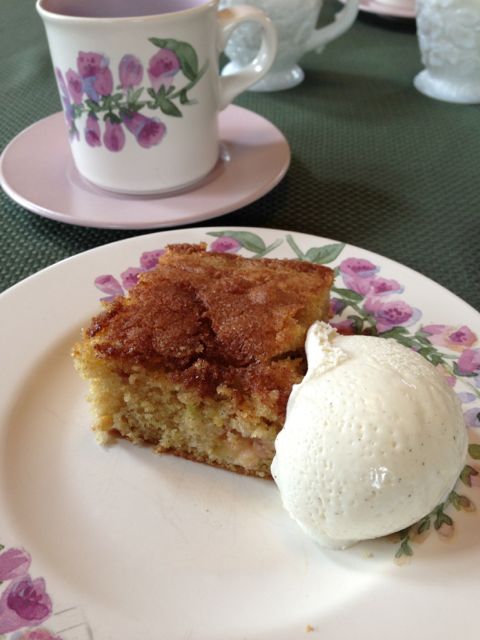
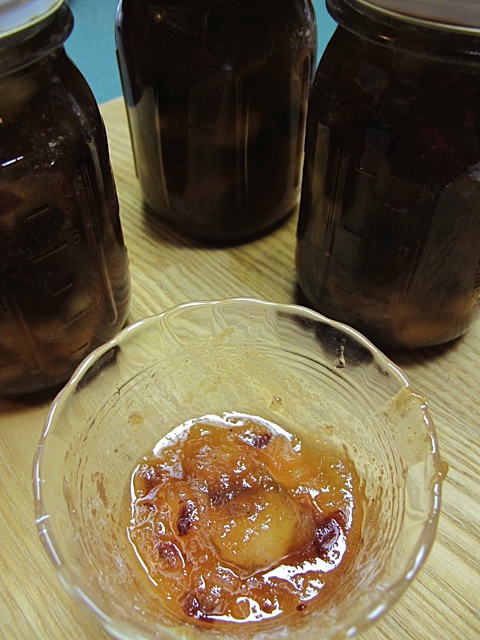
Rather than pour the Strawberry Rhubarb Sauce into the cake I cut each piece of cake and then topped it with the sauce and a little whipped cream. This way I could freeze the cake we didn’t eat for another time.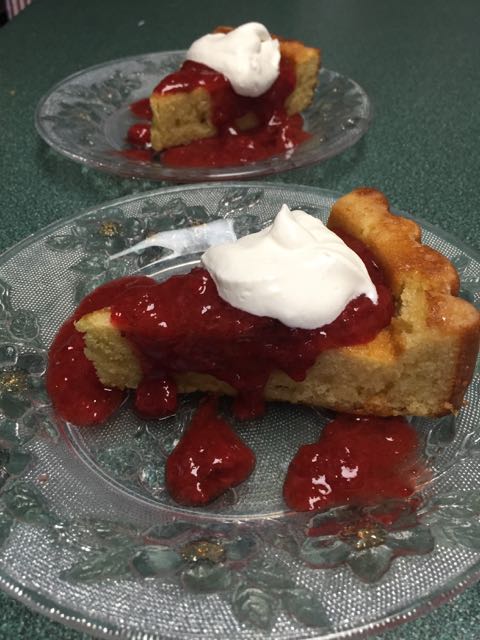

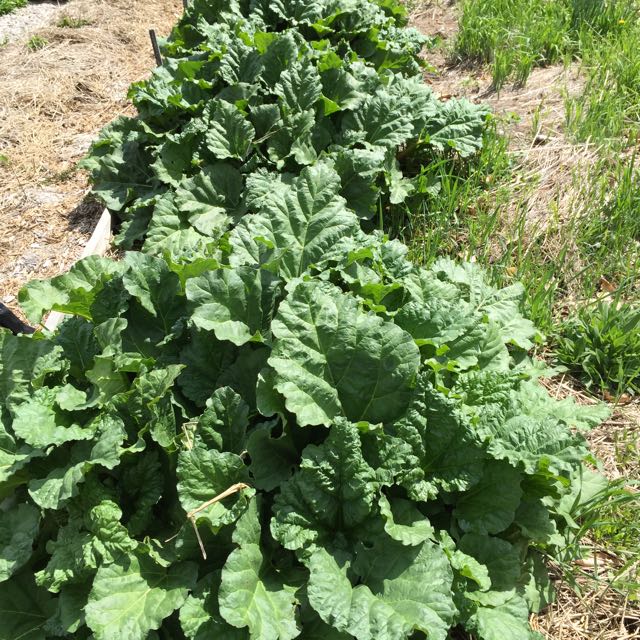
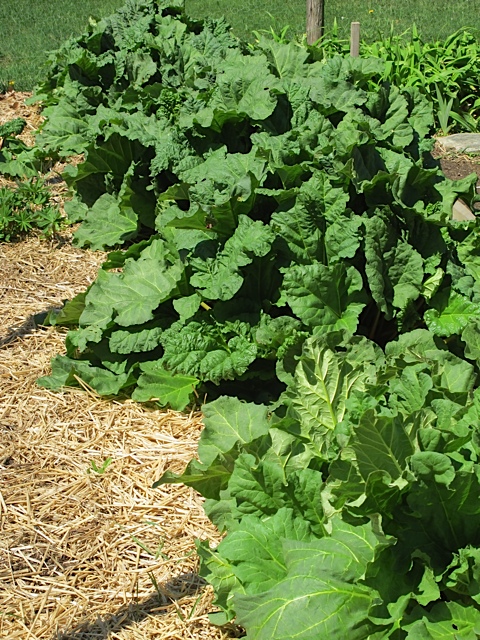
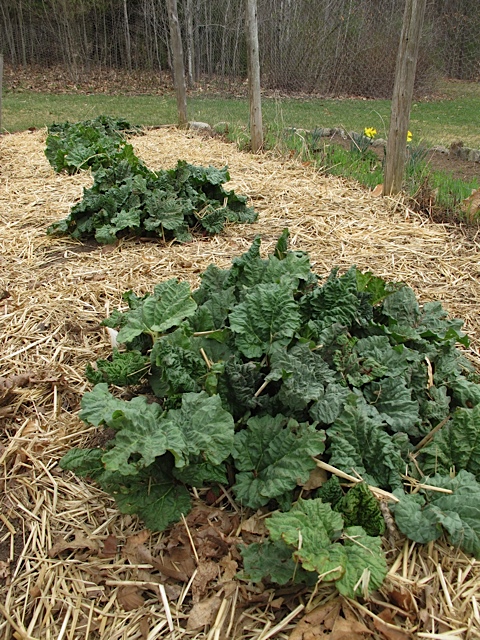
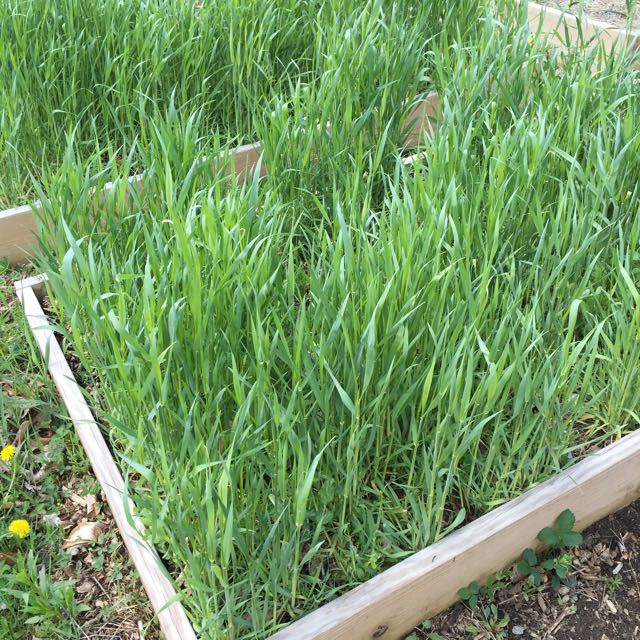 Ideally I would have tilled the cover crop under but my raised beds are four feet by eight feet and too small for our large rototiller! Instead I am hand pulling the cover crop, shaking out all the dirt from the roots before placing in our compost pile.
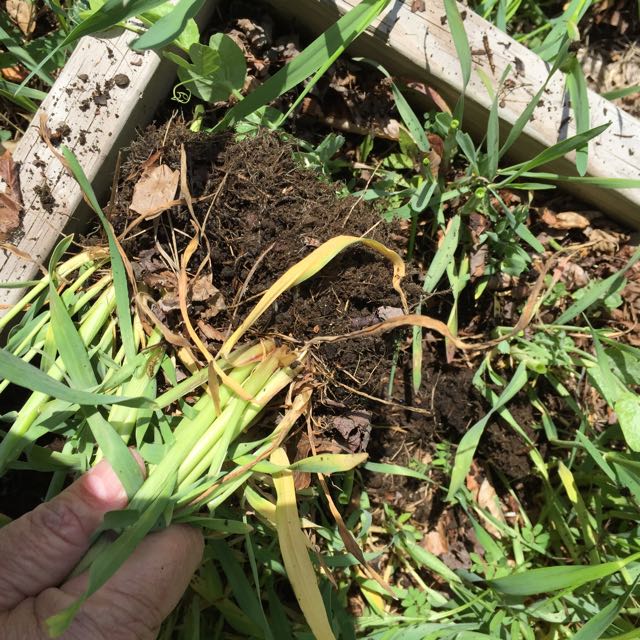


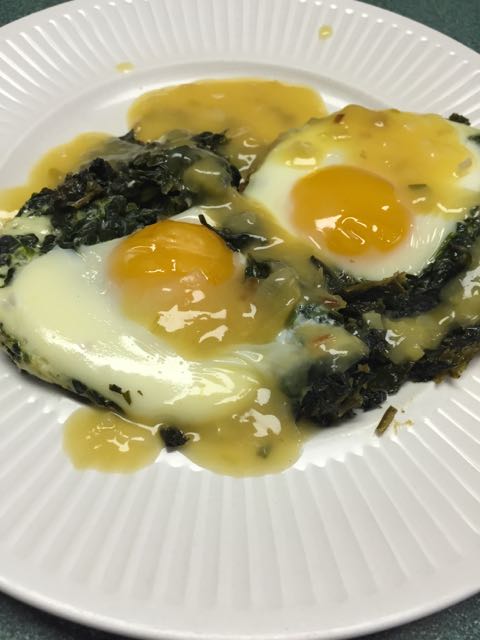
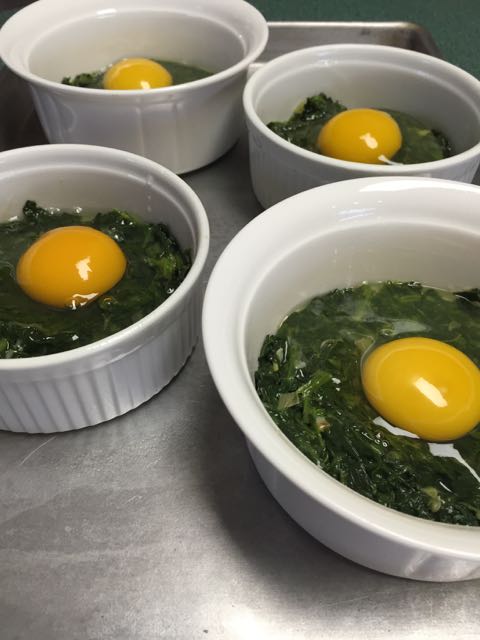 Put the ramekins on a baking dish and bake until the eggs are set, about 15-20 minutes.
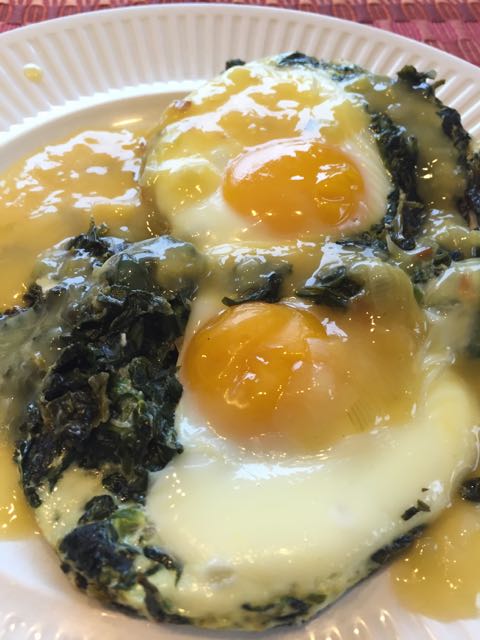
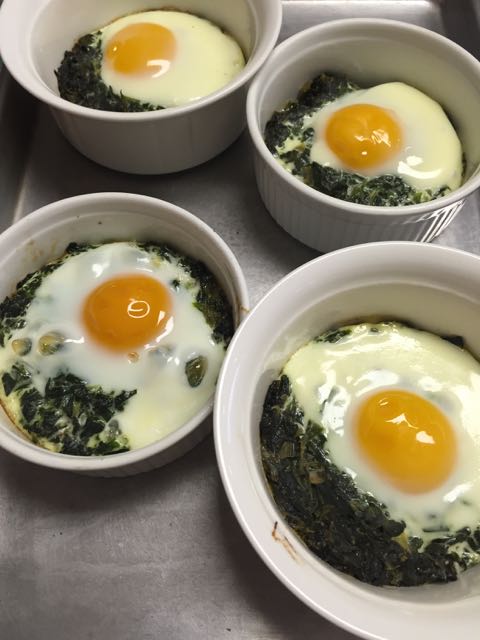 Spoon about 2 Tbsp of the remaining sauce over each cooked egg and serve.

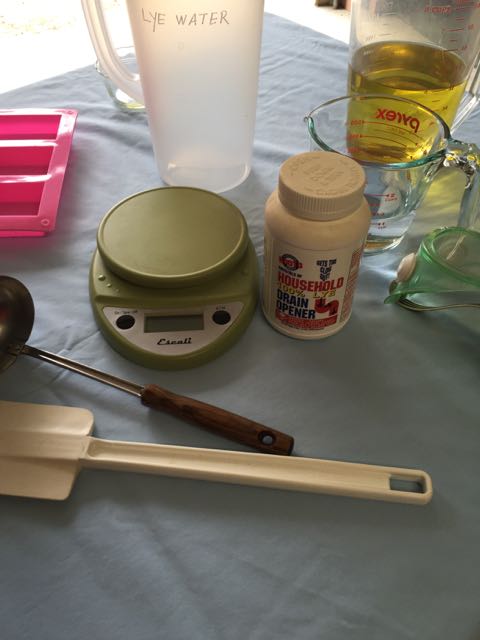
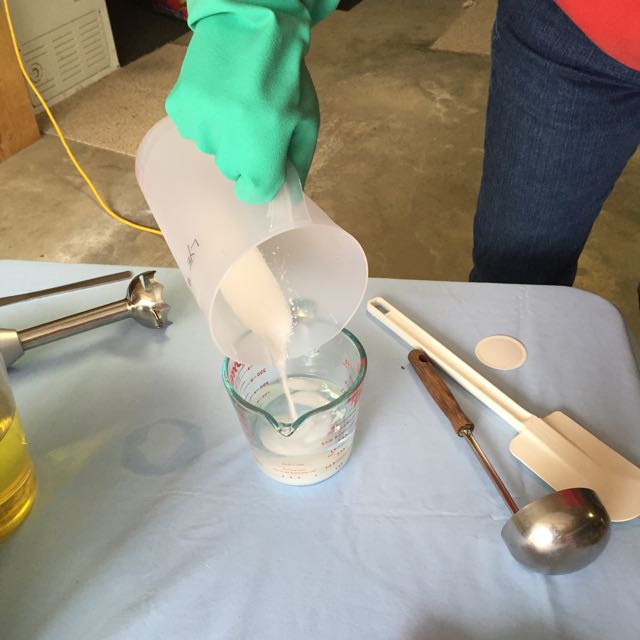
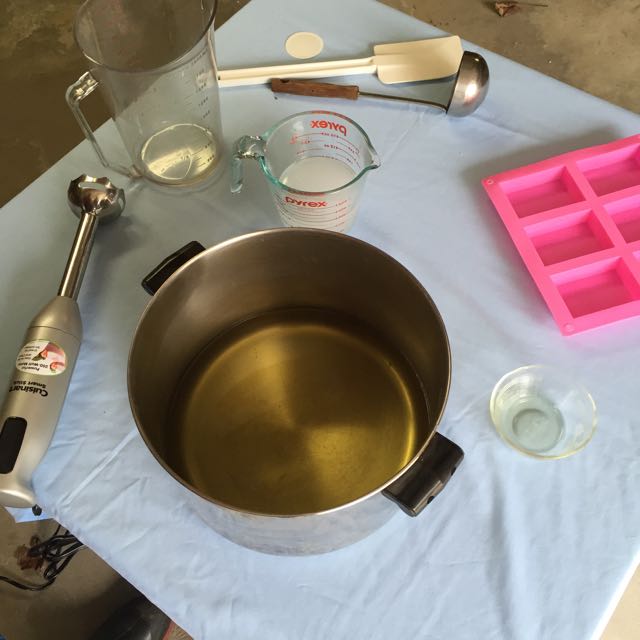 Once the lye cooled I slowly combine the lye water and oil. I was very careful not to splash while combining the mixture. With my stick blender I stirred the mixture until is thickens to the consistency of custard. This is called tracing. I realized as I was making the soap that my pan may have been too large which allowed for too much air to get into the mixture. We’ll see how the soap comes out.
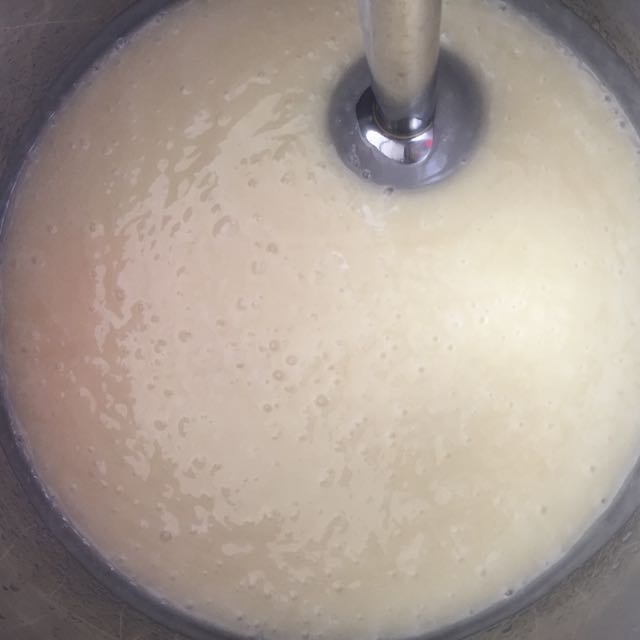
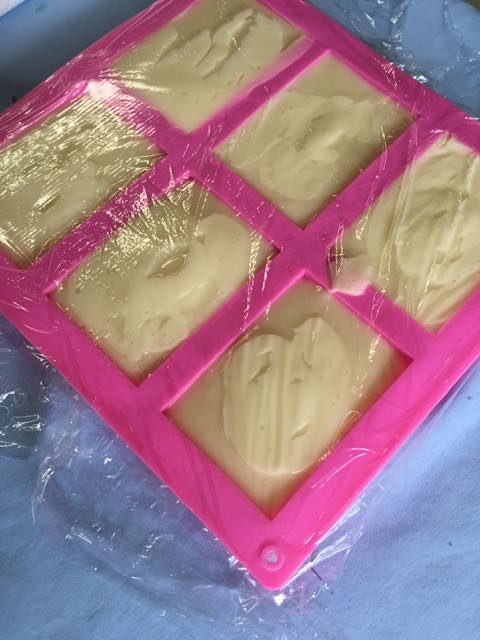 Then cover with an old towel to insulate the soap. After a day or two the soap should be hard and can be turned out of the mold. Allow the soap to cure and dry. Place them on a wire rack so they can breathe.
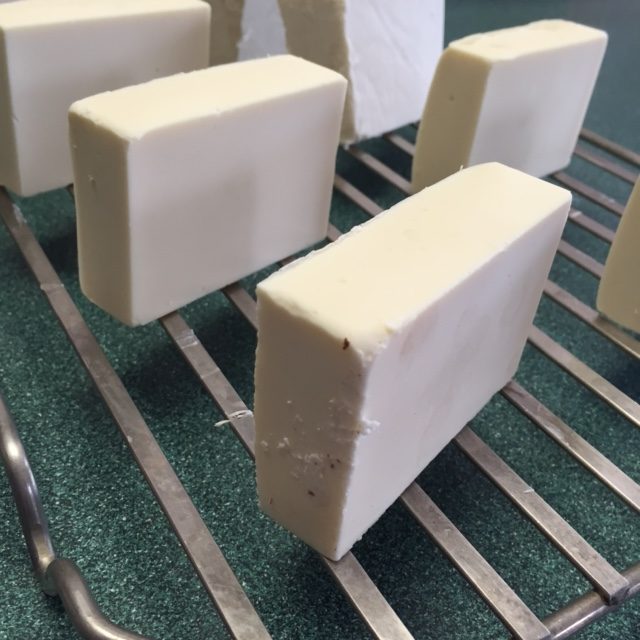 The initial result looks good! The soap is hard and came out of the mold easily. Now to let the soap cure. The curing should take 4-6 weeks to complete. After that your soap should be hard and firm. Stay tuned… I’ll let you know next month how the soap works in the shower!


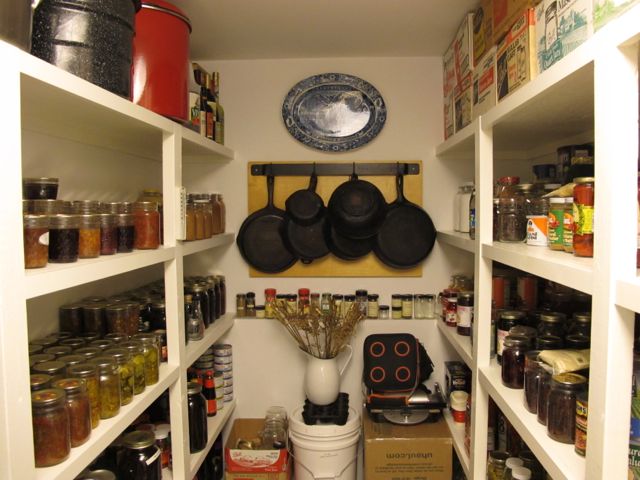

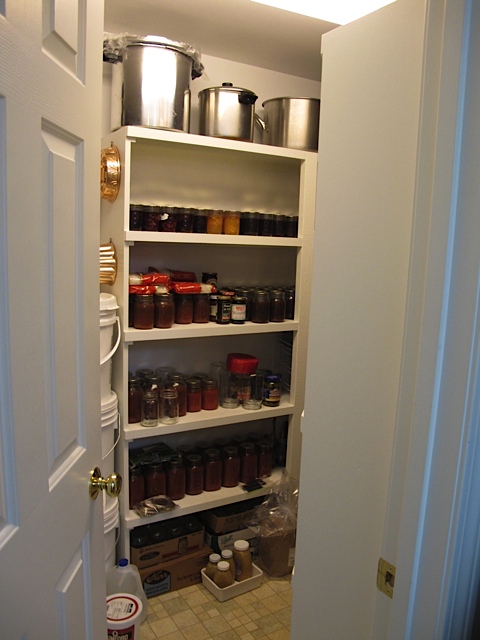 I mentioned two weeks ago that I was focusing on

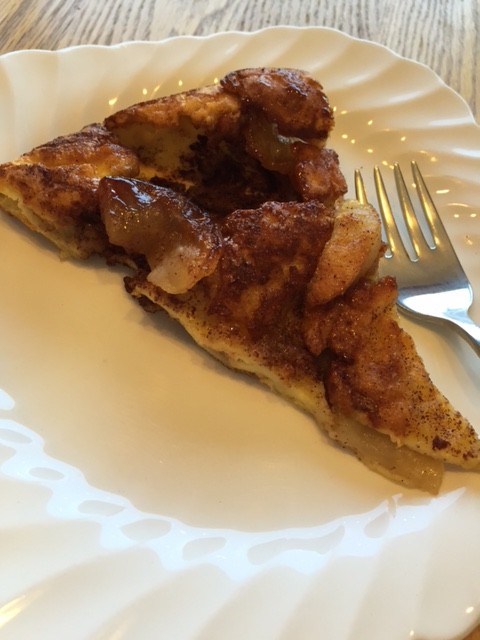 Would also be good with a little whipped cream or ice cream.