A Real Tool Box

Everyone who has a home, whether it is an apartment or a spacious home, needs a tool kit. Your specific needs may vary, after all the average condo dweller probably doesn’t need a hacksaw but you can’t be very handy without the right equipment. If you invest in good tools now, they should last for years and you will save later.

What to put in your toolbox? Here are a few suggestions.Tool BoxClaw Hammer. The hammer comes in several varieties, differentiated by weight and function. A claw hammer is designed to pound in and put out nails. Get a 16oz version; a little tack hammer is not enough for many jobs.

Screwdrivers. Get a straight-slot and a Phillips. You probably need more than one of each: a shorter one for working in close quarters and a long tip blade for turning power. The size of the tip is also important: it should fit tightly into the grooves in the screw!

Claw Hammer & Screwdrivers

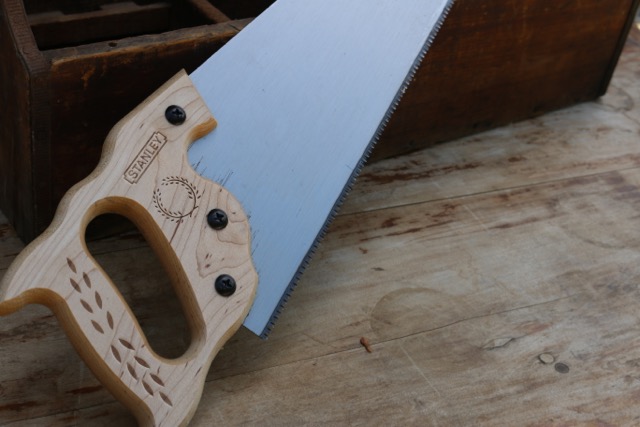
Crosscut Saw. This is the most versatile of the several varieties of wood saws. A simple handsaw can also be used for most small projects.

Crosscut Saw
Crosscut Saw

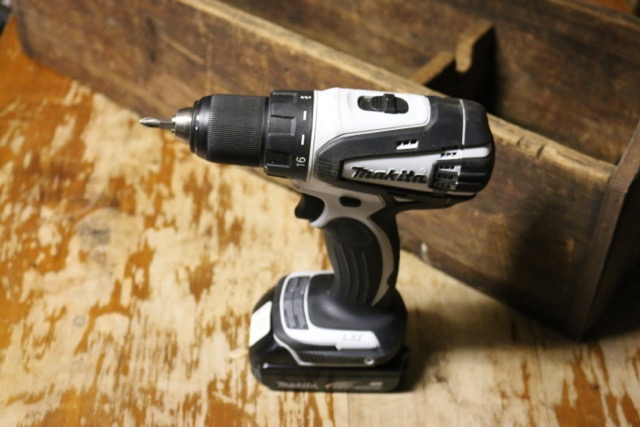
Three-eights inch Power Drill. It can be cordless or plug in, variable speed or fixed – your choice depends upon your budget and convenience. Drills often come with attachments for sanding and buffing.

Power Drill
Cordless Power Drill

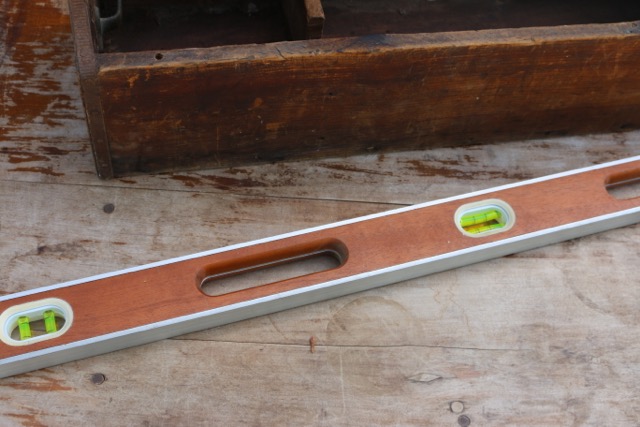
Carpenter’s Level. Used to determine if a surface (shelving, appliance, drapery rod) is level.

Carpenter's Level
Carpenter’s Level

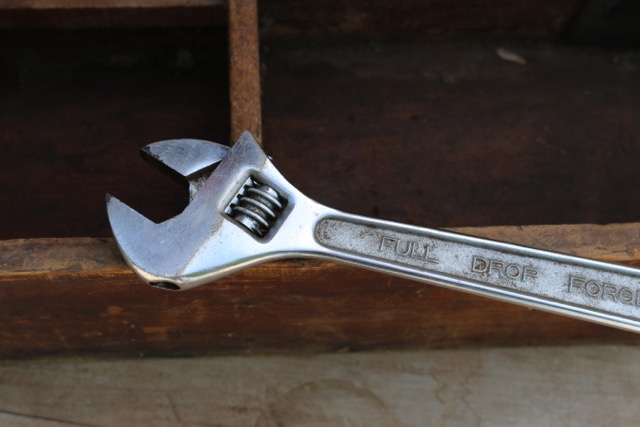
Adjustable Wrench. Basically, a handle with jaws on the end. The lower jaw can be moved up and down to tighten the jaws over the head of a bolt or a nut.

Adjustable Wrench
Adjustable Wrench

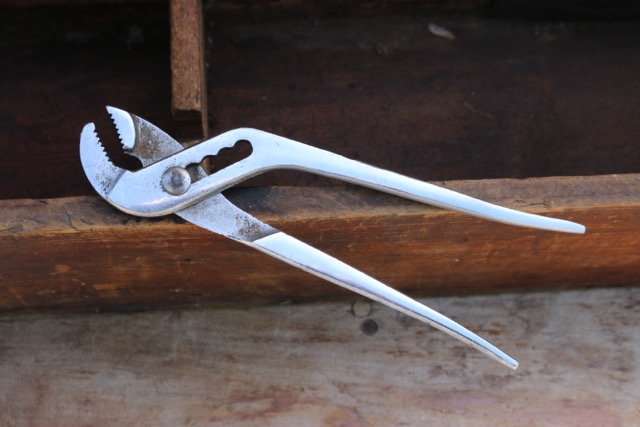
Slip Joint Pliers. The jaws have various open positions depending on the selected joint used, with teeth or serrations for gabbing, holding and turning things.

Slip Joint Pliers
Slip Joint Pliers

Metal Tape Measure. You know the old saying, “measure twice, cut once.”

A Utility Knife will cut almost anything. Typically, a retractable blade is housed in a handle that also holds spare blades. The knife in the photo has a fixed blade.

Tape Measure & Utility Knife

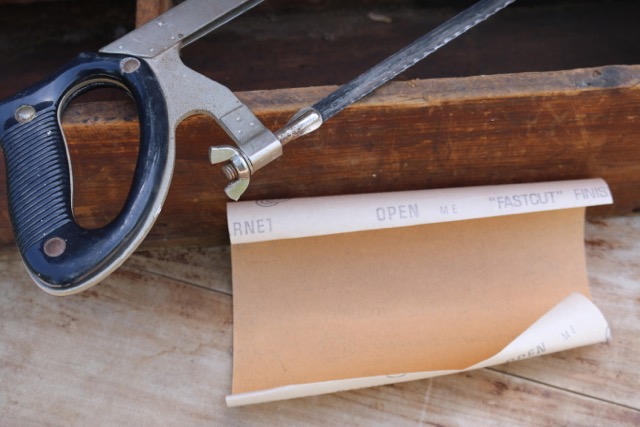
Hacksaw. Cuts through metal – tubing, nail heads etc.

Sandpaper. Comes in different grades designed to handle everything from rough surfaces to final finishing.

Hacksaw & Sandpaper
Hacksaw & Sandpaper

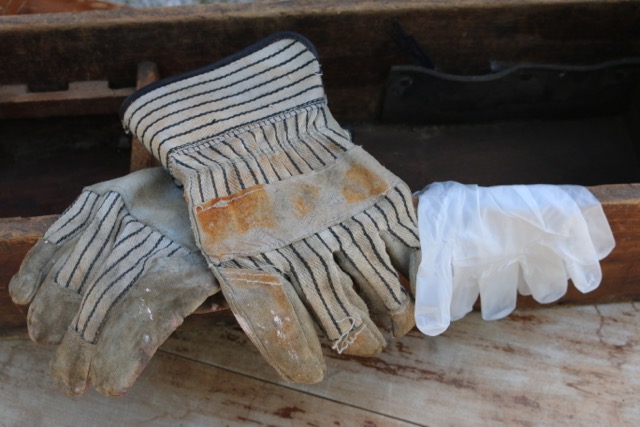
Work Gloves and Rubber Gloves. You need to protect yourself when you’re sanding, sawing or stripping furniture.

Work Gloves
Work Gloves

There are many more tools you can add to your toolbox, just ask my husband! However, if you have a college student who has recently graduated and is going out on their own a good gift is to set them up with their own toolbox. Even when kids go of to college be sure to send them with a few basic tools. You never know when they might need them!Tool Box


Linked to some of my favorite link parties!

Nancy On The Home Front
<div align="center"><a href="https://nancyonthehomefront.com" title="Nancy On The Home Front"><img src="https://nancyonthehomefront.food.blog/wp-content/uploads/2020/02/99301-button_170x170-copy4.jpg" alt="Nancy On The Home Front" style="border:none;" /></a></div>

What Does It Mean To Eat Clean?

Perhaps you’ve heard me talk about eating clean. What does it mean exactly? The idea of eating clean is to be more mindful of the food you are putting in your body. It’s about eating whole foods, or “real” foods, those that are minimally processed, refined or handled and making them as close to their natural form as possible. Sometimes this can be a challenge.Clean, sparkling fruit.

What exactly is processed food? When food is processed it includes additions of any kind; anything from salt, sugar and fat to aid flavor. Preservatives that keep food from spoiling too quickly or vitamins added to enrich the food.Processed food

Processed food also includes changing the form of the natural food, such as removing the bran and wheat germ from whole grains to create refined bread.Refined bread

Also included in processed foods are foods with components manufactured in a lab! Processed foods include everything from hot dogs to jarred organic pasta sauce, even our own steamed carrots are technically processed albeit minimally.Hot dogs

Why is processing food so bad? Well it is not always bad, often processing removes bacteria or toxins or allows us to eat certain types of food off season due to freezing or canning. The key is to avoid the foods that are “ultra processed” such as diet coke and doughnuts!donuts 
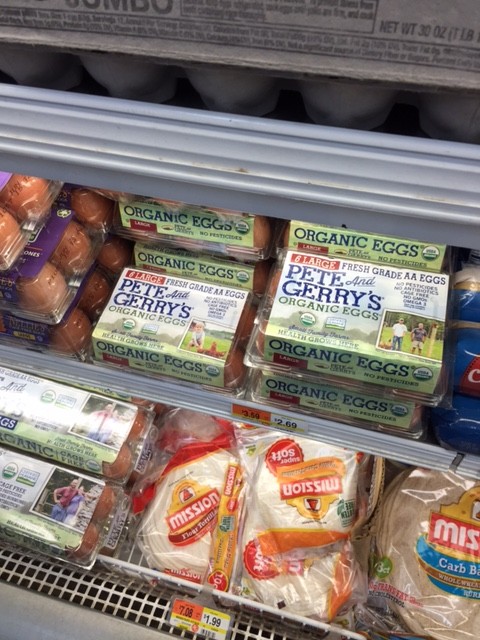
The health problems associated with ultra processed foods are numerous. Foods with genetically modified organisms (GMOs) have been linked to cancer and infertility! Heavily modified food tends to have additives that over stimulate the production of dopamine, the “pleasure” neurotransmitter, perpetuating a negative cycle of constant junk food cravings.

You must constantly keep an eye on advertising because many of these ultra processed foods are advertised in a way that makes them seem good for us! Less sodium! All Natural! No Trans Fat!

There is extensive research that has linked eating whole foods with good health. Largely plant based diets are healthy! Diets based heavily on fruits and vegetables can curb or prevent certain life threatening conditions and diseases, such as high blood pressure. They are also helpful in maintaining healthy weight management.grilling, vegetables

Bottom line:

Eat less CRAP:

C= Cheese
R = Refined sugar
A = Artificial Anything
P = Processed Foods


Eat More Food:

F = Fruits & Vegetables
O = Organic
O = Omega-3s
D = Drink Water and Green Tea

Read the labels and eat foods with fewer ingredients.

Stick to proper portion sizes.

Consume healthy fats each day, no saturated and trans fats.

Avoid alcohol, which is another form of sugar.

Pesticide free organic food is preferable to avoid added hormones or chemicals.

Start making little changes today and make it your goal to practice eating clean! Your body will be glad you did!Shop local!

Linked to some of my favorite link parties!

Nancy On The Home Front
<div align="center"><a href="https://nancyonthehomefront.com" title="Nancy On The Home Front"><img src="https://nancyonthehomefront.food.blog/wp-content/uploads/2020/02/99301-button_170x170-copy4.jpg" alt="Nancy On The Home Front" style="border:none;" /></a></div>

Making Fresh Pasta

Have you ever made your own noodles? Several years ago our youngest son went to visit his oldest sister. While there the two of them took a pasta making class. My son came home inspired and it wasn’t long before we had our own pasta maker and were making fresh pasta. I’ve made noodles a couple of times but my son is the one who is the best pasta maker! He can make a batch of noodles in no time, I wish he was around more often to make fresh pasta for us! There is nothing like a fresh batch of noodles with some homemade sauce.

Fresh Pasta

Ingredients:

200 grams of tips “00” flour
2 eggs

Directions:

Place the flour on your counter, make a well in the center and crack the eggs into the flour. Using your fingers work the eggs into the flour, a little at a time until everything is combined.

noodles
Knead the dough until it is a smooth lump of dough. Wrap in plastic wrap and let sit in the refrigerator for ½ hour to chill.
noodles, prudent living
There are many ways to use your fresh pasta. We have made fancy lasagna noodles.

prudent living, gardening

One of our favorite ways to enjoy fresh pasta is in this recipe for Homemade Noodles with Peas, Asparagus and Pancetta.

While the dough is chilling make your sauce.

Homemade Noodles with Peas, Asparagus and Pancetta

Ingredients:

3 oz pancetta or bacon, chopped (Op)
1 ¼ pounds asparagus, trimmed, cut on diagonal into 1 inch pieces
2 cups of frozen peas (do not thaw)
1 bunch of scallions, thinly sliced
2 garlic cloves, pressed
½ cup finely grated Parmesan cheese
1/3 cup whipping cream
3 Tbsp extra virgin olive oil
3 Tbsp fresh lemon juice
1 Tbsp finely grated lemon peel
¼ cup chopped fresh Italian parsley, divided
¼ cup thinly sliced fresh Basil, divided

Directions:

Cook pancetta in a large skillet until crisp. Transfer to paper towels to drain.

bacon

Pour off all but 1 tsp drippings. Add asparagus to drippings and sauté for 3 minutes. Add peas, scallions and garlic and sauté until vegetables are just tender, about 2 minutes. Remove from heat.

asparagus, peas

Following the directions from your pasta maker form your noodles.

homemade pasta
Forming the noodles.

pasta, prudent living

Add to boiling water and cook just for about two minutes and drain, reserving the cooking liquid. Add the vegetable mixture, ¼ cup pasta cooking liquid, ½ cup Parmesan, cream, olive oil, lemon juice, lemon peel, half of the parsley and half of the basil. Toss, adding more cooking liquid if needed. Season with salt and pepper. Transfer to a large bowl. Sprinkle pancetta, remaining parsley and basil over the top. Serve, passing additional Parmesan if desired. Bon Appetite!

noodles, pasta

Linked to some of my favorite link parties!

Nancy On The Home Front
<div align="center"><a href="https://nancyonthehomefront.com" title="Nancy On The Home Front"><img src="https://nancyonthehomefront.food.blog/wp-content/uploads/2020/02/99301-button_170x170-copy4.jpg" alt="Nancy On The Home Front" style="border:none;" /></a></div>

It’s June Already?

I’m not sure where the time is going! Seems like we were just in the midst of winter and thinking ahead to the gardening season and here it is June already! I love June in Vermont, after months of cold and white the world has become a lush, green jungle!

June in Vermont
June in Vermont

Everything is busting into flower.Iris The creeping phlox is still blooming and spilling over the stonewalls.

Creeping Phlox
Creeping Phlox

The gardens are looking like they need a good weeding!Garden beds 
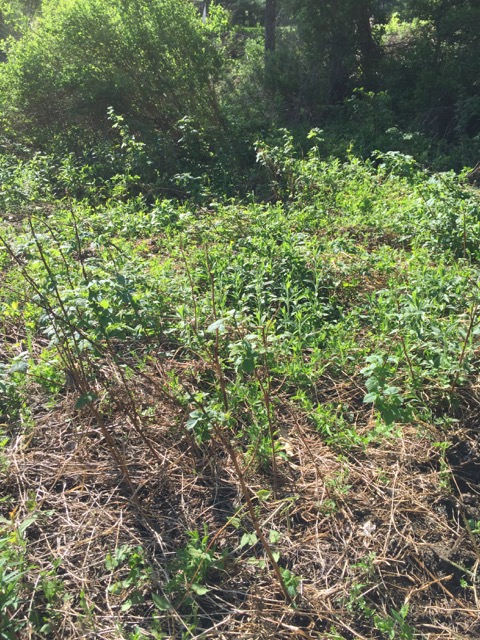
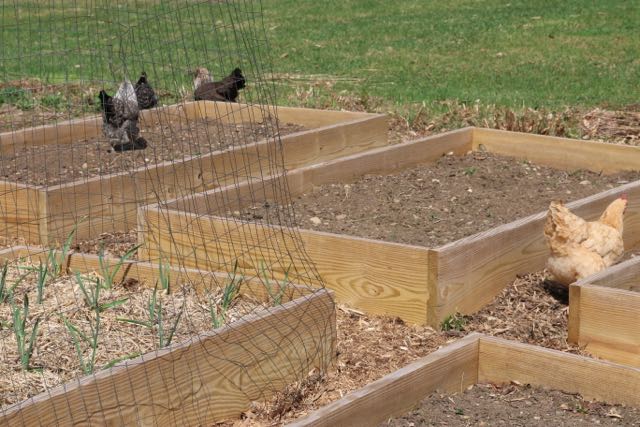
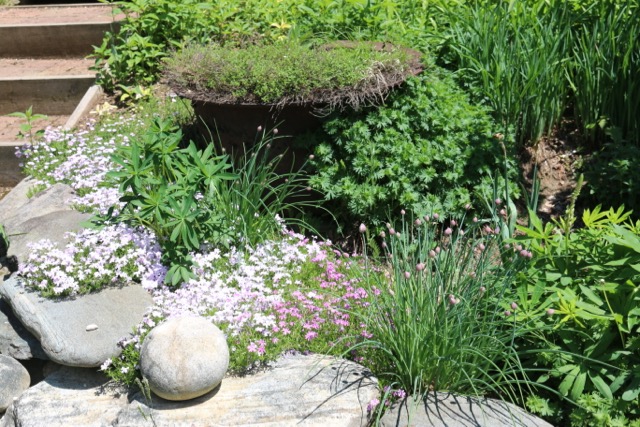
Even the herbs survived the winter and are starting to fill the garden beds.

Herb bed
Herb bed

Of course June also means rain! Looking forward to seeing the sun soon!June rain 
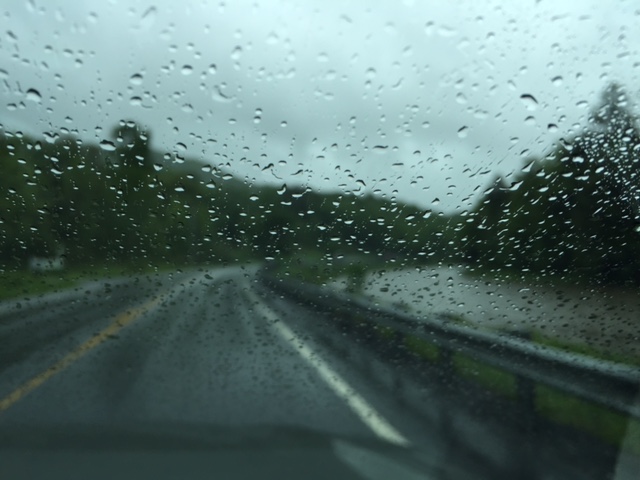
My husband and I took a quick trip to CT to visit family over the weekend and while there we stopped at our old high school where we first met! Yes, we were high school sweet hearts! The school is about to be torn down so we took a selfie in front of the high school building!Guilford High School Always fun to visit our hometown! Now to get back into planting and weeding. I seem to be running behind and still have another raised bed to plant and numerous garden beds to weed and mulch. The life of a gardener is never boring!Raised beds

Six Months To Christmas! Time to Make Vanilla

Do you like to give homemade gifts for Christmas?

gift giving, prudent living
A perfect gift!

I love both receiving and giving homemade gifts. Do you have friends and family that like to cook? Then a gift of homemade Vanilla Extract will be a perfect gift idea. Once you realize how easy Vanilla Extract is to make you will never go back to buying it from the store!

Each batch does take six months to make so now is the time to get started if you plan to give it away as Christmas gifts!

Homemade Vanilla
Homemade Vanilla

To start your own batch you will need:

A large jar (a gallon or less, depending on how much extract you plan to make)
Vodka (the inexpensive stuff is fine)
Vanilla Beans (which I ordered through Olive Nation)
Kitchen Shears

vanilla extract, vanilla beans
Vanilla Beans

Begin by cutting through each bean lengthwise, leaving about an inch at the top of each bean so they stay together.

homemade vanilla extract
Cut vanilla bean.

Place all your beans into your jar. Fill the jar with vodka.

Vodka, vanilla beans, homemade vanilla extract
Pouring vodka into the jar.

Put the lid on and store in a dark place for 4-6 months. Occasionally check the jar out and give it a shake.

homemade vanilla extract, frugal tip
Homemade Vanilla Extract in the works.

Once the time period has passed, strain out the vanilla beans using a coffee filter lined colander. Bottle the extract in dark amber bottles and you’re ready to give it as gifts and start cooking with it yourself! Once the Vanilla Extract is bottled create your own labels for the perfect gift!

Homemade Vanilla
Homemade Vanilla


1 gallon of vodka takes 80 vanilla beans
½ gallon of vodka (1.75L) takes 40 vanilla beans
1 quart of vodka takes 20 vanilla beans

Linked to some of my favorite link parties!

Nancy On The Home Front
<div align="center"><a href="https://nancyonthehomefront.com" title="Nancy On The Home Front"><img src="https://nancyonthehomefront.food.blog/wp-content/uploads/2020/02/99301-button_170x170-copy4.jpg" alt="Nancy On The Home Front" style="border:none;" /></a></div>


Light Lemon Pound Cake

Sometimes a recipe is so good you just have to make it more than once! Light Lemon Pound Cake  is a delicious cake that brings a taste of summer to your table!Light Lemon Pound Cake

Light Lemon Pound Cake

Ingredients:

½ cup butter, softened
1 cup sugar
2 egg whites
1 egg
1 Tbsp lemon juice
1 tsp lemon extract
1 tsp vanilla extract
1 ½ cups flour
1 cup whole wheat pastry flour
2 tsp baking powder
½ tsp salt
¼ tsp baking soda
¾ cup (60z) fat free lemon yogurt

Glaze:

¾ cup confectioner’s sugar
4 tsp lemon juice
1 tsp grated lemon peel
1/3 cup dried apricots, finely chopped

Directions:

In a large bowl cream the butter and the sugar until the mixture is light and fluffy. Add the egg whites and egg, beating well. Add the lemon juice and the extracts.

In a separate bowl combine the flours, baking powder, salt and baking soda; add to the butter mixture alternately with the yogurt.

Pour into a 10 inch Bundt pan coated with cooking spray.

Bake at 350 degrees for 35-40 minutes or until done. Cool for ten minutes before removing from the pan. Cool completely on a wire rack.

For the glaze: Whisk the confectioner’s sugar, lemon juice and lemon peel until blended. Stir in the apricots. Drizzle over the cake.

This cake is delicious with fresh strawberries and lemon sorbet! It will add the taste of summer to your table.

Light Lemon Pound Cake

Nancy On The Home Front
<div align="center"><a href="https://nancyonthehomefront.com" title="Nancy On The Home Front"><img src="https://nancyonthehomefront.food.blog/wp-content/uploads/2020/02/99301-button_170x170-copy4.jpg" alt="Nancy On The Home Front" style="border:none;" /></a></div>

Transplanting Raspberries

According to all the books fall is the best time to transplant raspberries. However, sometimes you just have to do what you can. When we first moved to Vermont 18 years go we bought some raspberry bushes and planted them in our lower field. Not exactly convenient and over the years they have been overgrown by weeds, and although they multiplied, the birds always got the fruit before we were able to.

In the process of downsizing our garden and moving to raised beds we had a large patch of garden soil that was going to be empty. I no longer am growing the same amount of vegetables I did when our four children were at home. However, the soil was beautiful and I didn’t want to turn it into lawn that needed to be mowed. So we decided to go down to the lower field and dig up as many of the raspberry bushes as we could.Raspberry Bushes

There are more raspberry bushes than we could ever transplant but we carefully dug up about twenty bushes and moved them to our new raspberry patch! Raspberry Bushes 
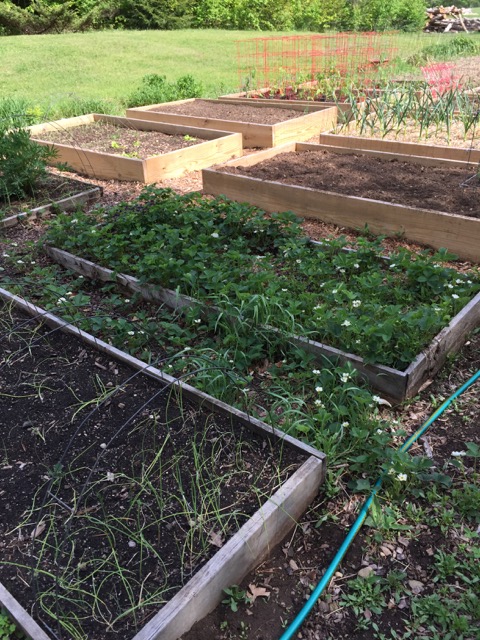
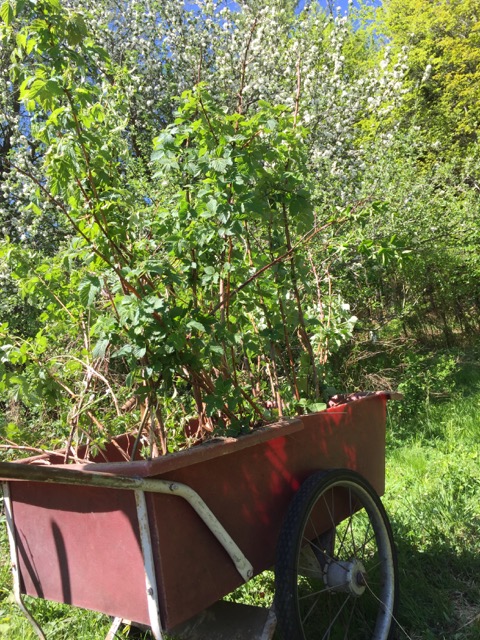
We created two rows of about ten bushes each.Raspberry Bushes

It’s been a week since we did this and they all seem to have survived. I’ve been watering them and keeping an eye on the bushes. When I see signs of new growth I’ll know the transplanting was a success.Raspberries

We still have quite a bit of room left and I’m thinking I’ll go back down and dig up another twenty bushes. Just want to wait until we have some rain in the forecast.Raspberry Bushes
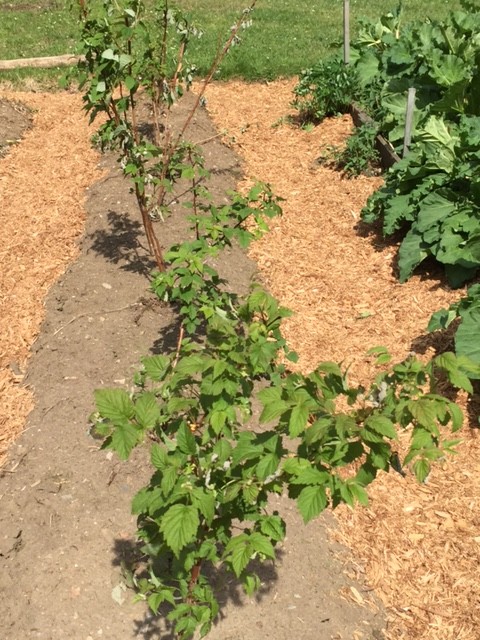
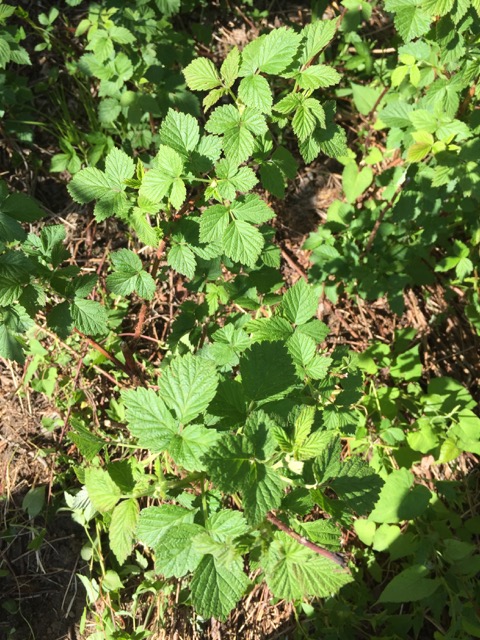
The next step is to put up some supporting wires. We’ll dig two posts at either end of the rows and run wire between the posts. I think the bushes would appreciate some support!

I’ve always wanted a raspberry patch. Hopefully this patch will be more of a success.

English: Raspberries Français : Framboises Deu...
(Photo credit: Wikipedia)

Do you have a raspberry patch, any suggestions for this newbie?

Food Shopping For Two

It took many years for me to become efficient at cooking and shopping for six. As our children grew and became teenagers it was a challenge to be able to feed the family good healthy meals while following a budget. Just when it seemed like I had perfected the challenge our children grew up and left home. Now the challenge is cooking for two!Cooking for two

No longer can I make meals that feed six or more. If I do I have to freeze several small portions to enjoy later or my husband and I would be eating the same thing all week! Just like the single cook, cooking for two requires some particular challenges. The last thing you want is the browning, unused head of cauliflower in the back of the fridge because you didn’t find time to use it all up! Here are a few tips to help keep the excess and doldrums in check.

The fresh meat, seafood, deli, produce and bakery departments are perfect places to buy the exact amount you need without paying any more per pound than if you were buying for a family of six. If you buy larger packs of meat, divide them into smaller portions when you get home and put some in the freezer to use later.

Fresh meat deli.
Fresh meat deli.

When food sold by the pound is packaged in containers larger than you need, ask the department manager if he can divide a package. Stores are usually happy to help you buy only what you need. For example our local grocery store sells bags of grapes. They are all prepackaged so you can just grab a bag. However maybe you don’t need 2-3 pounds of grapes. The department manager told me I could just take the grapes I need and put them in a produce bag and just purchase what I need.grapes

Many stores are now selling cartons that contain just six eggs. If you don’t see any on display, ask the manager to cut a carton in half. Better yet find a neighbor that sells fresh eggs and just purchase what you need.

Buying eggs in carton of 6.

The bulk food section of the store also allows you to buy small qualities. If you can’t eat a whole box of cereal or a whole can of nuts before they go stale, buy only the amount you need from the bulk bins. This will also allow you to get more variety as well!

Bulk foods at the Real Canadian Superstore in ...
(Photo credit: Wikipedia)

Invest in a set of good storage containers to keep your leftovers fresh. If you’re going to freeze your leftovers, be sure to use bags or containers made especially for the freezer so your food won’t get freezer burn.Storage containers

Cooking for a large family or cooking for just two have their challenges. By shopping smart and making good use of your leftovers you can eat well and maintain a food budget. What is your challenge when it comes to food shopping?

Linked to some of my favorite link parties!

Blueberry and Chicken Salad

It won’t be long before I’ll be enjoying our own blueberries. In the meantime I’m enjoying this delightful blueberry and chicken salad with a delicious blueberry vinaigrette. I love the colors of this salad and the fresh flavors, perfect for an easy supper. Serves 4.

Tip: Enjoy chicken on the grill the night before, grill extra chicken to enjoy on this salad the next day! Salad

Blueberry and Chicken Salad

Blueberry Vinaigrette:

Ingredients:

¼ cup olive oil
¼ cup blueberry preserves (preferably homemade)
2 Tbsp. maple syrup
2 Tbsp. balsamic vinegar
¼ tsp. ground mustard
1/8 tsp. salt
Dash pepperBlueberry  Salad

Salad:

Ingredients:

Salad greens
1 cup blueberries
4 oz of mandarin oranges, drained
1 cup crumbled goat cheese
2 grilled skinless chicken breast halves (about 6 oz each), sliced

Directions:

In a small bowl, whisk vinaigrette ingredients. Cover and refrigerate until ready to use.

Divide the salad greens among four plates.Blueberry Salad 
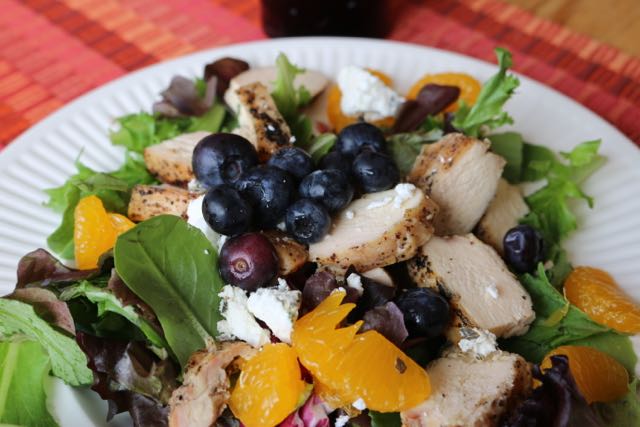
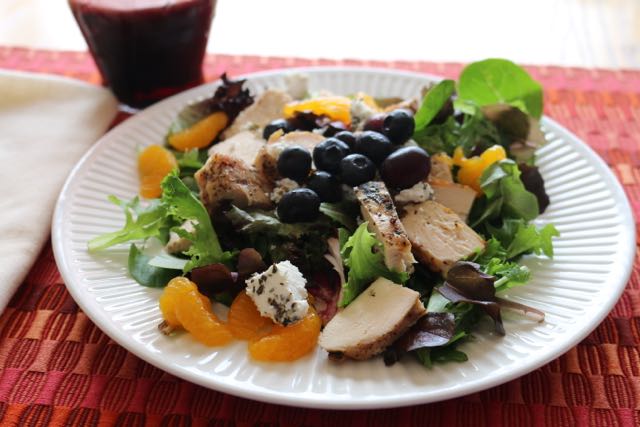
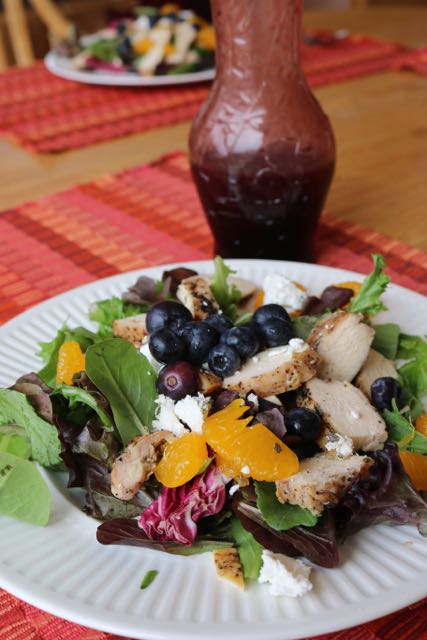
Top the greens with sliced chicken, blueberries and oranges. Whisk vinaigrette and drizzle over the salads; sprinkle with the cheese and serve.Blueberry & Chicken Salad

This salad comes together so quickly you may find yourself enjoying it on a weekly basis. I love using grilled chicken on a salad during the summer, it makes a light supper or a perfect lunch to take to work.

5 Garden Projects You Can Do Yourself

If you’re like me most of your garden projects you like to do yourself. If it involves moving large rocks or cutting down trees then I resort to the professionals. However there are many projects that you can tackle yourself.

Raised Beds: I’ve always liked raised beds and now that I am older I love being able to sit on the edge of one raised bed and work in the next raised bed. I also like the way they look, nice and neat! Our raised beds were completed last year. My husband put them together for me in the driveway and then they were moved down to the garden.

Our chickens like our raised beds as much as I do!

Tomato Cages: I am always trying to improve what we use to put around our tomatoes. One year my husband was so thoughtful and made all these neat tomato cages for me out of wire. They were perfect with only one problem; the wire was too small to get the tomatoes out of the cages! He had to cut the wire to make openings so I could actually pick the tomatoes!

Stone Walls: We have many rocks in our soil and we are constantly pulling rocks out of the garden. We have used those rocks to make various stonewalls, some walls are actually retaining walls and required help from a neighbor who had a tractor.Retaining walls 
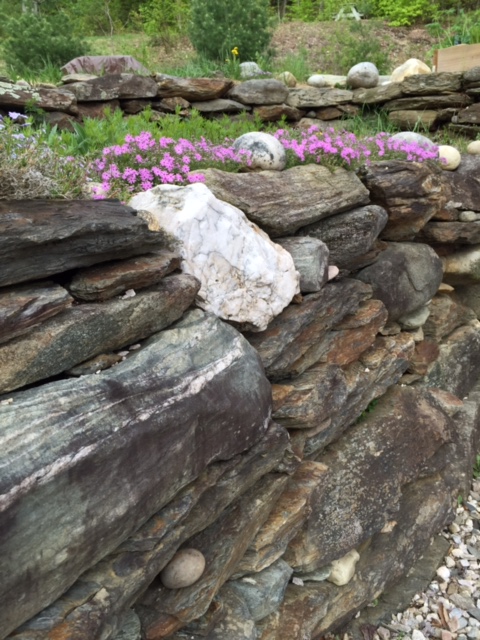
Other walls are more of the small garden edge wall variety, and I was able to put them together myself.

Creating garden walls

Fire Pits: We have also used rocks to build a simple fire pit. During the summer months we enjoy sitting around the bonfire with friends. By gathering large rocks we created a circle of rocks, which makes the perfect fire pit. Our fire pit is all ready for the first summer bonfire!Firepit

Compost Bins: compost bins are quite simple to make especially if you have access to pallets. We made a large three bin compost bin to help with the composting of the various garden matter and the chicken manure. We put it together in an afternoon. For more information see the post HERE.

composting, prudent living
Three Bin Composter

Need more ideas? Search “Gardening Projects” on Pinterest and you will be busy all summer!

Linked to some of my favorite link parties!

Design a site like this with WordPress.com
Get started