A Tribute To My Mom

Saturday very early in the morning, I lost my mom. She had gone in for emergency surgery for a brain aneurism that bled on December 17th.  Since then we have been on a roller coaster. She survived the surgery but later developed complications that she just could not over come. I am still in shock that she is gone.

I wish you all could have known her. She was not only a wonderful mother but also a true inspiration and friend to many. It is because of her that I am able to live a prudent lifestyle. She believed that volunteers formed the fabric of a community and helped to set up a volunteer bureau in my hometown of Guilford, CT.

Guilford, CT.
Guilford, CT.

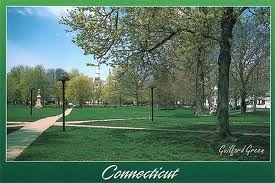
Her proudest accomplishments included the work she did to preserve land in Connecticut. She organized the formation and incorporation of Guilford Recycling, twelve years before recycling became mandated by the state. Funds earned from the sale of the communities’ donated glass and aluminum were then donated to the Guilford Land Conservation Trust (GLCT) for open space acquisition.

Guilford Land Trust
Guilford Land Trust

From 1984-96 she worked for The Nature Conservancy as Director of the Land Protection and as Director of the Land Trust Service Bureau. My mother was responsible for securing protected status for over 7,000 acres in CT.

I grew up recycling and composting and learning to live on less and leave less waste. I spent many hours walking the woods with my mom  learning about trees and birds and taking care of the land around us.

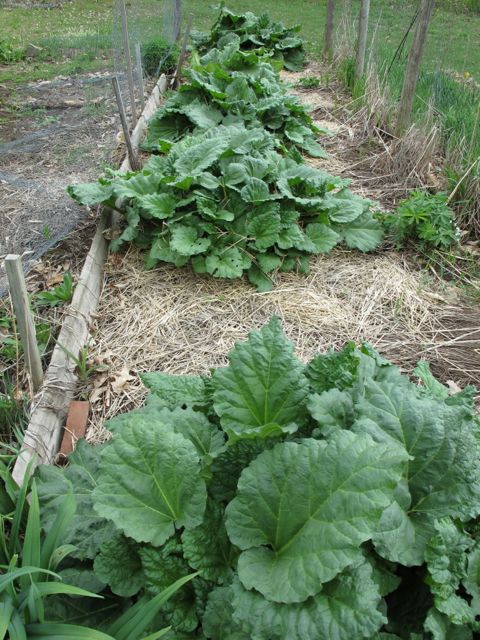
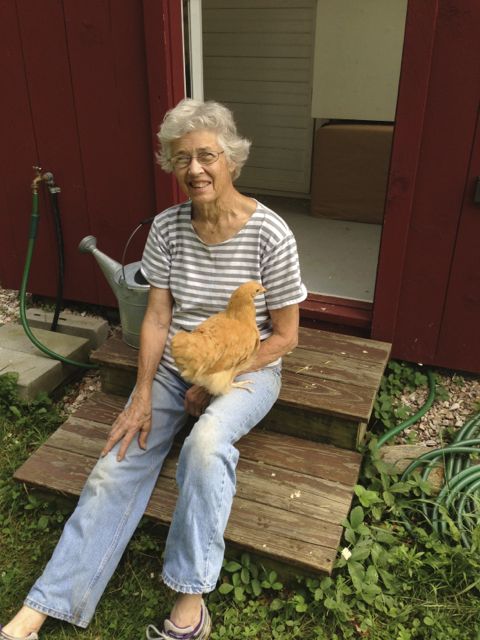
Earlier this year she came to visit and immediately she was in her gardening clothes to help me in my large vegetable garden.

My mom and our friendly Buff Orpington!

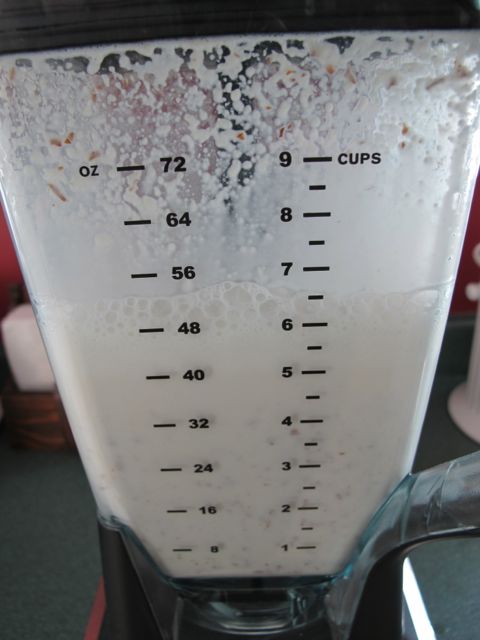
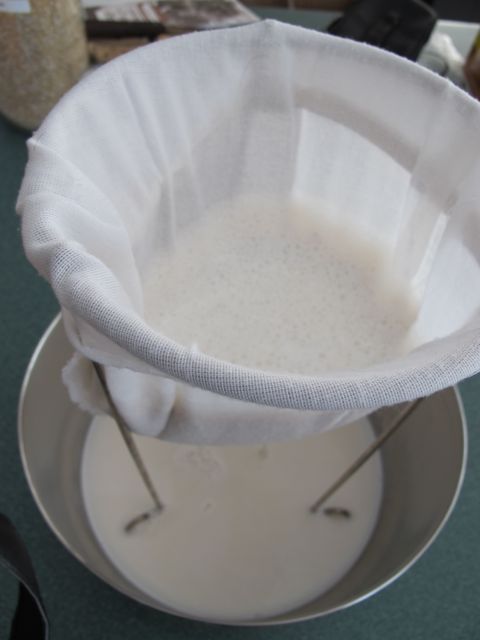
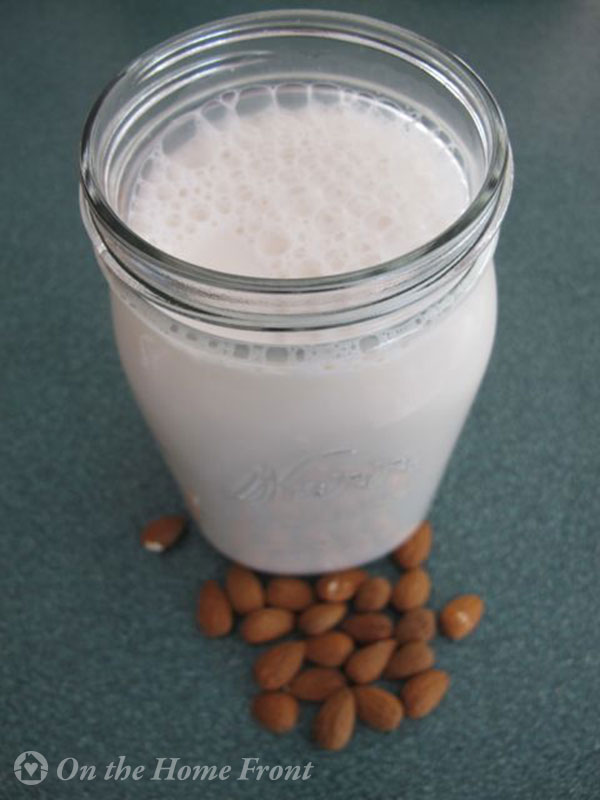
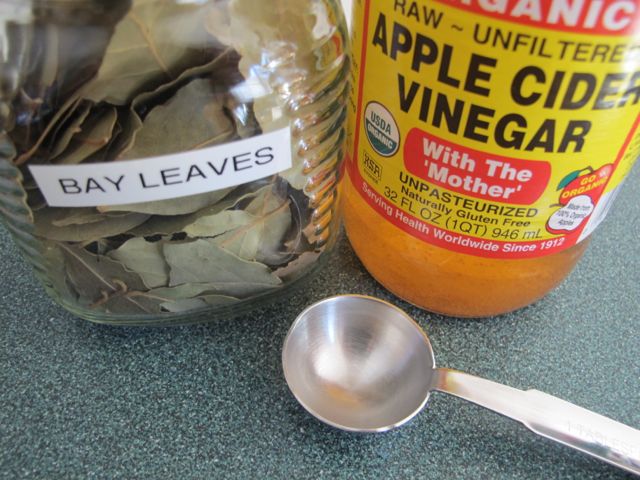
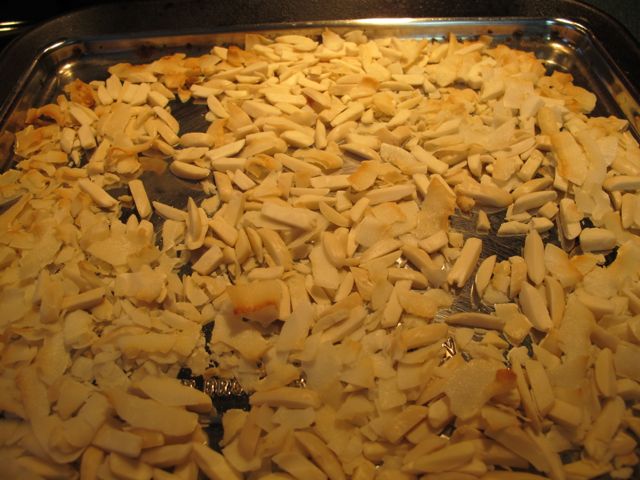
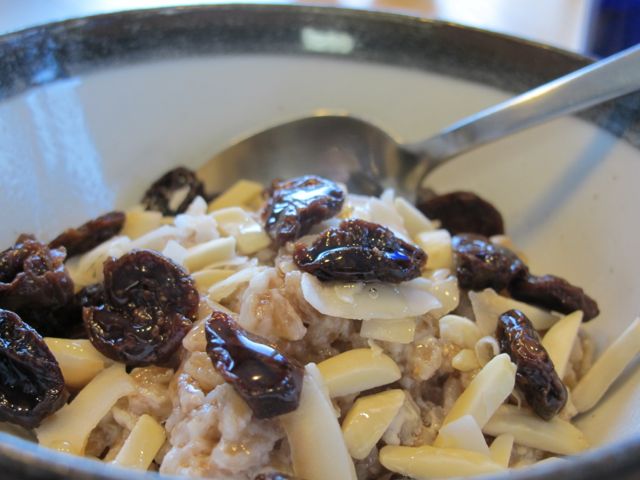
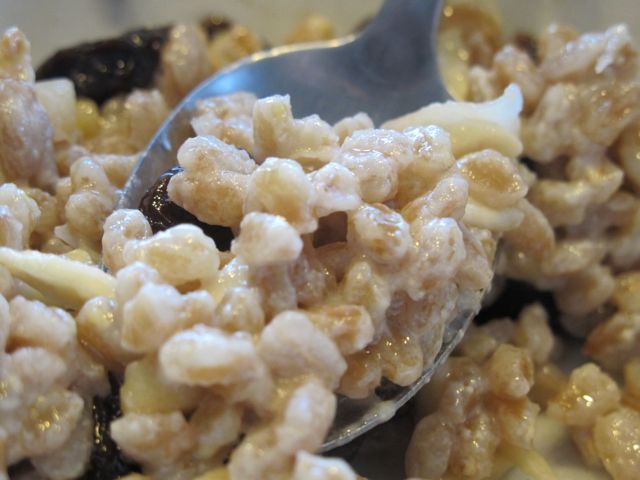
I have shared several of her recipes on my blog including her famous granola.

She was 82 years old but a very young 82. She was active until the day she went into the hospital working to organize gardens in the retirement community she moved into last year. The world is a little less bright today because of her loss, but I will strive to carry on all that she taught me. She will be greatly missed by many.

 The tide recedes but leaves behind
Bright seashells on the sand;
The sun goes down but gentle warmth
Still lingers on the land;
The music stops, and yet,
It echoes on in sweet refrains.
For every joy that passes
Something beautiful remains.

Linked to: WildcraftingWednesday, TuesdayWithATwist, AdornedFromAbove, KatherinesCorner, BrambleberryCottage, Saving4Six

Hot Pork Strings

As we move into January my thoughts for cooking turn away from turkey and ham. We love to cook Chinese meals in our house and this Hot Pork Strings recipe is one of our favorites! You can vary the hot bean paste and the amount of black pepper depending on just how hot you want the dish to be.

Stir Fried Pork Strings with Hot Sauce

Ingredients:

10 oz pork tenderloin
1 can water chestnuts (small size)
1 can bamboo shoots (small size)
2 Tbsp Dry Black Wood Ear
1 Tbsp Soy sauce
1 Tbsp Cornstarch

2 tsp chopped ginger
1 tsp chopped garlic
1 Tbsp Shredded scallions

Seasoning Sauce Ingredients:

1 Tbsp Soy sauce
1 Tbsp Cider Vinegar
1 Tbsp Hot Bean Paste
½ Tbsp white wine
1 tsp sugar
½ tsp salt (op)
1 tsp cornstarch
1 tsp sesame oil
1.4 tsp black pepper

Directions:

Cut pork into narrow strips, marinate with  soy sauce and cornstarch for 15 minutes or more.

Marinate the pork.

Soak dry black wood ear in warm water for about 15 minutes, when expanded removed stems and slice thin.

Wood-ear Soaking

Slice water chestnuts  and bamboo shoots as well.

Chop ginger and garlic as well as the scallions.

Prepare the seasoning sauce by combing all the sauce ingredients.

Seasoning Sauce

Heat a Tbsp of oil in your wok and add pork, when done remove.

Stir Fry the Pork

In the same wok stir fry the scallions, garlic and ginger. Add the water chestnuts, bamboo shoots, wood ear and pork. Add the seasoning sauce mixture to the pork mixture.

Hot Pork Strings

When well mixed and hot serve on rice.

Enjoy! Why call for take out when you can cook such a delicious meal yourself!

Hot Pork Stings ready to enjoy!

Frugal Tips: Do You Have Leftover Candy Canes?

For the past two years this has been one of the most popular posts I have shared for frugal tips! Since it’s after Christmas and many of us are getting ready to take down our Christmas trees you may also be wondering what to do with those leftover candy canes?

frugal tip, prudent living
Leftover Candy Canes

We always enjoy having candy canes hanging on the tree but they never seem to get eaten! Each year I end up with a pile of candy canes and I wonder what I am going to do with them! After spending a little time on the internet I realized there are numerous ways to use up leftover candy canes!

1. Stir them in your hot chocolate.
2. Use them to stir your tea.
3. Add them to a milkshake.
4. Break off the hooked end and dip the straight piece in melted chocolate.
5. Crush them.

The last idea had so many uses that I decided that’s what I would do. I took all of our candy canes and put them in the blender and made sugar cane sugar!

crushed candy, frugal tip
Put the candy cane pieces in your blender.

This sugar can be used in many ways.

peppermint candy, candy canes
Crushed Candy Canes.
  1. Ice Cream Sprinkles (I love this idea, Peppermint Stick Ice Cream is my favorite)
  2. Cake Sprinkles
  3. Cupcake Sprinkles
  4. On top of whipped cream in your hot chocolate
  5. Sweeten your hot tea
  6. Sweeten your hot chocolate
  7. Use the sugar in recipes

Use them in recipes, what an idea! I found all sorts of recipes that you could use the crushed candy canes in.

Here are links to just a few:

1. Candy Cane Fudge
2. Peppermint Four Layer Cake
3. Chocolate Peppermint Bark
4. Peppermint Ice Cream
5. Candy Cane Brownies
6. Peppermint Meringues
7. Candy Cane Cheesecake

What did I do with our candy cane sugar? First I made Candy Cane Brownies, I didn’t use the recipe mentioned above but instead used a recipe passed down from my husband’s grandmother’s recipe box.

candy canes, brownies
Candy Cane Brownies

I also made some Peppermint Sauce. Poured over vanilla ice cream it is almost as good as peppermint stick ice cream1

ice cream topping, peppermint candy canes
Bright pink Peppermint Sauce.

 Linked to: NaptimeCreations, MandysRecipeBox, TimeToSparkle, TheHearthAndSoulHop, TableForSeven, CarrieThisHome, TheThriftyHome, KatherinesCorner, BloomDesigns, AGlimpseInside, BrambleberryCottage, Saving4Six, HomemakersChallenge, FrugallySustainabl, FamilyFridayLinkup, FeedingBig

Top Prudent Pantry Post of 2013

Of all the posts written under the Prudent Panty heading for 2013, the most popular by far was the post I wrote on Making Almond Milk. for those of you who missed it, I’m sharing the post again today!

The doctor recommended that my husband drink almond milk and it has been something I’ve been purchasing at the grocery store for the last couple of years. I’m not sure why I had never thought to try making it on my own. However I had an opportunity to purchase some raw, organic almonds through our local co-op and decided to make some almond milk at home. There are numerous recipes on line and they are all basically the same.

The ingredients are simple: pure, filtered water and one cup of raw, organic almonds.

Almonds
Almonds

The first step was to soak the almonds in the water at least overnight but up to 48 hours. I placed the almonds in a bowl and put them in the refrigerator.

Soak almonds in water

After soaking the almonds they are drained and the water is tossed. I placed the soaked almonds in my blender with four cups of water.

Place water and almonds in your blender.

Blend until frothy.

Blend until frothy
Blend until frothy

Then pour the contents of the blender through a cheesecloth-lined strainer; I used the bag I use for making jelly.

Drain liquid from almond pulp

Once the liquid has drained through give the bag a squeeze to get every last bit! Just like store bought almond milk this should also be stored in the refrigerator. Use it up in three days and give the jar a shake before each use. Easy!

frugal, prudent
Almond Milk

Linked To: FatTuesday, BackToTheBasics, KellyTheKitchenKop, SheEats, SmallFootprintFamily

Top 10 Recipes of 2013

It’s hard to believe that we are nearing the end of another year. As I look over the various posts from the last year I have such wonderful memoires of each and every recipes shared. Some were recipes shared by a friend while others were recipes I made for others.

The top ten recipes for the year were as follows:

It was interesting to note that the majority of the recipes were all dessert recipes! I guess we all enjoy our sweets!

Looking forward to 2014 and the many new recipes I will be sharing!

Recipe Box
Recipe Box

Linked to: FoodieFriendsFriday, #FoodieFriday, TheBlogStrutOwlStyle, TheJennyEvolution, JustWingingIt, WeekendPotluck, FreedomFridays, FrugallySustainable, FamilyFridays, TheWonderingBrain, WillCookForSmiles, AngelsHomestead, MakeAheadMealsForBusyMoms, FlourMeWithLove, TumbleweedContessa, NourishingJoy, MyMixingSpoon, OurDelightfulHome,KathiWithAnE, FeedingBig,AllSheCooks, LoveInTheKitchen, NotYourOrdinaryRecipe, MizHelensCountryCottage

Roasted Butternut Squash Salad

As I mentioned before I’ve used winter squash in many ways; soups, casseroles, muffins, even dog biscuits. When I saw this recipe I had to try it, using roasted butternut squash in a salad is so easy.

The recipe was adapted from a Taste Of Home recipe. I love their recipes as they always come out looking like the picture and tasting delicious!

Roasted Butternut Squash Salad

Ingredients:

4 cups of cubed peeled butternut squash
1 large onion, chopped
1 Tbsp honey
½ tsp salt
½ tsp garlic powder
¼ tsp pepper
Fresh baby spinach
2 cups of coarsely chopped iceberg lettuce
½ cup croutons
½ cup dried cranberries
¼ cup toasted almonds
4 bacon strips, cooked and crumbled
Dressing of your choice, I used sesame balsamic

Directions:

Preheat the oven to 400 degrees. In a large bowl toss the butternut squash and onion with the honey, salt, garlic powder and pepper. Transfer to a large baking pan coated with cooking spray. Bake for 20-25 minutes or until the vegetables are tender, stirring once. Remove from the oven and set aside cooling slightly.

Roasted Butternut Squash
Once the butternut squash is cooked it is a simple mater to assemble the salad. In your salad bowl combine the spinach, lettuce, and squash mixture. Add the croutons, cranberries and bacon just before serving. This salad is wonderful and would make an excellent side dish for your Christmas dinner.

Roasted Butternut Squash Salad

My Garden: A Year In Review

Each month I write a post on my garden. I share what’s going on in the garden and post pictures of how the garden looks. As I look outside this week and see a white world with everything covered with snow it is nice to look back at the progression of the garden.

Winter has arrived!
Winter has arrived!

Here is a quick trip through the last 12 months in the garden.

Janaury 2013 Sometimes the post is nothing more than a review of what’s happened the previous year.

gardening, prudent living
Time to reflect on your past gardening year.

February 2012 Sometimes it’s looking for beauty in the world around me.

garden, Vermont
Beauty

March 2013 Often is preparing for the upcoming gardening season.

gardening, prudent living
Vegetable Seedlings

April 2013 As spring approaches you can finally see signs of life outside.

It's been a good sugaring season.
It’s been a good sugaring season.

May 2013 All of a sudden the flowers are everywhere and the gardening season begins anew!

Rhubarb Patch
Rhubarb Patch

June 2013 In June the mountains and fields turn green There is new growth everywhere in Vermont.

June in Vermont
June in Vermont

July 2013
July was a very wet month in 2013, it seemed like the sun didn’t shine for weeks! As a result the weeds took over but we did harvest strawberries!

Strawberries!
Strawberries!

August 2013 In August we finally began to harvest vegetables from the garden.

Garlic drying
Garlic drying

September 2013 September in Vermont begins to feel like fall. the garden is still producing but the nights get colder. Won’t be long before we experience the first frost.

Heading into pumpkin season!

October 2013 by October the garden has been put to bed and the beauty is found in the colors of the hillsides around us.

IMG_0489
November 2013 In November I focus on my houseplants.

houseplants
Cyclamen

December 2013 As we head into the cold, winter months I am rewarded with the blooming flowers inside the house!

flowers
Orchids

Soon the gardening catalogs will be arriving in my mailbox and I can once again look forward to another gardening season.

Linked to: SidewalkShoes, ASouthernDaydreamer, BrambleberryCottage, ServingJoyfully, FourSeasonsBlogHop, FromTheFarmBlogHop, SmallFootprintFamily, TheViewFromRightHere, SimplyNaturalSaturdays

Homemade Beef Broth

In November I shared my process for making chicken stock in the crockpot. This is such an easy way to make the most delicious, chicken broth. I make homemade beef broth the same way. I use beef bones from grass fed beef, not always easy to find, but well worth the effort.

broth, stock

You’ll need about 5-8 ponds of beef bones to make a good batch of broth, try get an assortment, which includes some knuckles or neck bones. Rinse the bones with water and pat dry. Place the bones in a large baking pan. Add a head of garlic sliced in half. Roast the bones at 400 degrees F for 45 minutes. Your house will smell amazing.

stock, broth, bones

Place the cooked bones in your  large crockpot.

broth, stock, crockpot

Add water to the baking pan and scrap up all the pan drippings.

broth, stock, beef

Add the drippings and water mix to the crockpot as well. Cover the bones with additional water.  You want the bones to be just covered with water. Turn the crockpot on high.

beef, stock

When the water starts to boil, add 2-3 bay leaves and 2 Tbsp of apple cider vinegar to the crockpot and turn the heat down to low.

spices, homemade, stock

Continue to cook for a total of 24 hours. Add water if necessary to keep the bones covered.

When the homemade beef stock is finished simmering, allow it to cool slightly before straining into a large bowl.

beef broth

Refrigerate the broth until chilled.

beef broth,

Once the broth has chilled the consistency should be like gelatin and the fat will rise to the surface. Use a large sppon to skim the fat off the broth.

beef broth, homemade

Use the broth immediately, store in your refrigerator for a week or place into freezer containers and store in your freezer. If you have a pressure canner you can also follow the directions with you pressure canner to can your beef broth.

Prudent Pantry: What is Farro?

Recently a friend of mine introduced me to the grain farro. Have you heard of it? Farro is a type of hulled wheat that is typically used in salads, soups and side dishes. It has sort of a nutty flavor. Farro looks very much like a wheat berry.

Farro
Farro (Photo credit: Wikipedia)

The clearest explanation (and the one most useful when shopping) is from Ancient Grains for Modern Meals (Ten Speed Press, 2011), by Maria Speck, who writes that the term farro is “commonly used when referring to three ancient wheat varieties first cultivated in the Fertile Crescent and still grown in Italy: farro piccolo (also known by the German einkorn), farro medio (also known as emmer, the Hebrew word for mother), and farro grande (also known as spelt).”

Emmer wheat, cultivated in biblical times
Emmer wheat, cultivated in biblical times (Photo credit: Wikipedia)

Most imported Italian farro available in the US is the emmer variety. It cooks up quickly in about 25 minutes. This comes in handy if you are trying to cook up a hot breakfast or a quick dinner. Farro is not gluten-free but is is considerably lower in gluten than commercial wheat varieties. People with mild wheat sensitivities often find it easier to digest.

Farro 1
Farro Growing (Photo credit: Jeremy Cherfas)

I first enjoyed Farro in a cold salad with tomatoes and herbs.

Farro
Farro Salad (Photo credit: Carmyarmyofme)

Doing a search on the Internet will give you all sorts of recipes from salads to soups to everything in between. I found a warm farro cereal recipe that I just had to try.

Warm Farro Cereal with Dried Cherries
Serves: 2

½ cup farro
1 cup water
¾ cup coconut milk
½ cup sliced almonds
½ cup unsweetened coconut chips
1 tablespoon honey
pinch salt
¼ cup dried cherries

Soak cherries in warm water for five minutes to soften them. Drain and discard water.

Bring the water, coconut milk and salt to a simmer and whisk in the farro. Return to a simmer. Reduce heat to low. Simmer  for 35 to 40 minutes, or until farro has absorbed most of the moisture.

While hot cereal is cooking, preheat oven to 325 F. Toast almond slices and coconut chips for 5 minutes or until fragrant and golden.

Toasted almonds and coconut

Once the farro is cooked portion into two small bowls and top with toasted coconut, almonds and dried cherries.  If you’d like top with a drizzle of honey.

Warm Farro Cereal
Warm Farro Cereal

Serve immediately.

A delicious warm and creamy cereal, the perfect way to start the day.


Linked To: HomesteadBarnHop, MakeAheadMEalsForBusyMoms  BizzyBakes, FlourMeWithLove, AHumbleBumble, FeedingBig, HearthAndSoulHop, RealFoodForager, TheBackyardFarmingConnection, BackToTheBasics, HealthyRootsHappySoul, AllSheCooksWeAreThatFamily, KellyTheKitchenKop, WildcraftingWednesday


Enhanced by Zemanta
Design a site like this with WordPress.com
Get started